
Setup Your Laptop like a Pro Out of the Box Tips
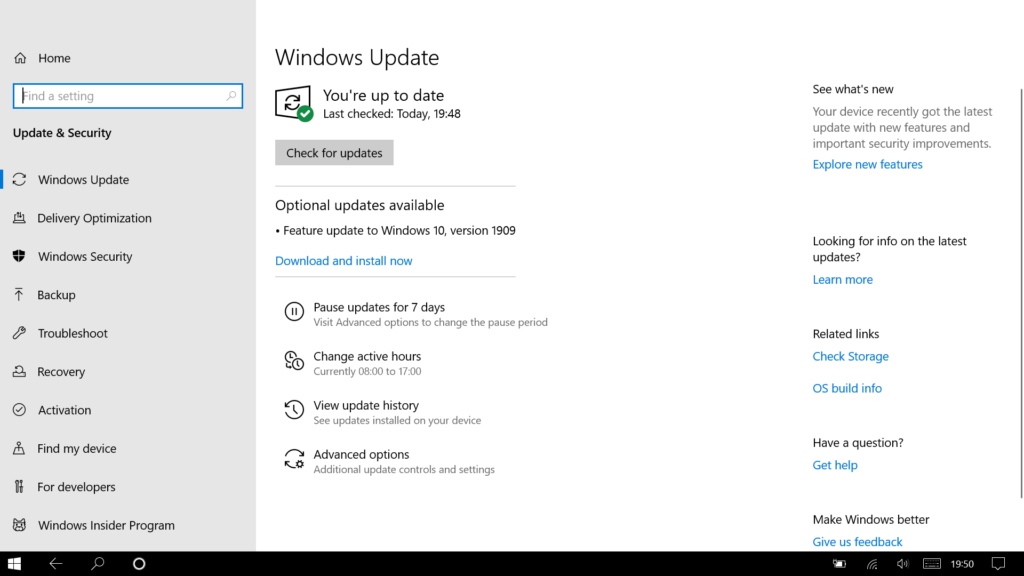
Microsoft releases a steady stream of Windows updates. Your new laptop checks for updates automatically, but you can check manually by going to Settings (click the gear icon above the Start button), choosing Update & Security > Windows Update and then clicking the Check for updates button. (Or just type “updates” into the search box and click Check for updates.) You can update your laptop immediately this way instead of waiting for updates to install the next time you shut down your laptop.
Turn on System Restore
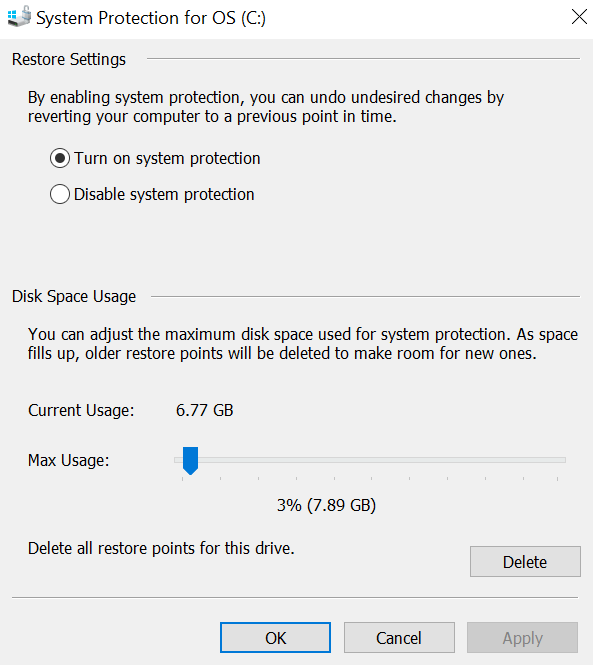
It’s a good idea to make sure you have established a restore point should something go sideways with your laptop on down the road. To set up a restore point, search for “restore” and then click Create a restore point. You’ll be taken to the System Protection tab of the System Properties window.
From there you can choose your main system drive (likely the C: drive) and then click the Configure button. Click the radio dial for Turn on system protection if it’s not already on. And then you can choose how much disk space to reserve for your restore points. You don’t need more than 2 or 3 percent.
Set app installation tolerance level
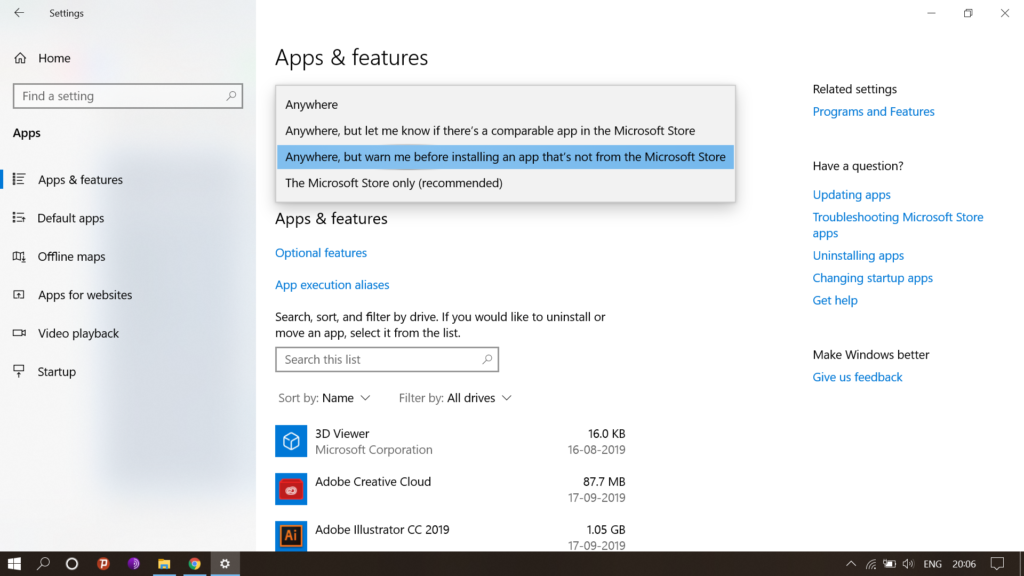
Microsoft has borrowed a page out of Apple’s book with the addition of a setting that lets you control which types of apps are allowed to be installed on your PC. Similar to telling your Mac to install apps only from the Mac App Store or also from outside it, you’ll soon find similar options on your PC. Go to Settings > Apps > Apps & features and you can choose whether to permit installing apps from anywhere, only from the Windows Store or from anywhere but with a warning if they are from outside the Store.
Remove bloatware
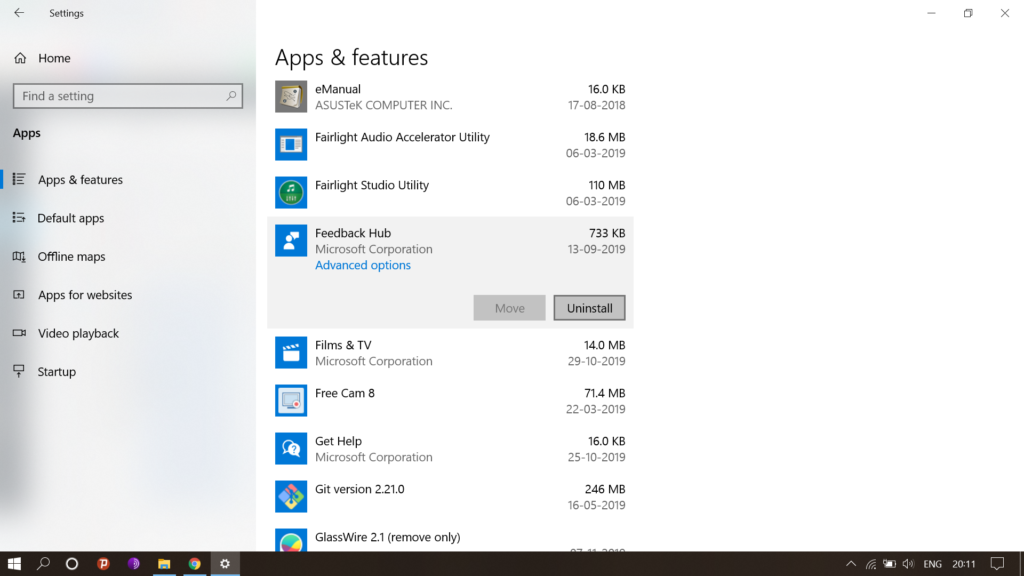
Many PC vendors package a new laptop with trial apps, but thankfully Windows 10 offers an easy way to see which apps are installed on your new laptop and a quick way to uninstall those you don’t want. Head to Settings > Apps > Apps & features and peruse the list. If you don’t want an app, click on it and then click the Uninstall button.
Anti-ransomware protection
Windows Defender gets a new weapon in the fight against ransomware. Open the Windows Defender Security Center and go to Virus & threat protection > Virus & threat protection settings. Here, you’ll be able to toggle on a new option called Controlled folder access. It protects you against ransomware attacks that can lock you out of your data. By default, the Desktop, Documents, Music, Pictures and Videos folders are protected, but you can add others. If the setting is grayed out, then you may need to uninstall the trial version of McAfee or another security app that came preinstalled on your PC.
0 Comments