
How to Turn Windows Defender Firewall on and off
The Windows Firewall is designed to help keep unauthorized users from accessing files and resources on your computer. A firewall is a must-have if you’re concerned about your computer’s safety.
Don’t disable the Windows Firewall unless you have a good reason, but if you have another security program performing the same functions, feel free.
Section 1. Turn Windows Defender Firewall on
Step 1. Select the Start ![]() button and then go to Settings
button and then go to Settings ![]()
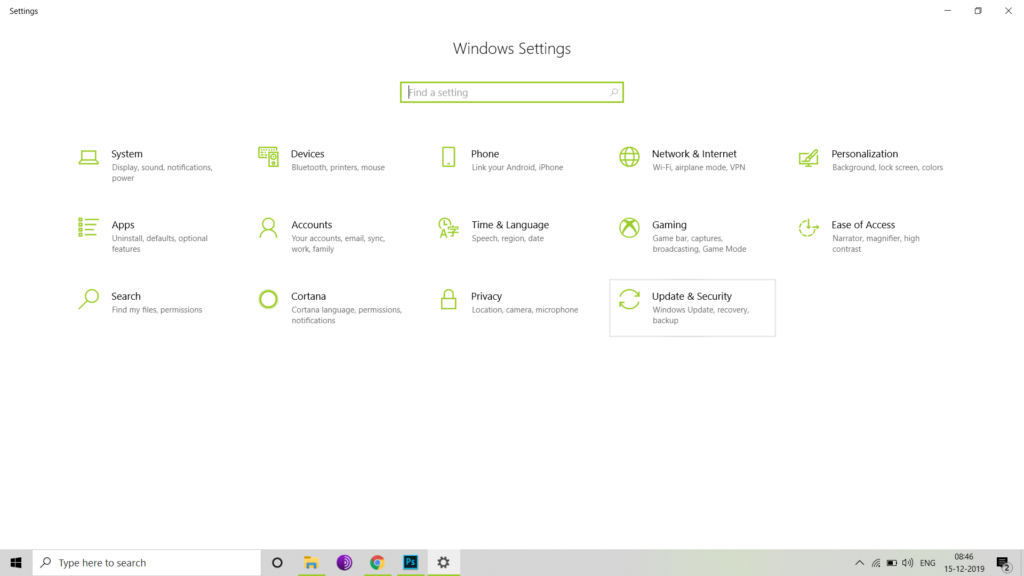
Step 2. Select Update & Security
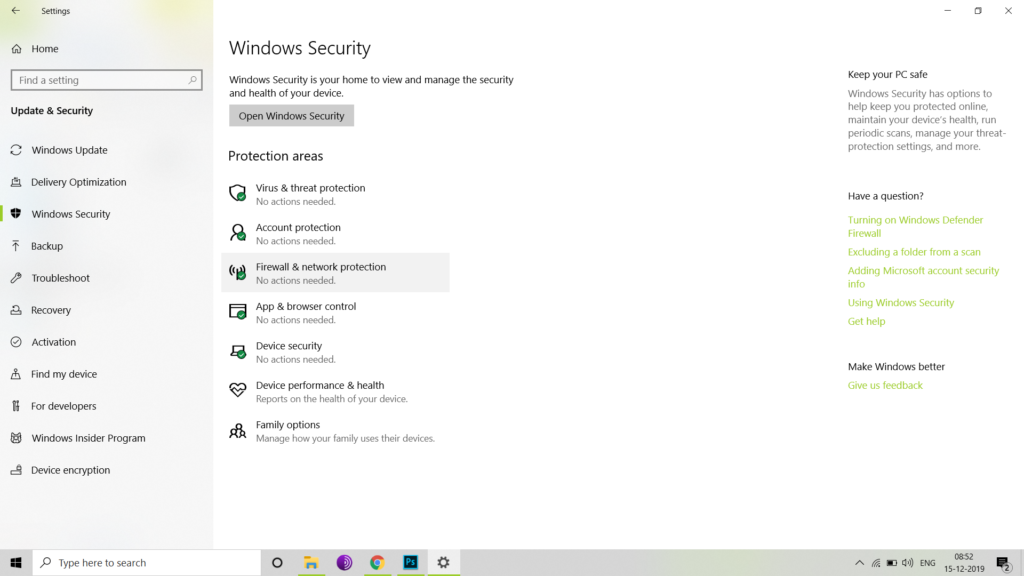
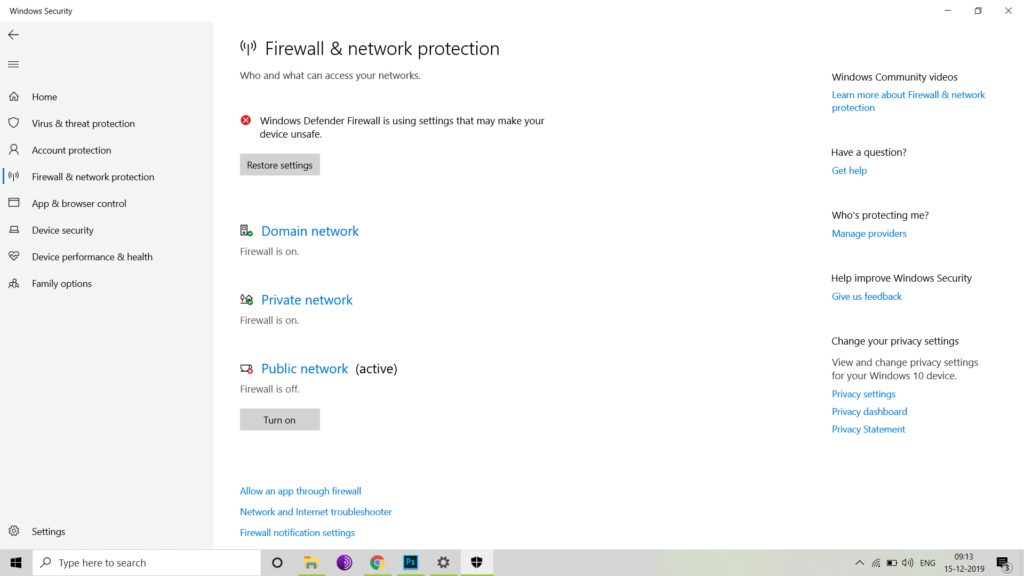
Step 4. Go to Windows Security and then select Firewall & network protection.
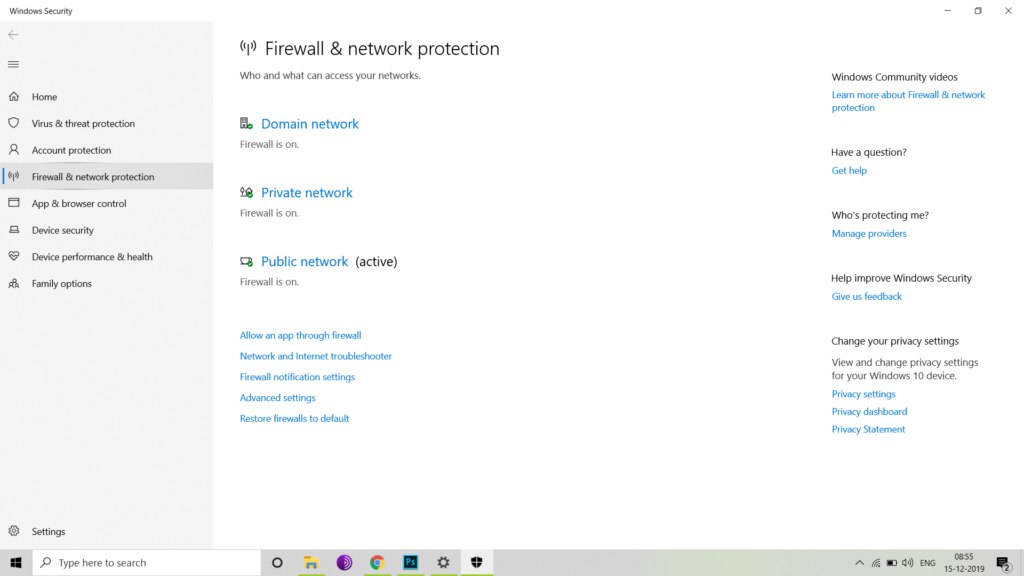
Step 5. Select a Network profile
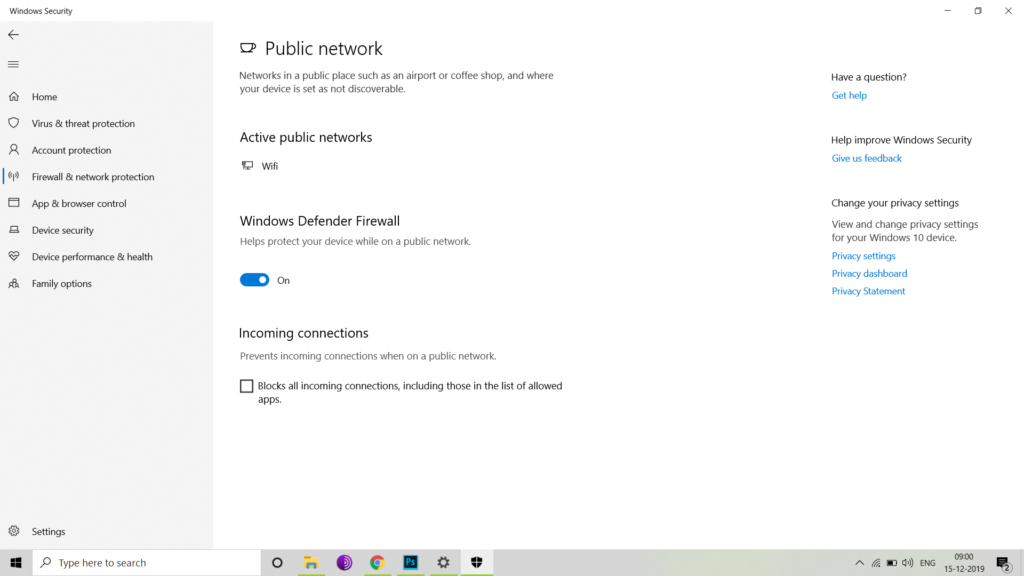
Step 6. Under Windows Defender Firewall, switch the setting to On.
Section 2. Turn Windows Defender Firewall off
Step 1. Select the Start ![]() button > Settings
button > Settings ![]() > Update & Security > Windows Security and then Firewall & network protection.
> Update & Security > Windows Security and then Firewall & network protection.
Step 2. Select Network Profile
Step 3. Under Windows Defender Firewall, switch the setting to Off. Turning off Windows Defender Firewall could make your device (and network, if you have one) more vulnerable to unauthorized access. If there’s an app you need to use that’s being blocked, you can allow it through the firewall, instead of turning the firewall off.
Section 3. Allow an app through the firewall
Step 1. Select the Start ![]() button > Settings
button > Settings ![]() > Update & Security > Windows Security and then Firewall & network protection.
> Update & Security > Windows Security and then Firewall & network protection.
Step 2. Select Allow an app through firewall.
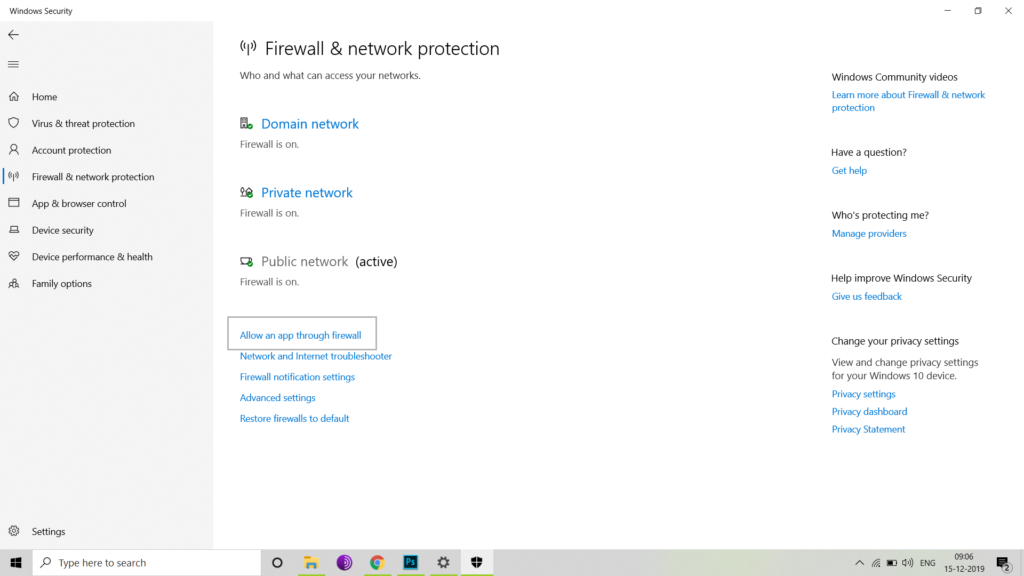
Step 3. Select the app you want to allow through.
Step 4. Select OK
0 Comments