
INSTALLATION AND SET UP OF VERACRYPT IN WINDOWS SYSTEM
WHAT IS VERACRYPT?
It is a source available free software utility which can be used to create encrypted disk within a file or encrypt a partition. It is a cross platform software and thus can be used in Windows, MAC and Linux systems.
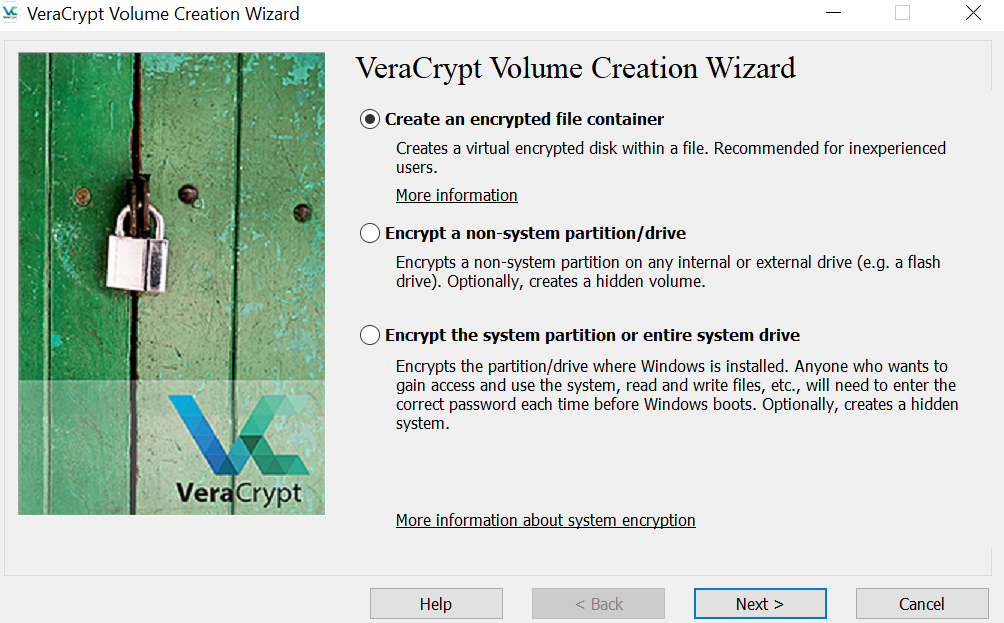
STEPS TO INSTALL AND SET UP VERACRYPT
STEP 1 :
Click on https://www.veracrypt.fr/en/Downloads.html and choose installer for windows to download veracrypt software/application.
STEP 2 :
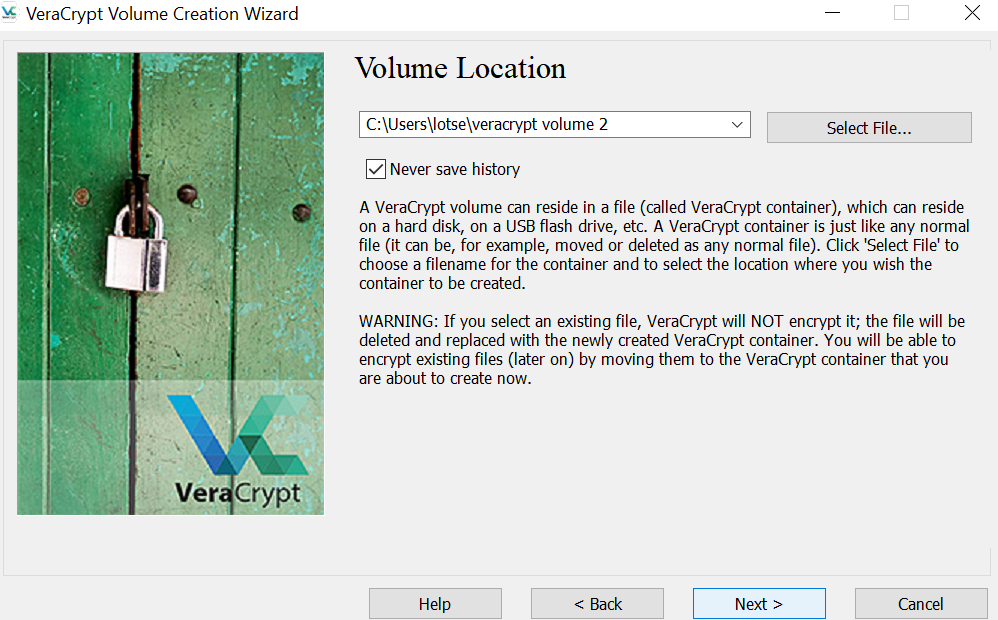
Click on create volume by selecting a volume location as mentioned below :
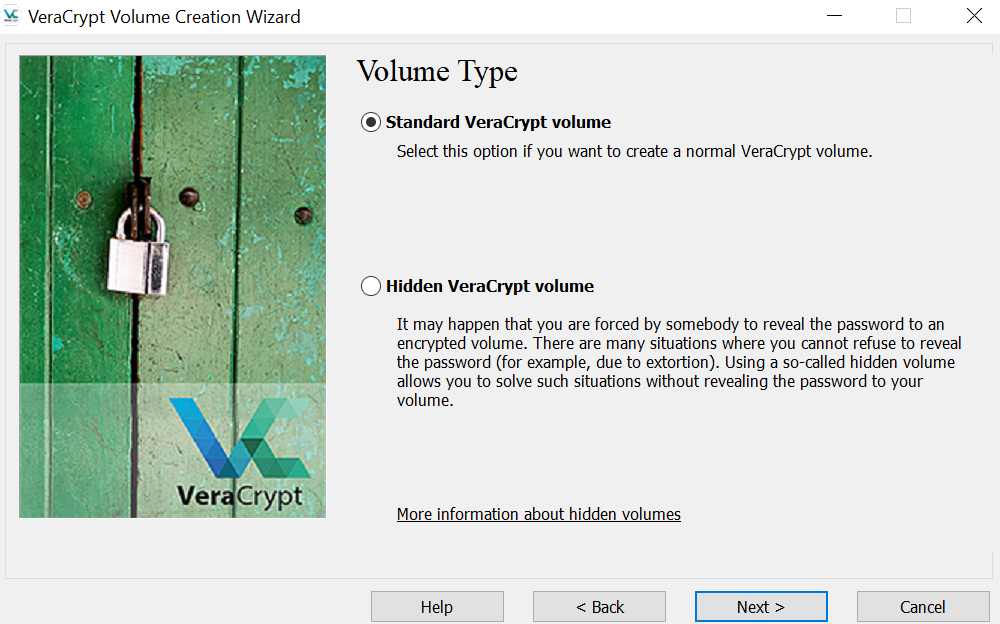
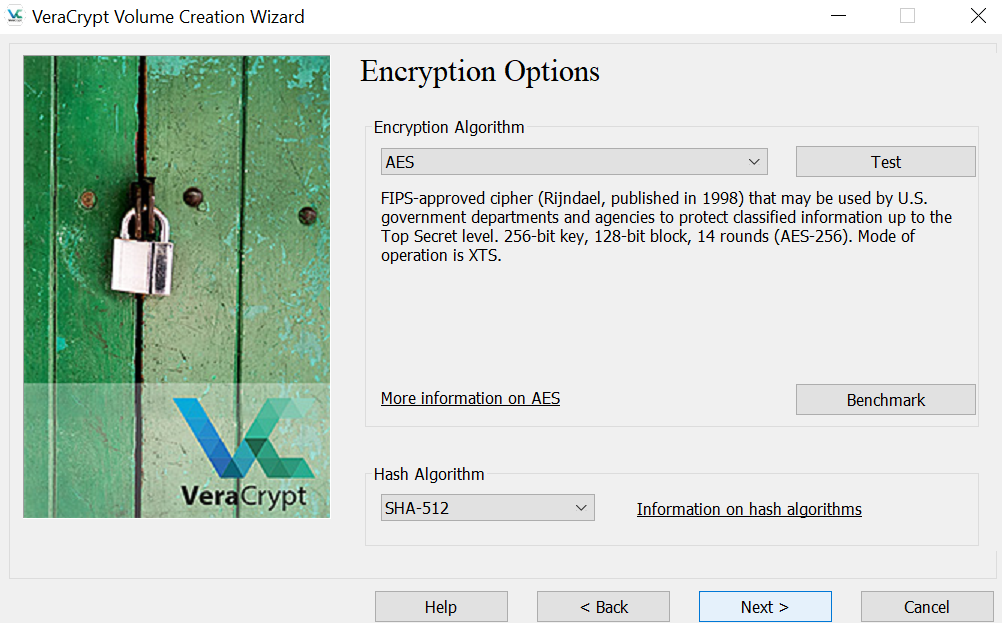
Continue clicking on next option with default options as below :
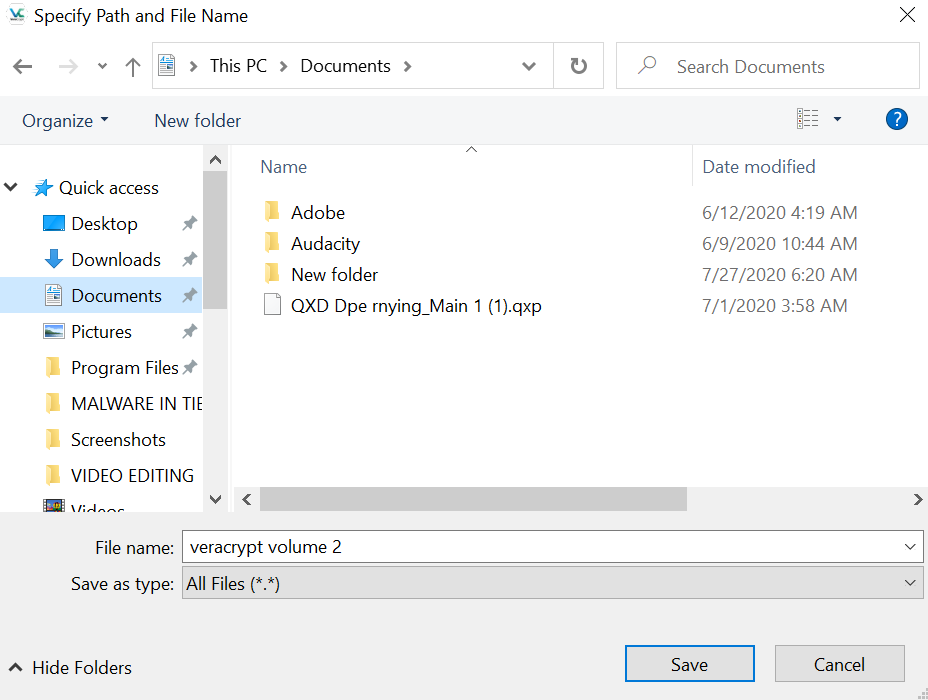
Keep a volume name in a directory of your choice as below :
Keep clicking the next options :
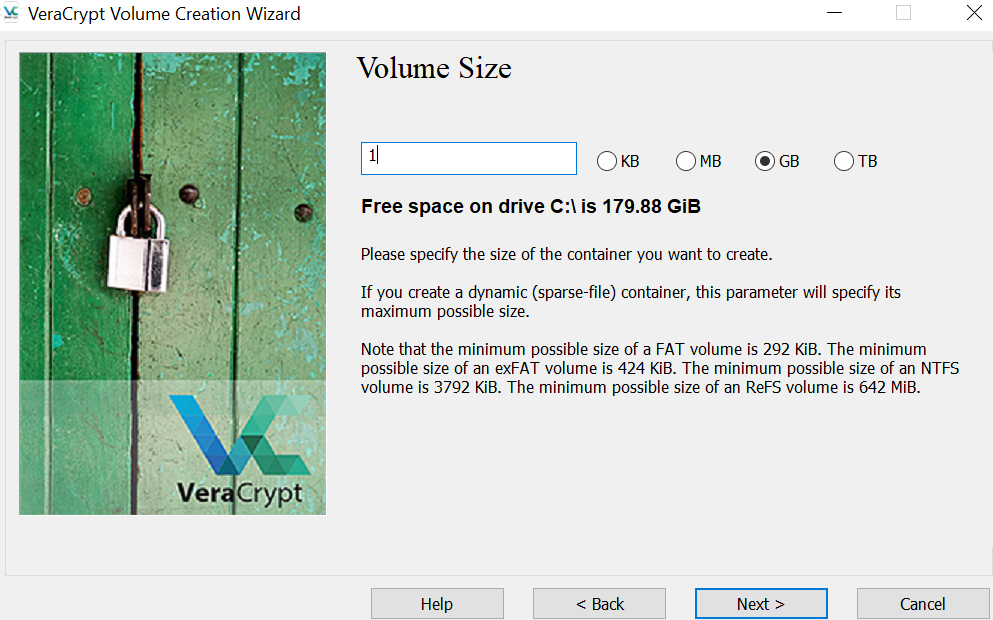
keep the volume size as your choice as below :
Set a password for the new volume you just created as below :
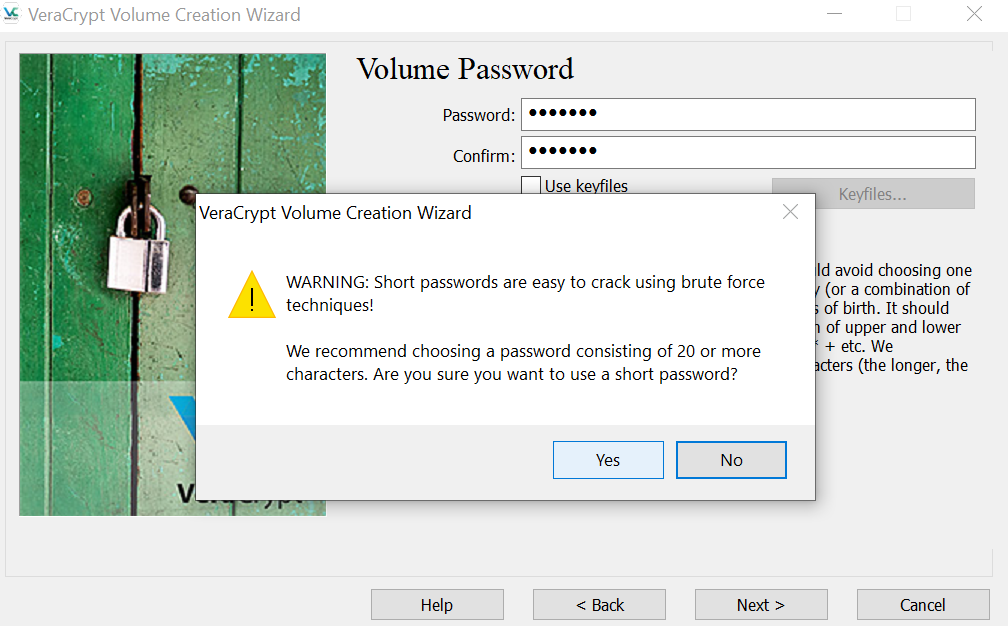
Move your mouse or keep touching around the keypad to register as much as randomness possible.
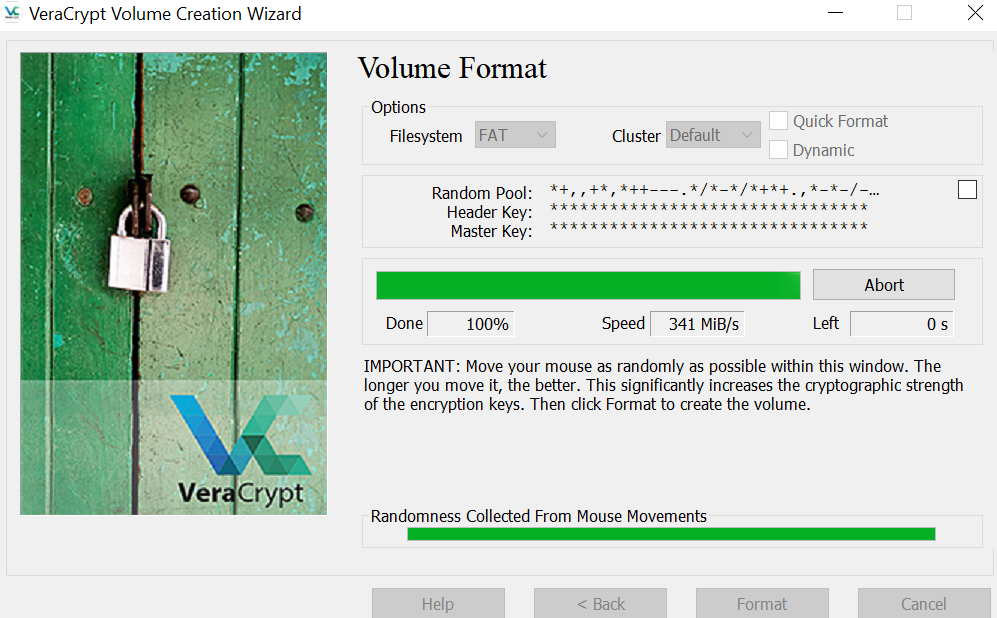
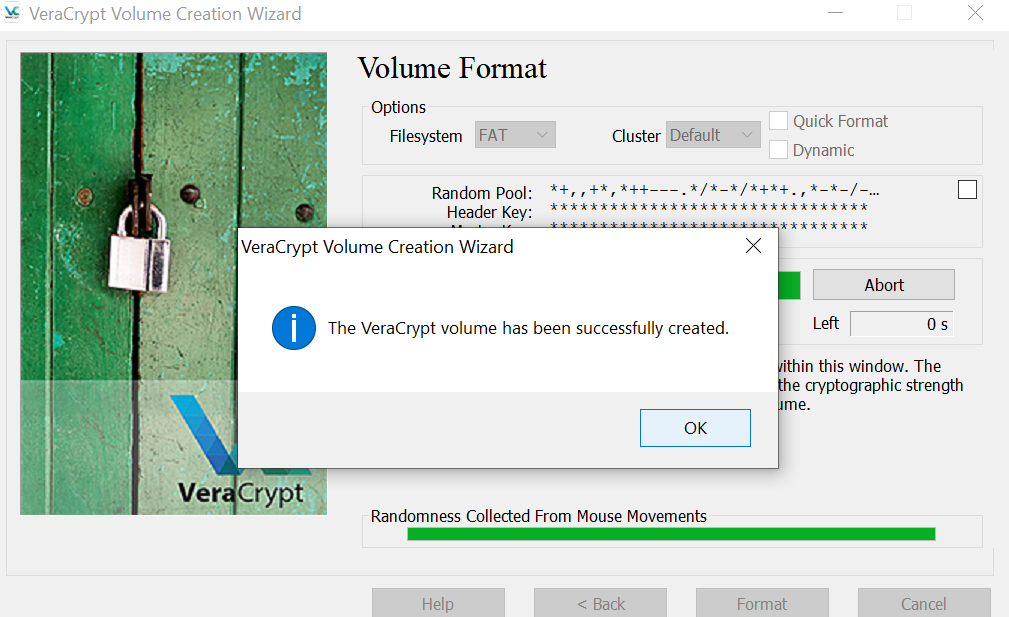
Veracrypt volume is successfully created.
STEP 3:
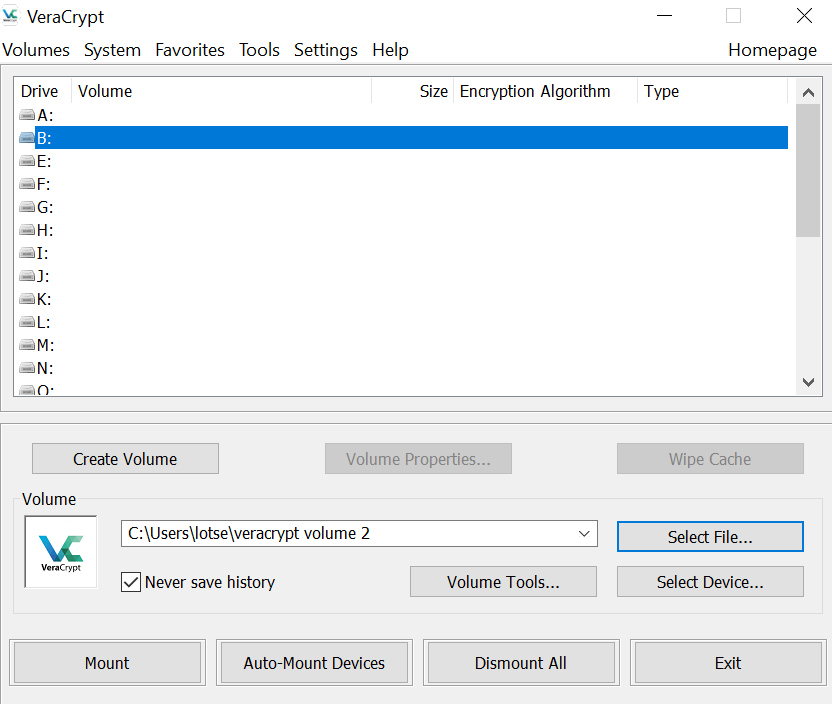
Choose a random drive name from A to Z and click on select file option as below :
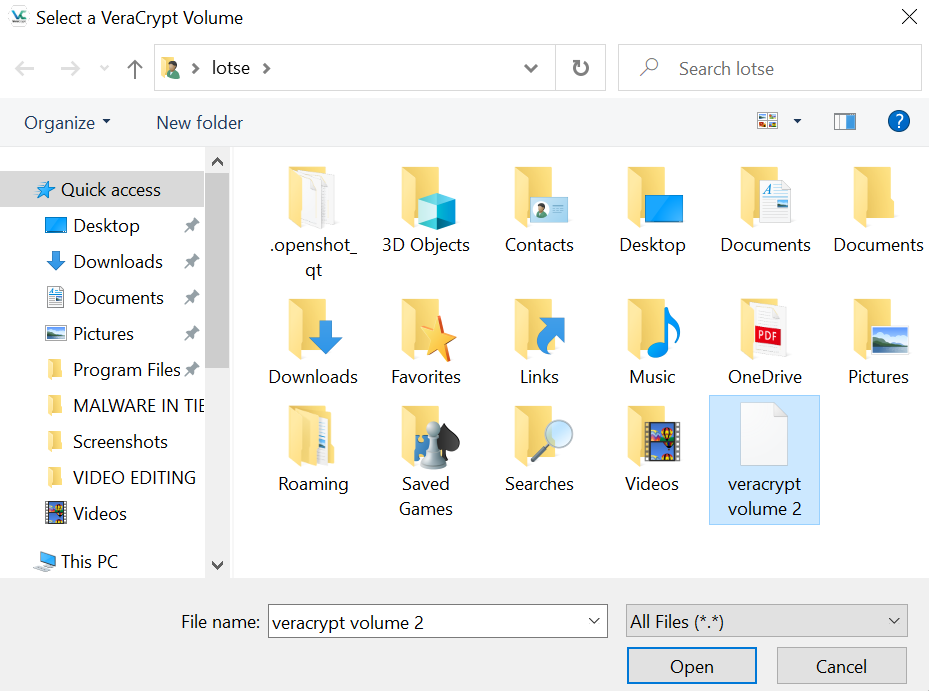
Select the veracrypt volume file you have created from the directory where you have kept it and click open :
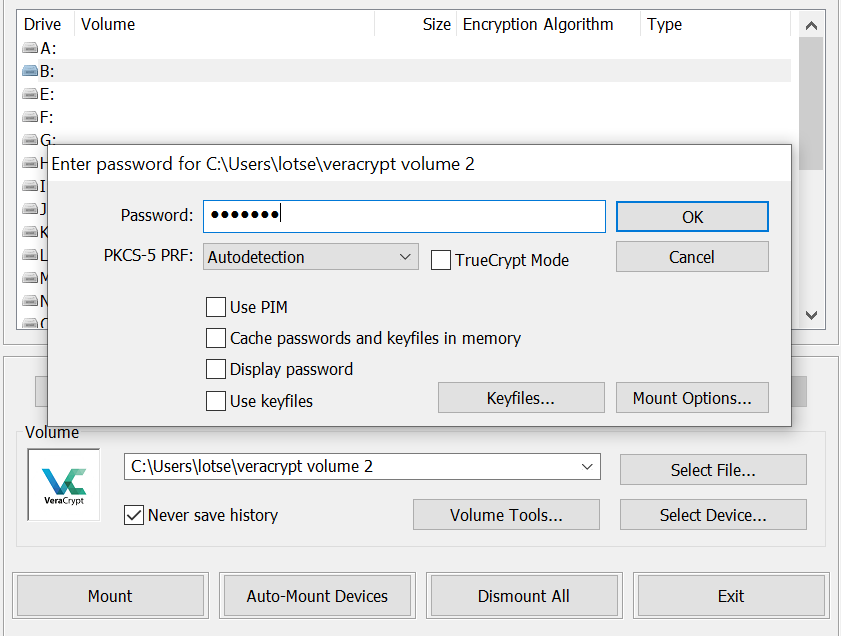
Re enter the volume password you have set before , click OK and click on Mount option :
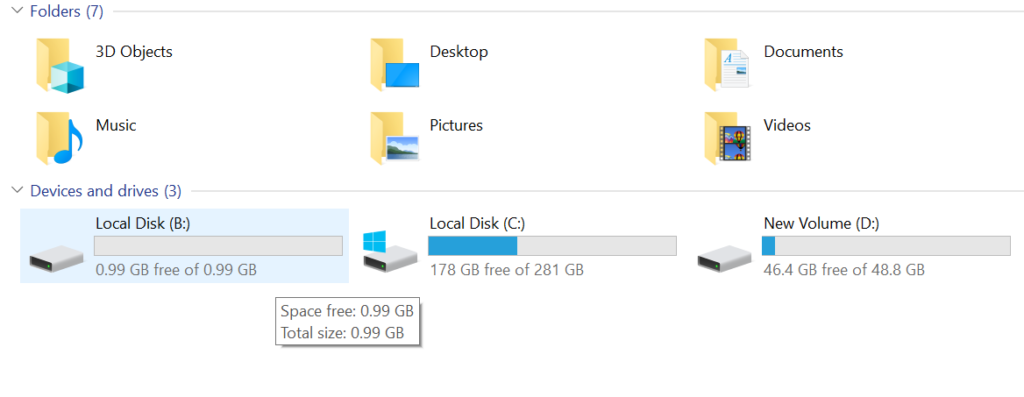
The output comes as a new disk space with the disk name and size as you’ve kept :
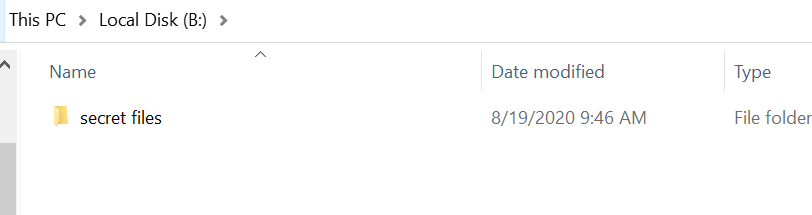
You can keep your confidential files in the veracrypt disk volume as such :
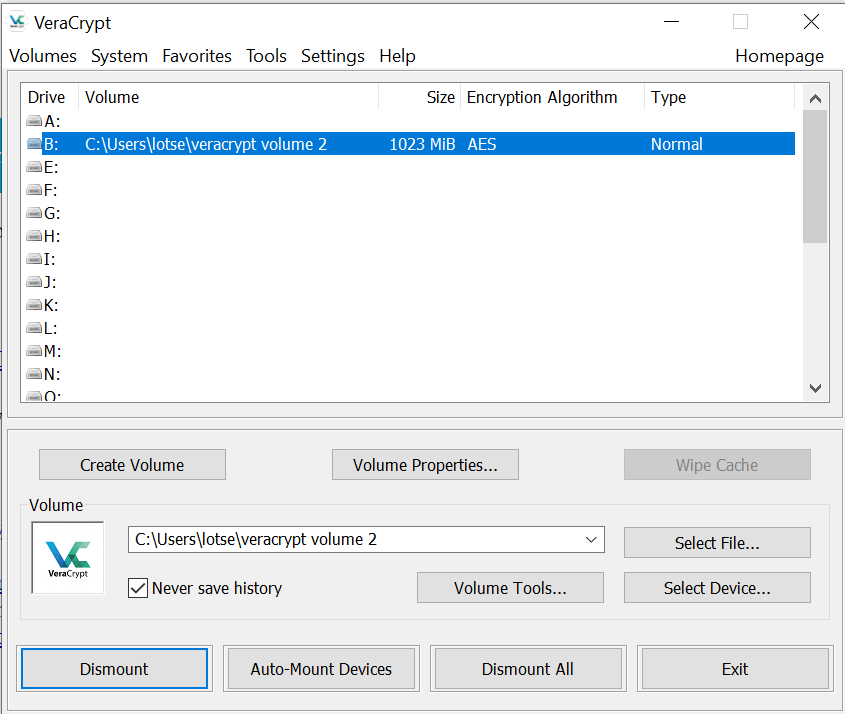
To hide back the new veracrypt disk volume you just created, click on Dismount option.
The output shows as if there is no local disk space B as allocated by Veracrypt and is thus hidden from the screen and protected by a password.
STEP 4 :
Click on Mount option to see the hidden, password protected local disk space created by using Veracrypt and click on Dismount option to keep it hidden again.
HOW TO ENCRYPT A WINDOWS SYSTEM DRIVE USING VERACRYPT
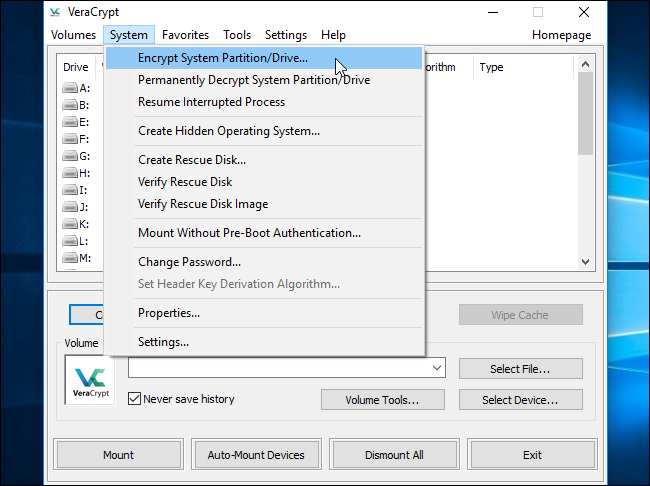
STEP 1:
Select on System and choose Encrypt System Partition/Drive
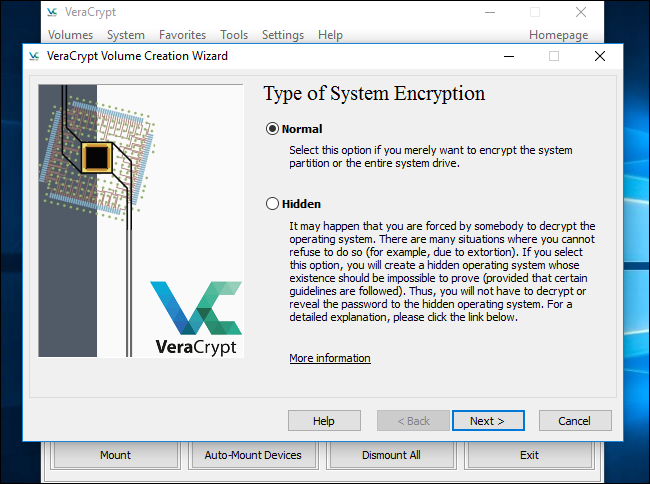
STEP 2:
Select Normal and click Next as below :
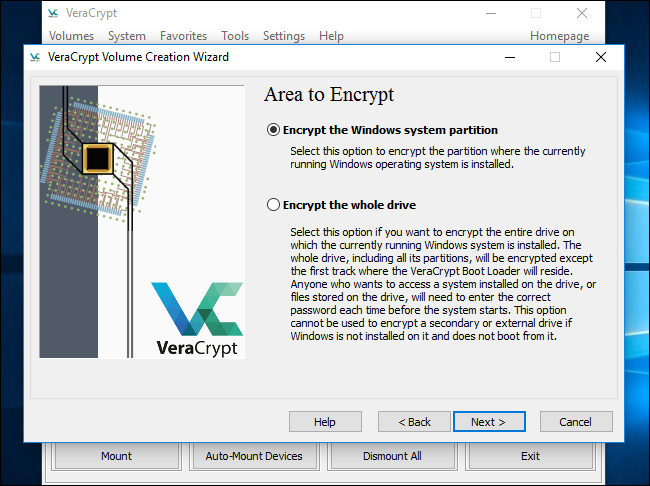
STEP 3:
Select Encrypt the Windows system partition and click Next :
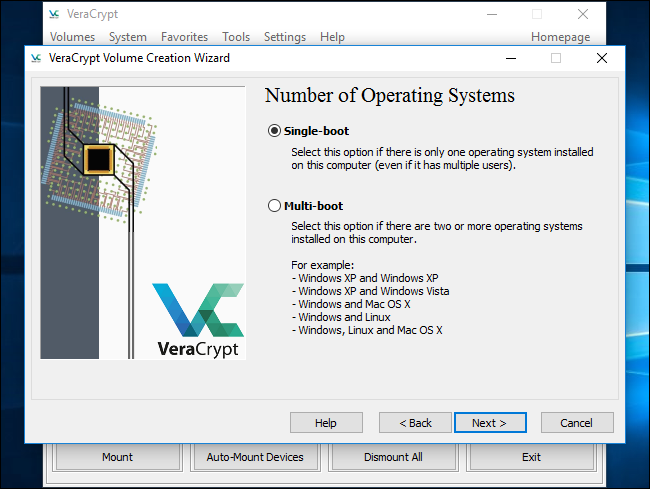
STEP 4 :
Select Single-boot for single operating system users and Multi-boot for users having more than one operating systems installed.
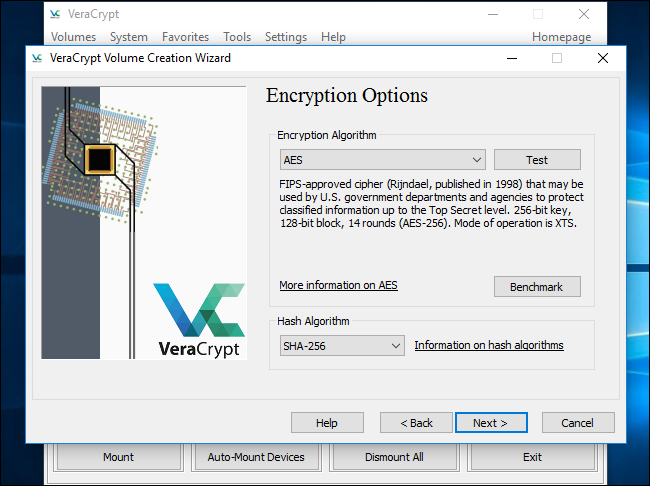
STEP 5:
Keep the default “AES” encryption and the “SHA-256” hash algorithm and click Next :
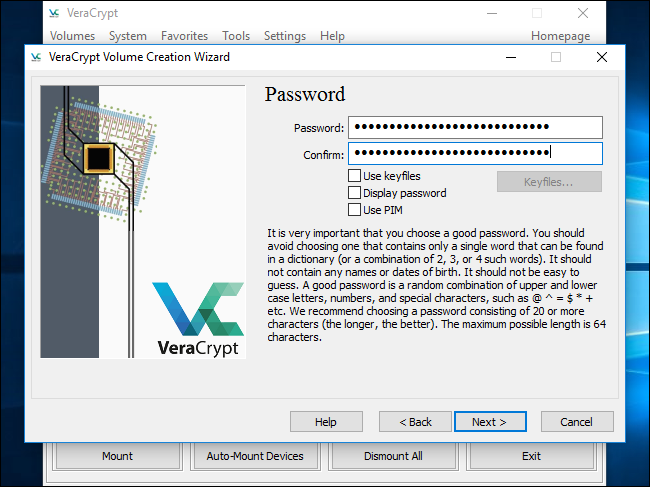
STEP 6:
Set a strong password to enter into veracrypt encryption as below :
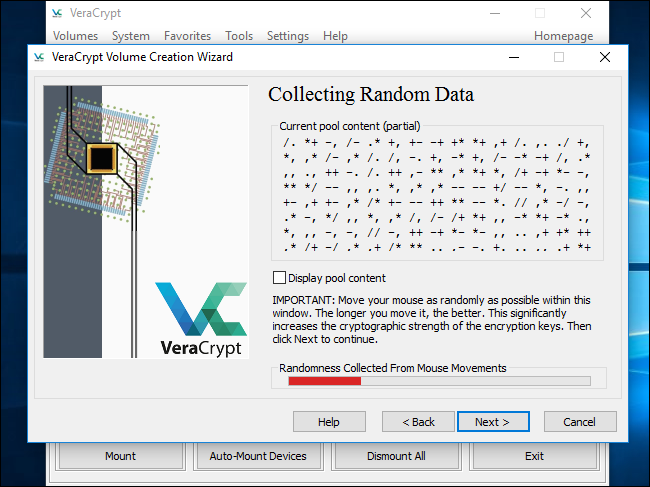
STEP 7 :
Move your mouse or keep touching around the keypad to register as much as randomness possible.
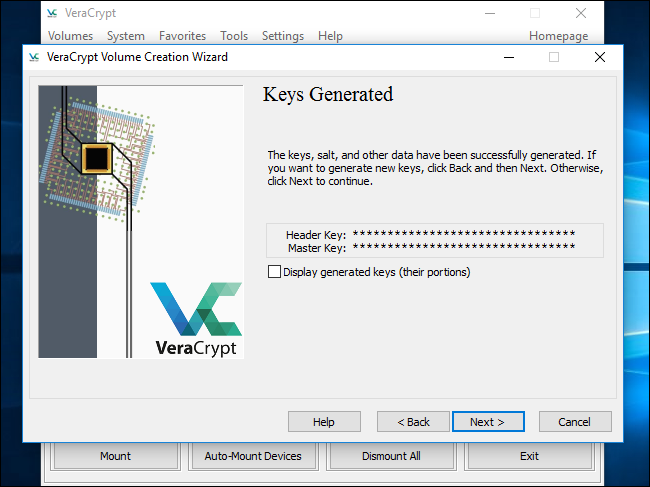
STEP 8 :
The wizard will inform you it’s generated the encryption keys and other data it needs.
Click “Next” to continue.
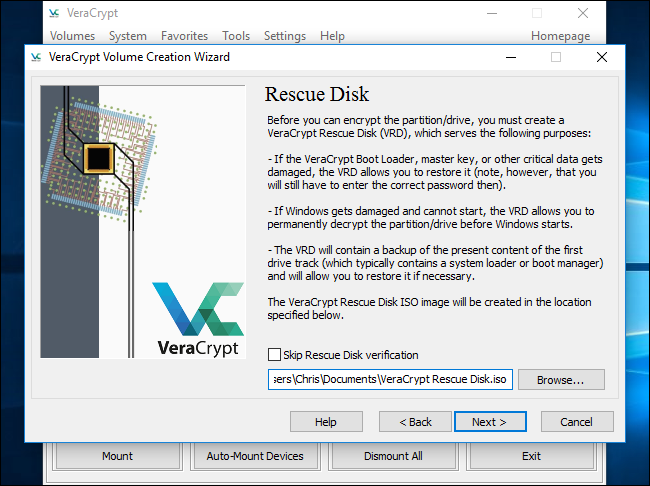
STEP 9 :
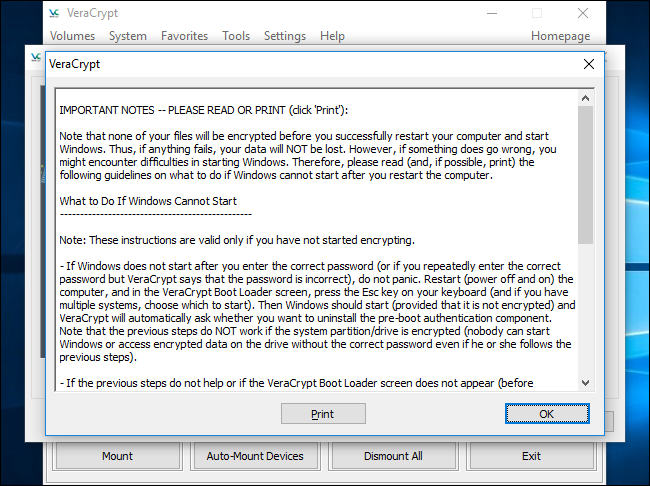
For safety, create a VeraCrypt Rescue Disk for following reasons mentioned as below by clicking Next :
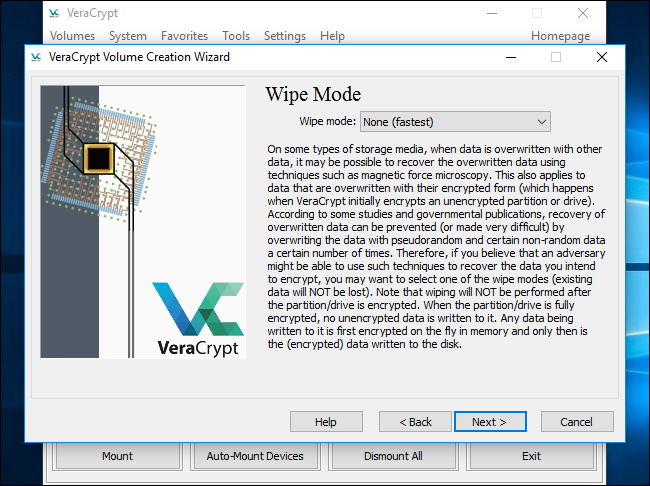
STEP 10 :
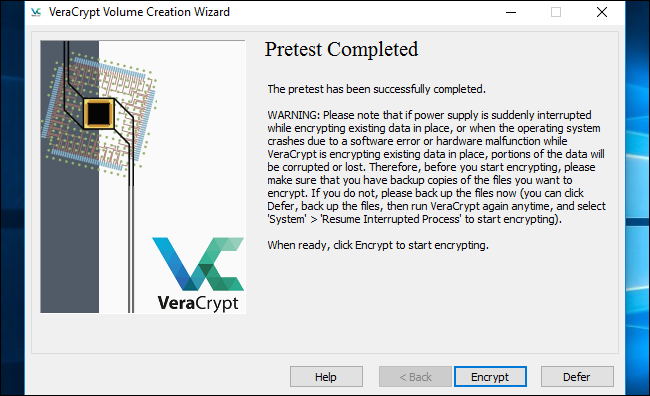
For Wipe Mode, select None (fastest) and click Next as below :
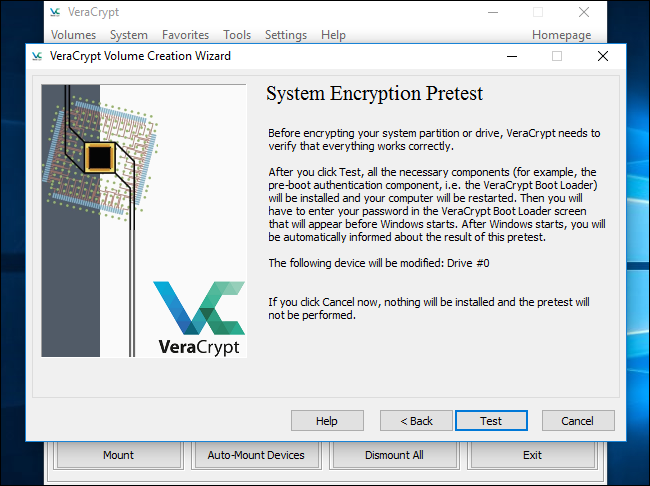
STEP 11 :
Click “Test” and VeraCrypt will install the VeraCrypt bootloader on your PC and restart. You’ll have to enter your encryption password when it boots.
STEP 12 :
Click “OK” and then click “Yes” to restart your PC.
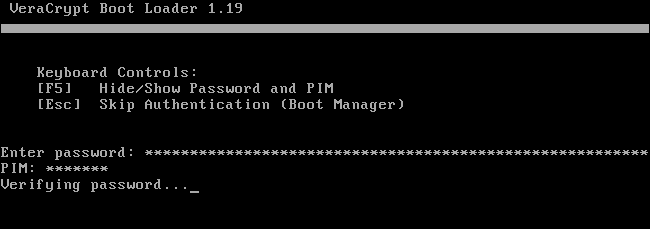
STEP 13 :
You’ll have to enter your VeraCrypt encryption password when your PC boots. If you didn’t enter a custom PIM number, just press “Enter” at the PIM prompt to accept the default.
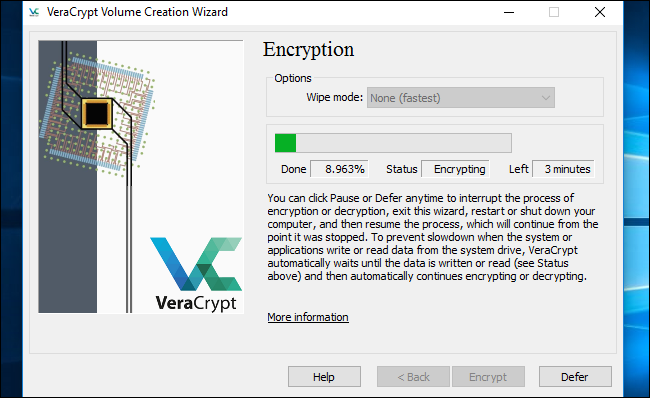
STEP 14 :
Click the “Encrypt” button to actually encrypt your PC’s system drive as below :
STEP 15 :
When the process is complete, your drive will be encrypted and you’ll have to enter your password each time you boot your PC.
If you decide you want to remove the system encryption in the future, launch the VeraCrypt interface and select on System and choose Permanently Decrypt System Partition/Drive.
0 Comments