
How to Check Mac Network Traffic

Whether you’re troubleshooting network issues or just trying to conserve bandwidth, it’s handy to know how to monitor your Mac Data usage and how to check who is connected to your network. That will give you a good idea on what is going on your network. We will also discuss third-party app to track and give you more control over network activities.
How to Monitor Data Usage in Mac
You can Monitor your network Usage and also you can check suspicious application’s network activity by following steps shown below:-
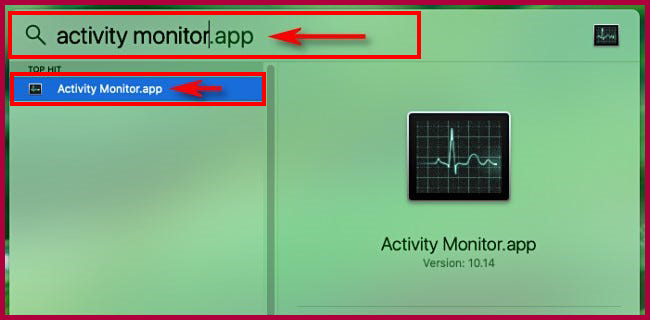
Step 1. First, Press “Command+Space” or click the “magnifying glass” icon in your menu bar, and a search bar will appear. Type “activity monitor,” and press enter.
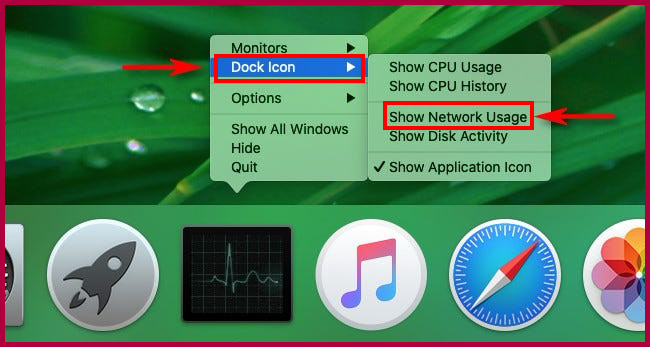
Step 2. Next, right-click the “Activity Monitor Dock icon“. In the menu that appears, click “Dock Icon,” then select “Show Network Usage.”
Step 3. Once “Show Network Usage” is selected, Activity Monitor’s dock icon will transform into an animated display graph showing network activity over time, updating from right to left.

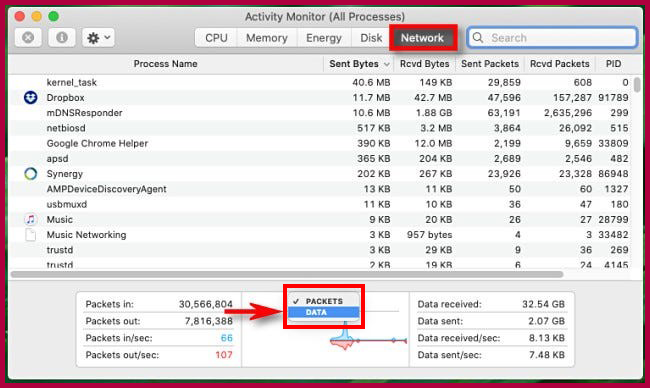
Step 4. You can make the graph show data sent and received in bytes. For that first, click the main “Activity Monitor window” (press Command+1 to make it appear if it isn’t already open), and select the “Network” tab.
Find the tiny graph at the bottom of the window. Click the header that reads “Packets,” and change it to “Data” with the small drop-down menu.
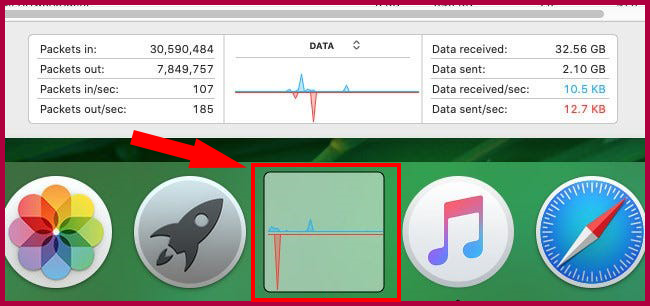
Step 5. Once “Data” is selected, the Dock graph will change. Now “data received per second” is represented in blue, and “data sent per second” is represented in red.
How to Check Who is Connected to Your Network on a Mac
You can Check Who is connected to your Network and if you see any suspicious device connected in the past or connecting now to your router. you should straight away change the Router Password and disconnect those unknown devices. But first we need router’s IP address. And you can get it in 2 ways as shown below.
Find Router IP address on Mac
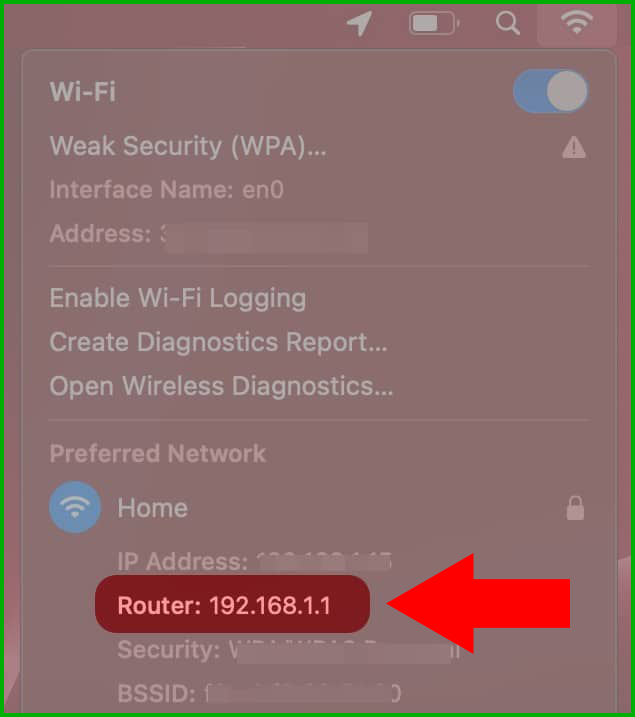
Step 1. Press “Option” and click the “Wi-Fi” icon in the Menu Bar together.
Step 2. In the menu, your Wi-Fi router IP address will be listed under the “Router”.
Find Router IP address on Mac using System Preferences
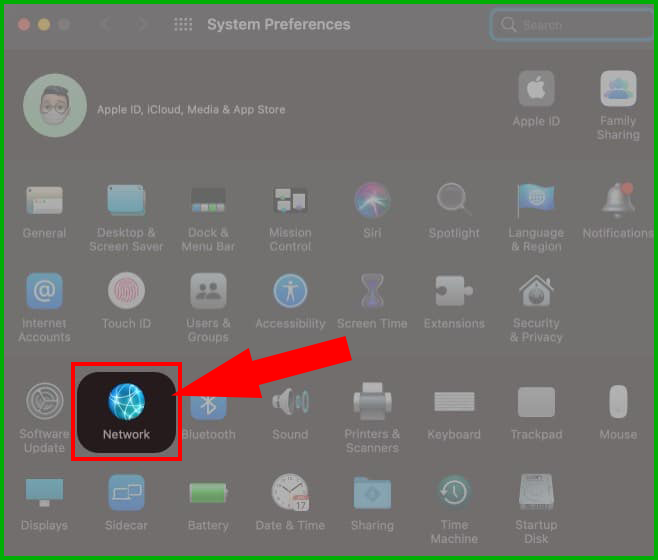
Step 1. Click the Apple icon at the screen’s top-left and select “System Preferences”.
Step 2. Go to “Network”.
Step 3. Now, select “Wi-Fi” in the left menu section. (If it is connected to Ethernet, you will find the IP address along with the Wi-Fi information).
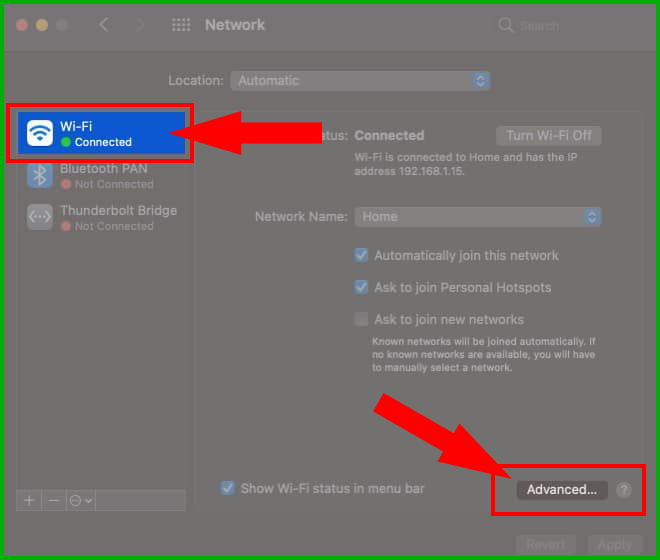
Step 4. Click “Advanced” at the bottom right as shown above.
Step 5. Select the “TCP/IP” tab, and your router IP address will be listed beside “Router”. Make a note of the “Router IP Address” and click “OK”.

Check DHCP Clients List on the network Router Page
Once you have got the router’s IP address, log into the router admin page. Then check the DHCP client list and disconnect unknown devices as shown below.
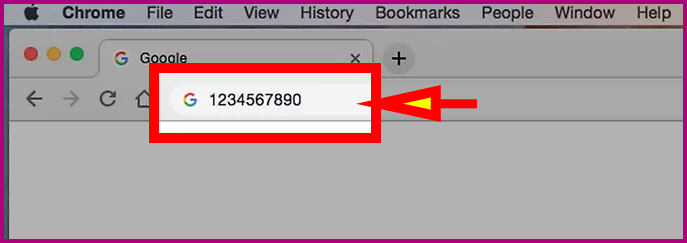
Step 1. Open a web browser of your choice and enter “Router IP Address” in the address bar.
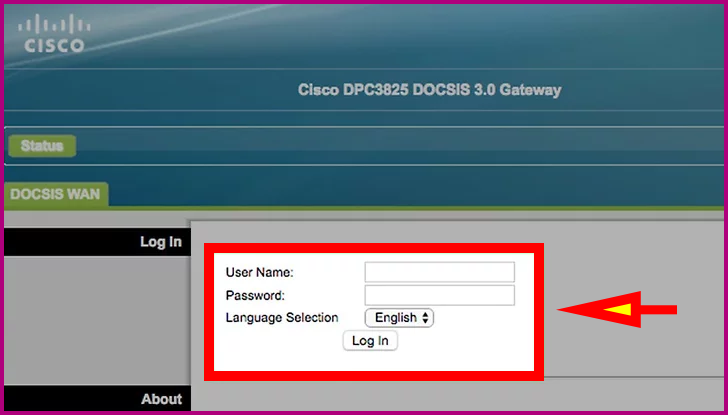
Step 2. Enter your router’s “Username & Password” if asked, then press “Enter“.
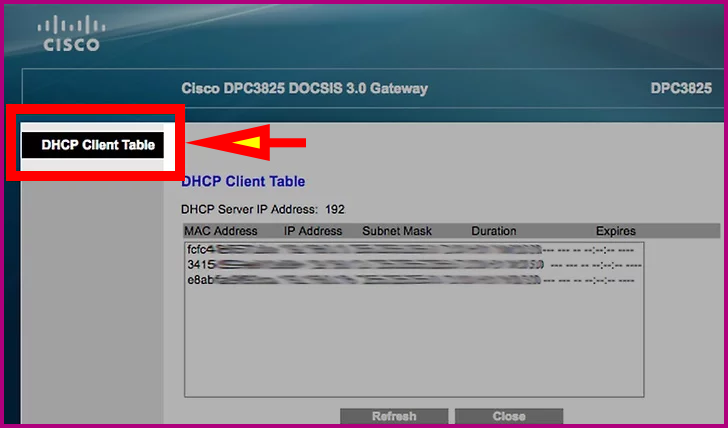
Step 3. Find the “Connected Devices” list to your Router. This list location will vary depending on your router, so look through your router’s Settings. Some routers may list this section under “DHCP” and inside it, you will find the list under “DHCP Client List“.
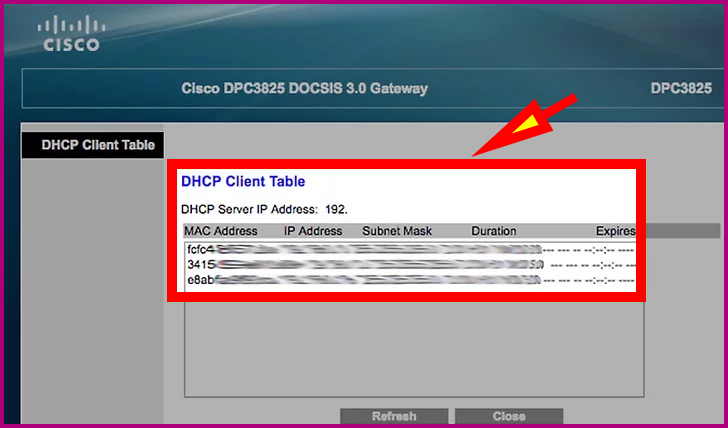
Step 4. Review the list of connected Devices. The Devices in this list are currently connected to your router and thus are using your network. Disconnected any unknown Devices and Changed Password, if you see any unknown devices listed there.
Third-Party Tool to Monitor Network Activity “LuLu”
In today’s connected world, it is rare to find an application or piece of malware that doesn’t communicate with a remote server. LuLu is free, open-source firewall that blocks unknown outgoing connections, protecting your privacy and your Mac!
To approve the outgoing connection, simply click “Allow” …or click “Block” to prevent it. Unless you click the “temporarily” button, a persistent rule will be created to remember your decision.
Once LuLu is installed, it alerts you anytime a new or unauthorized outgoing network connection is created. Other elements of alert, that onces clicked provide more information, like:
Virustotal Information:- Contains an anti-virus detection ratio for processes that are attempting to create the outgoing connection.
Process Hierarchy:- Display the hierarchy (ancestry) for the process that is attempting to create the outgoing connection.
You can download and install LuLu app from the Objective-See site.
Disclaimer:-
Steps shown here may not match exactly with yours as Devices vary in version, hardware & software. But it should give you a good idea on how to do it.

0 Comments