
How to Speed Up Your Slow PC
Part 1. Disabling Startup Programs
Step 1. Hold down Ctrl+Alt+Del. This will bring up your PC’s task menu. If you have a myriad of programs starting up when you login your computer, you’ll likely have to deal with several minutes of general slow-down. Disabling startup programs will fix this issue.
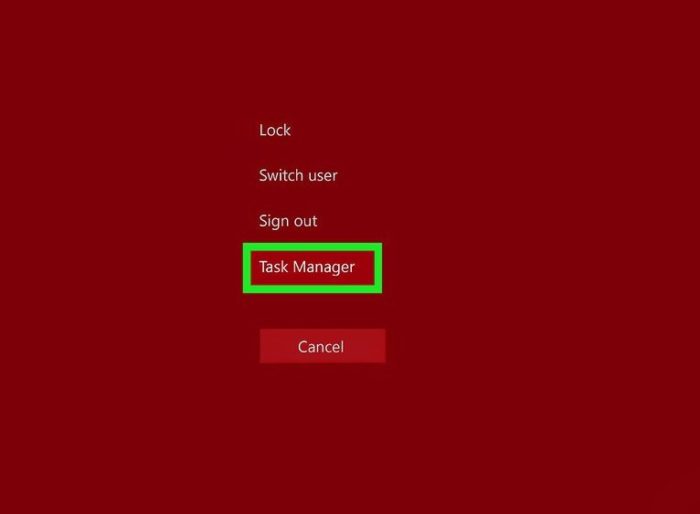
Step 2. Click the “Task Manager” option. This will open your computer’s Task Manager, from which you can alter or end PC processes.[1] After that, click on “More details”.
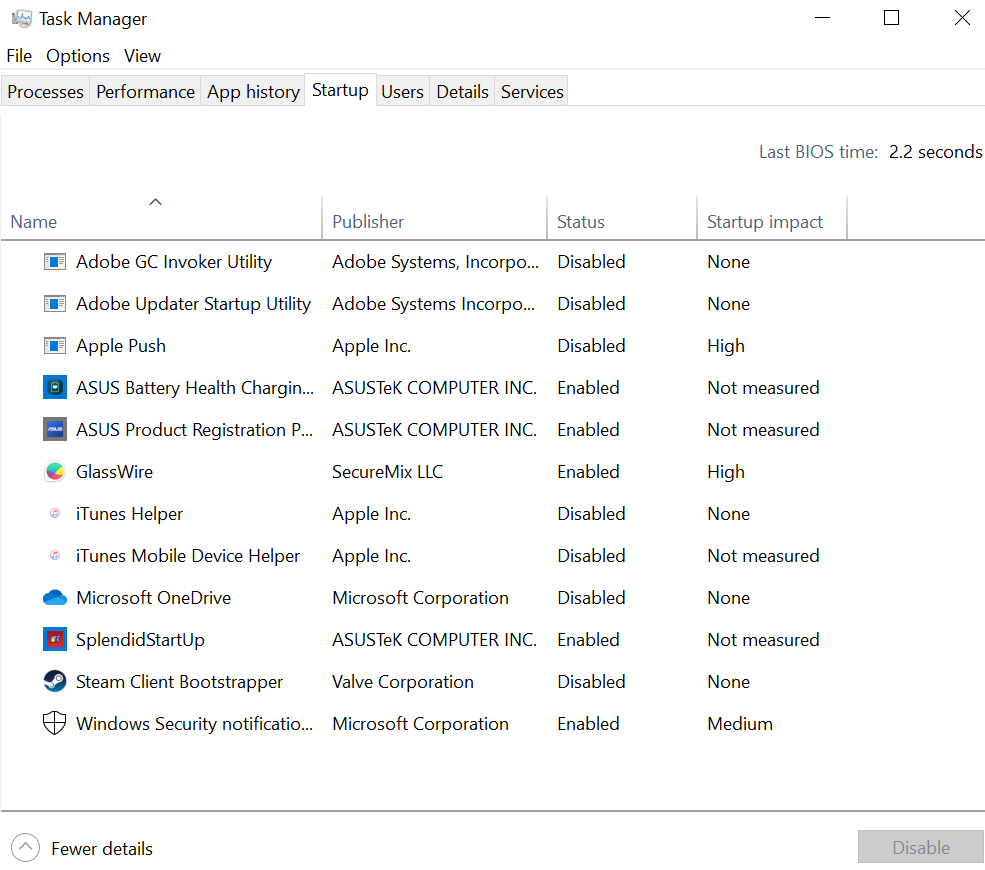
Step 3. Click the “Startup” tab. This is near the top of your Task Manager window; doing so will bring up a list of the programs that boot up when you start your PC.
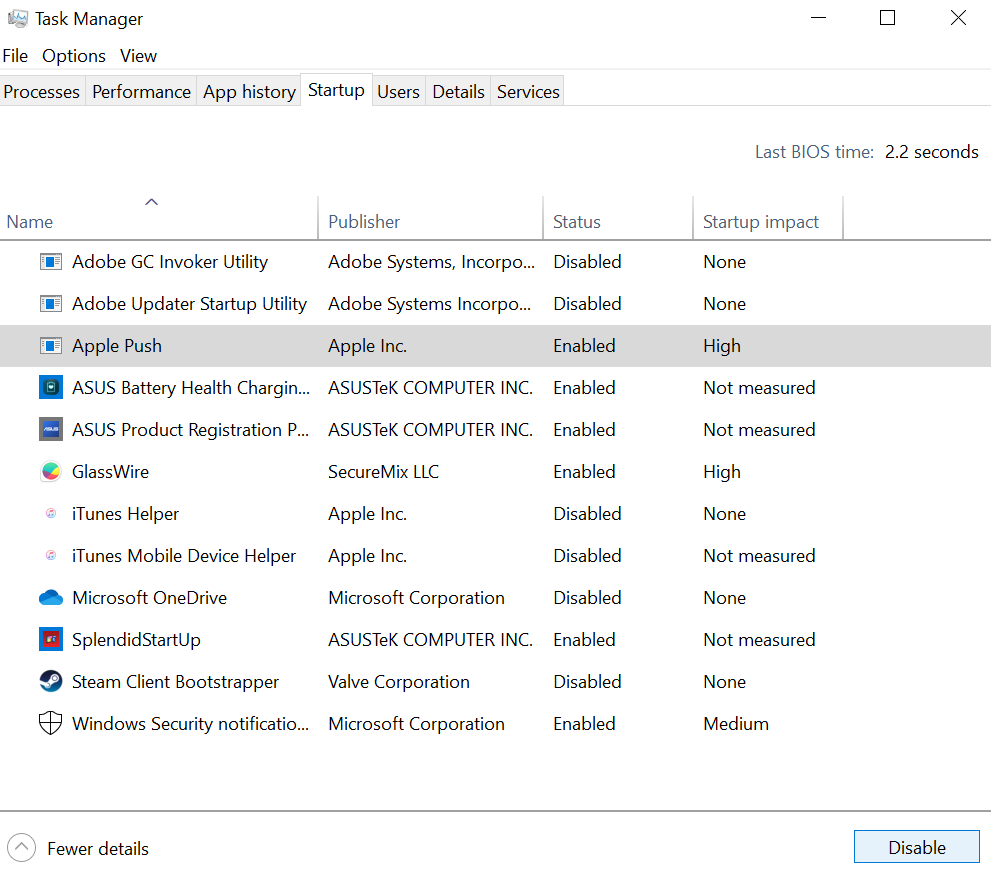
Step 4. Click on a process you wish to disable. Note that “disabling” a process will not disable it from running at all; rather, it will prevent the program from starting up automatically.
Step 5. Click the “Disable” button. This is in the bottom right corner of your Task Manager window.
- You can also right-click a process and then click “Disable” in the context menu.
Step 6. Repeat this disabling process for all relevant programs. Some common high memory-usage culprits include Skype and Steam
- If you’re unsure of which programs to disable, look at the “Startup impact” column on the right side of the Task Manager window; generally speaking, you should disable any “High”- or “Medium”-rated programs.
- It is recommended that you leave your antivirus enabled; otherwise your antivirus might not run at startup and thus you would be unprotected from viruses.

Step 7. Open the “Hidden Icons” menu. This is the upward-facing arrow on the right side of your taskbar and to the left of your clock. Click or tap it to open your menu.
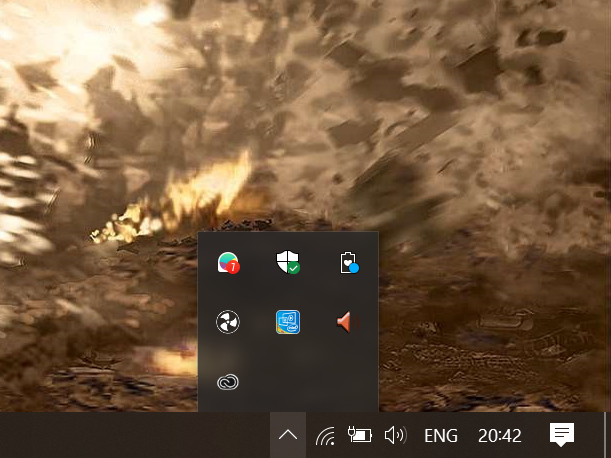
Step 8. Review your Hidden Icons menu. Often, you’ll find background processes running here (e.g., clouds, Dropbox or Google Drive). Killing these processes will free up random access memory (RAM) which will in turn increase your computer’s processing speed. You can end these processes from within this menu.

Step 9. Right-click a process you wish to end. For example, if you aren’t using your computer’s cloud storage app, you should consider ending this process.
Step 10. Click “Exit” at the bottom of the context menu. This will usually prompt you to confirm your decision by clicking “Exit (App Name)”. You’ll need to repeat this process for every single process you want to end.
Part 2. Cleaning Up Your Hard Drive

Step 1. Click on search Icon. This is in the lower left corner of your screen.

Step 2. Type “disk cleanup” into the search menu. You should see an app appear at the top of the Start screen.
Step 3. Click the “Disk Cleanup” app. Disk Cleanup is a standard utility on an Windows computer; it rids your computer of temporary files, processes, and other small bits of information that can slow down your PC’s processing speed.[3]
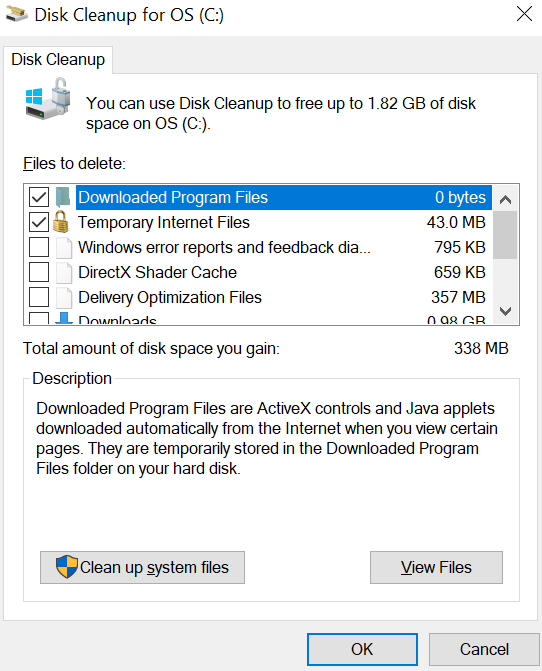
Step 4. Check every box under the “Files to Delete” heading. This will clear the following items from your computer’s cache:
- Downloaded program files
- Temporary internet files
- Recycle Bin contents
- Temporary files
- Thumbnails
- You may also see other options here depending on which default apps shipped with your device. It’s perfectly safe to check any box in this menu, so check these too.
Step 5. Click “OK”, then confirm by clicking “Delete Files”. This will get rid of your computer’s temporary files. If you don’t perform this cleanup often, you can find several gigabytes’ worth of temporary files and such here.
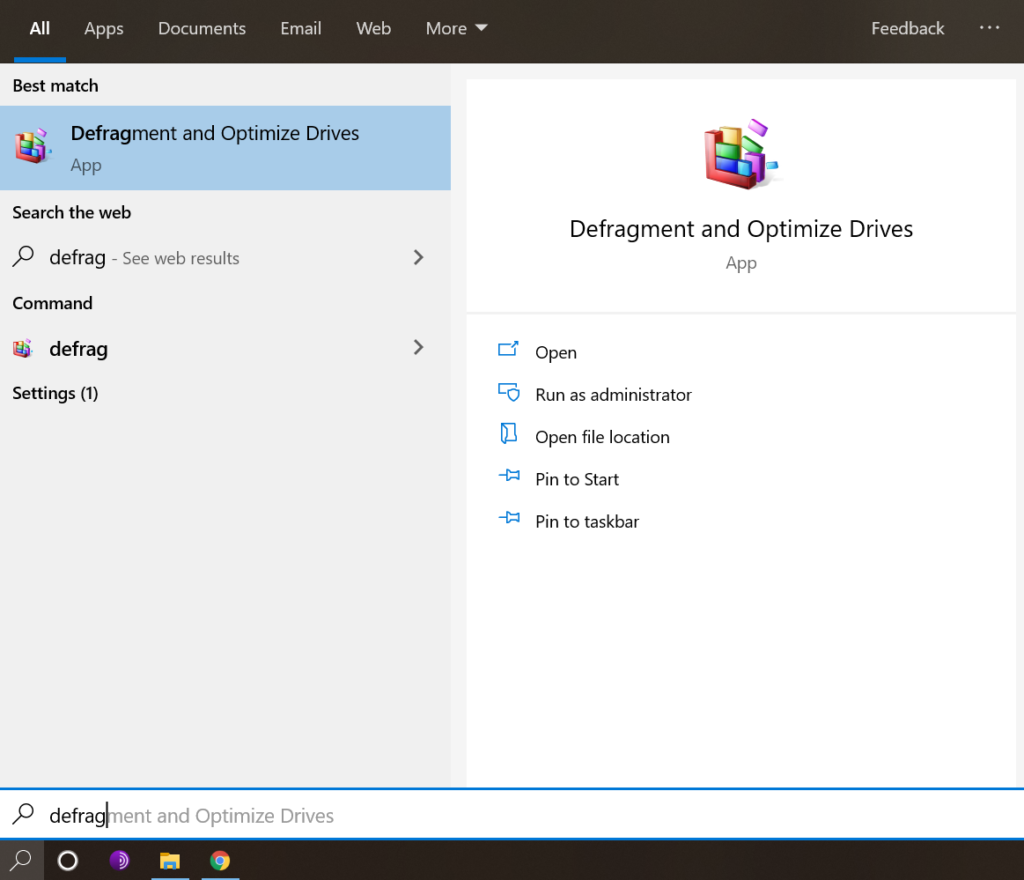
Step 6. Click on search Icon again, then type “defrag” into the search bar. This will locate the disk defragmentation app on your computer.
Step 7. Click the “Defragment and Optimize Drives” option. This should be at the top of your Start menu. When your hard drive has been around for a while, its subfolders and their respective contents get scattered around your hard drive (in other words, your drives “fragment”). Running the Disk Defragment tool will consolidate your files and these fragments, which will increase the speed at which your hard drive can access information.
- Do not run the Disk Defragment program if your computer has a solid-state drive installed. SSDs are made to resist fragmentation, so running a defrag on them can seriously damage your files.
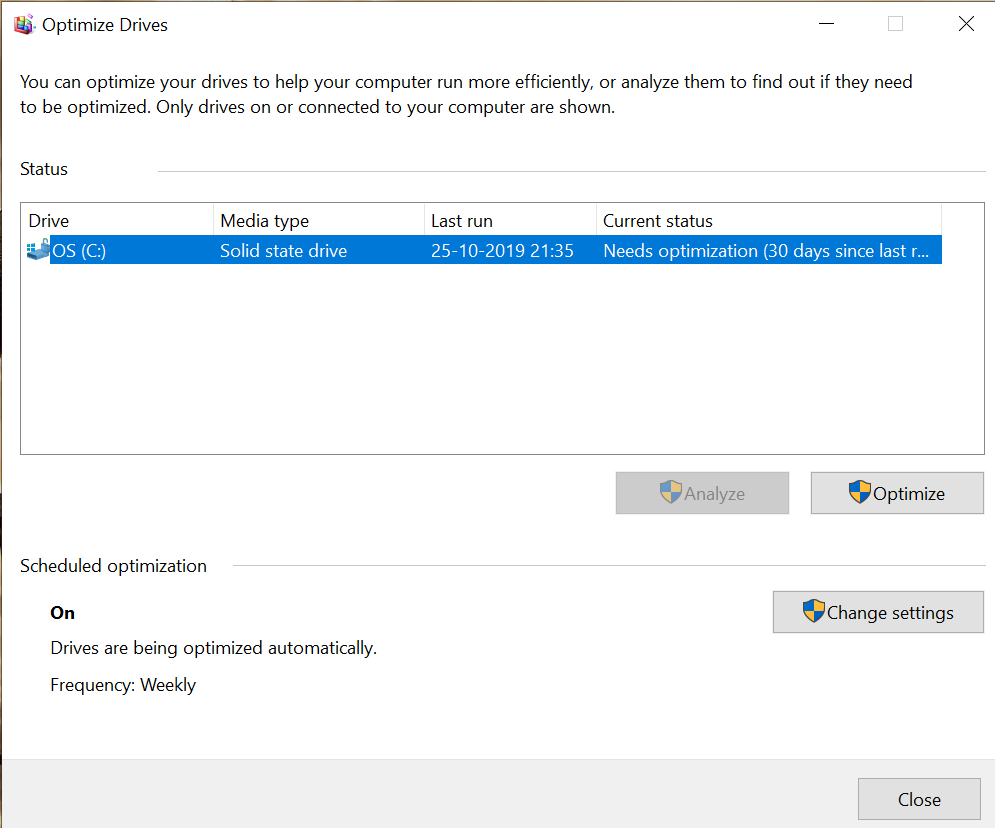
Step 8. Select your main drive in the Defrag window. It should be labeled something like “OS:C”.
Step 9. Click “Optimize”. This will begin to defragment your drive. Depending on how long it has been since your last defrag, this can take anywhere from a few minutes to a few hours.
Part 3. Uninstalling Unnecessary Programs
Step 1. Open your Start menu. You can view all of your PC’s programs and apps from inside of the Start menu; simply scroll down to view all of them.
- You will also see folders here; they often contain more apps, so click them to view their contents.
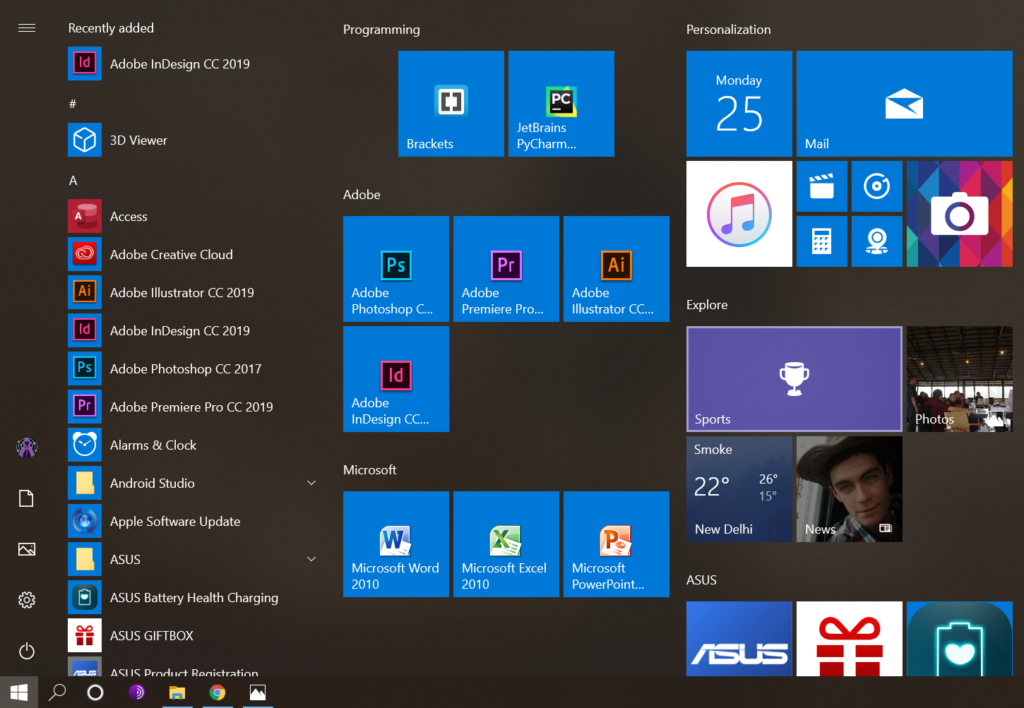
Step 2. Decide on which apps you want to uninstall. Generally speaking, apps like “News” or a radio app that ship with your OS are completely unnecessary (and easily replaced with better programs or online plugins).
- If an app is crucial to your computer’s functionality, you won’t be able to delete it; that being said, most mandatory apps take up minimal processing power.
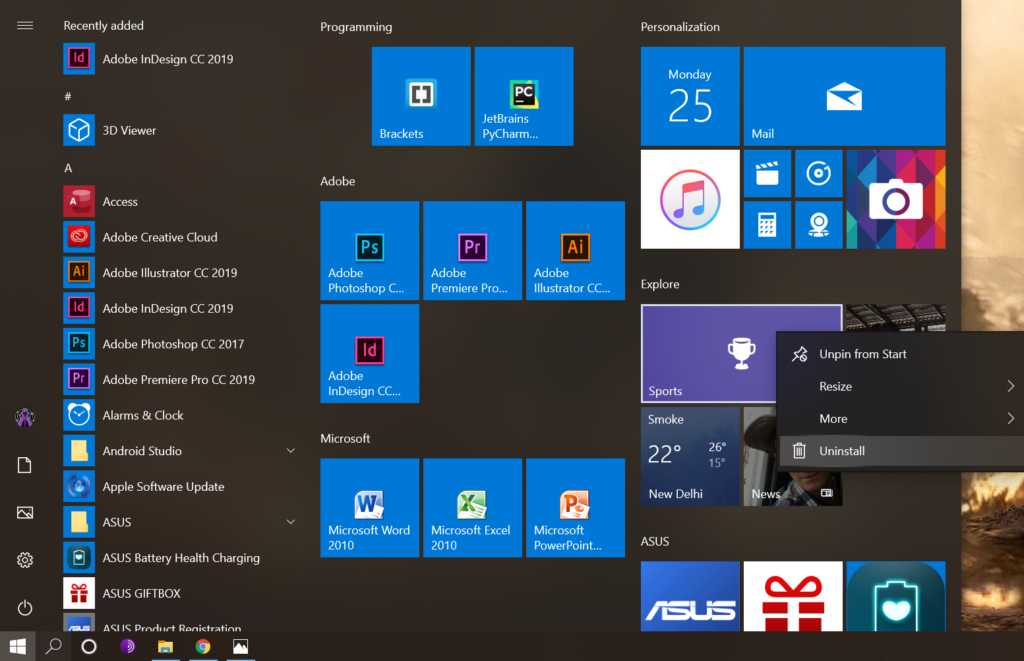
Step 3. Right-click an app you want to uninstall. This will prompt a context menu.
Step 4. Click “Uninstall”, then confirm your choice. This will immediately uninstall your app or program, negating the need to visit the “Programs and Features” folder.
- You may have to click “More” at the bottom of the context menu to access the “Uninstall” option.
Step 5. Uninstall any apps you don’t use. Most Windows computers ship with a large quantity of stock apps, plugins, programs, and free trials; these should all be candidates for deletion.
Step 6. Consider installing replacement programs. For every stock installed app, there is at least one viable alternative:
- Replace Microsoft Edge with Chrome or Firefox. Both of these browsers are faster, easier-to-use alternatives to Edge. [citation needed]
- Replace “Groove” with iTunes. Again, you can’t delete Groove, but it takes much more processing power to run Groove than it does to run iTunes.[citation needed]
- Replace your default video player with VLC. VLC can play almost any video format and has a simpler, cleaner interface than default Microsoft video players, which translates to quicker processing speed.[citation needed]
Step 7. Restart your computer. After implementing all of these changes, your computer should be running much faster now!
0 Comments