
Password Manager – Bitwarden
Bitwarden is an open-source secure password manager that keeps all your account credentials in an encrypted vault, protected by a master password. It also offers easy-to-use apps for desktop and mobile.
The service uses an encrypted vault (that uses AES-256 encryption) to store all your passwords, protected by a single long master password. Bitwarden also uses zero-knowledge architecture. It means that your email and master password are generated into a string of random numbers and letters (hashed) on your device before being sent anywhere.
Bitwarden’s servers only receive already hashed versions of your email and password, which are hashed again when the data is transmitted and only then stored on their safe databases. The process is repeated every time you’re logging in.
The hash functions are one-way only, meaning no one at Bitwarden could reverse-engineer them into your actual master password. These data pieces would also be virtually useless to hackers should anyone breach Microsoft Azure servers.
Your other passwords stored in the vault are encrypted on the device with the military-grade AES-256 cipher. The encryption key is derived from your master password, which is held on Bitwarden’s servers in a (heavily) hashed form. Encrypted data in the vault includes login, card, identity information, and more. Even folder names are encrypted.
Because the data is end-to-end encrypted, it is incomprehensible even to Bitwarden employees. In the unlikely event of a data breach, the information would also be useless to hackers because it would be impossible to reverse-engineer stored passwords from the cryptographic hashes.
As we’ve established, even if Bitwarden handed over the data stored on their servers, no one could decrypt it. There’s no meaningful data they hold on you.
Disclaimer: Of course, it’s always possible to initiate a social engineering attack or install a keylogger to your PC through malware – no system is completely safe from human error. However, should a hacker attempt to find out your master password, if you have 2FA enabled, he would also need your 2FA code.
Pro
- Very secure password manager
- Superb free version
- Highly customizable
- Can be self-hosted
- User-friendly
- Cheap premium subscription
Cons
- User interface isn’t an eye candy
How to use Bitwarden on iOS Phones
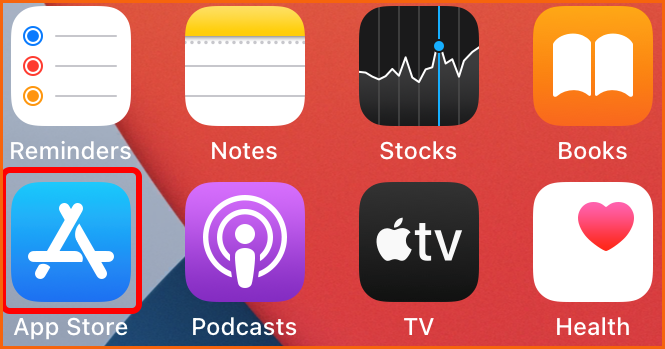
Step 1. Open the App store on your iOS phone.
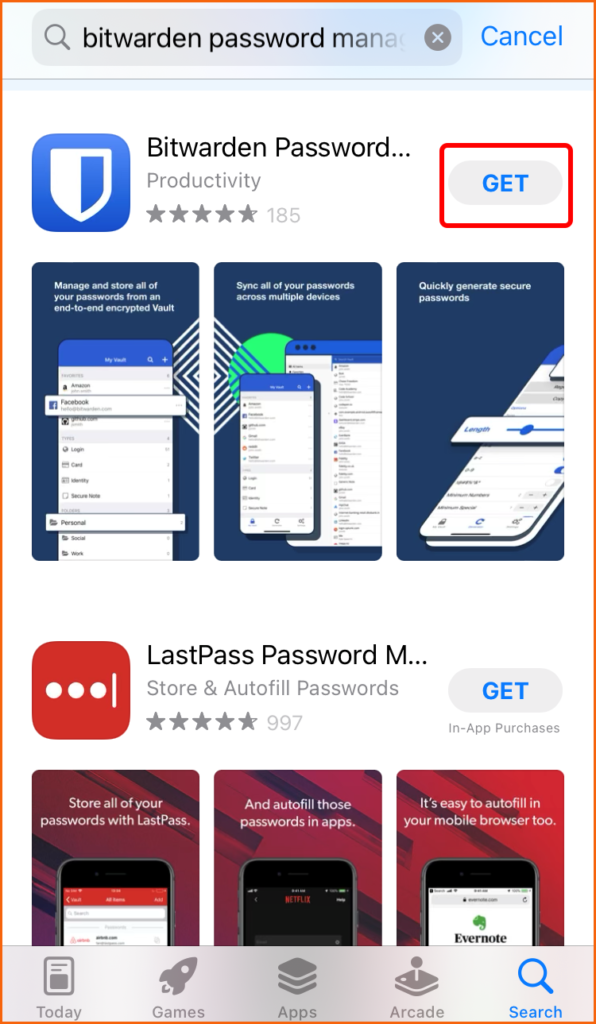
Step 2. Write Bitwarden in the search bar and Click “Get”.
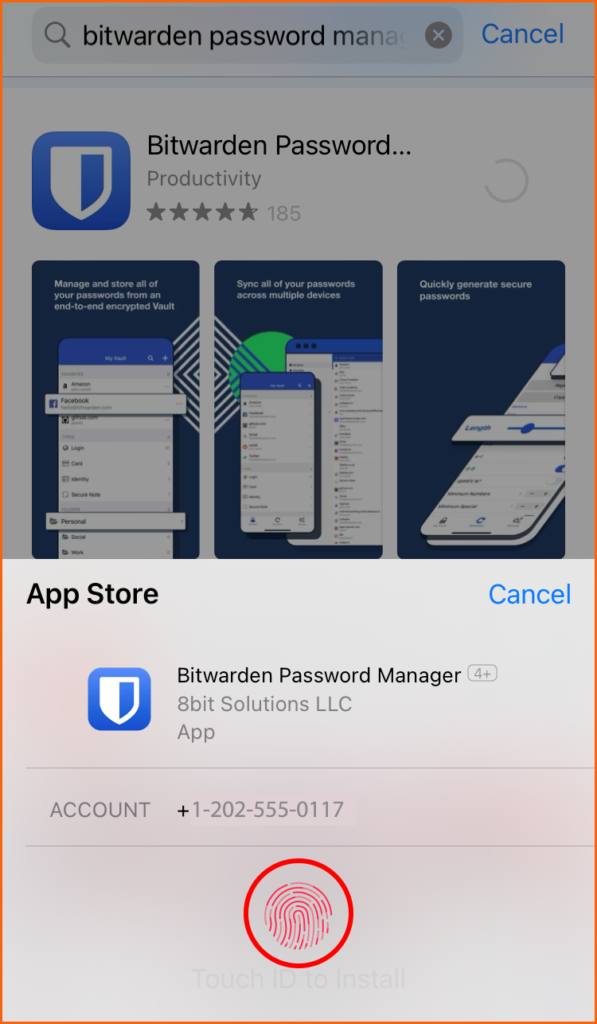
Step 3. Verified with fingerprint or password to install the Bitwarden app.
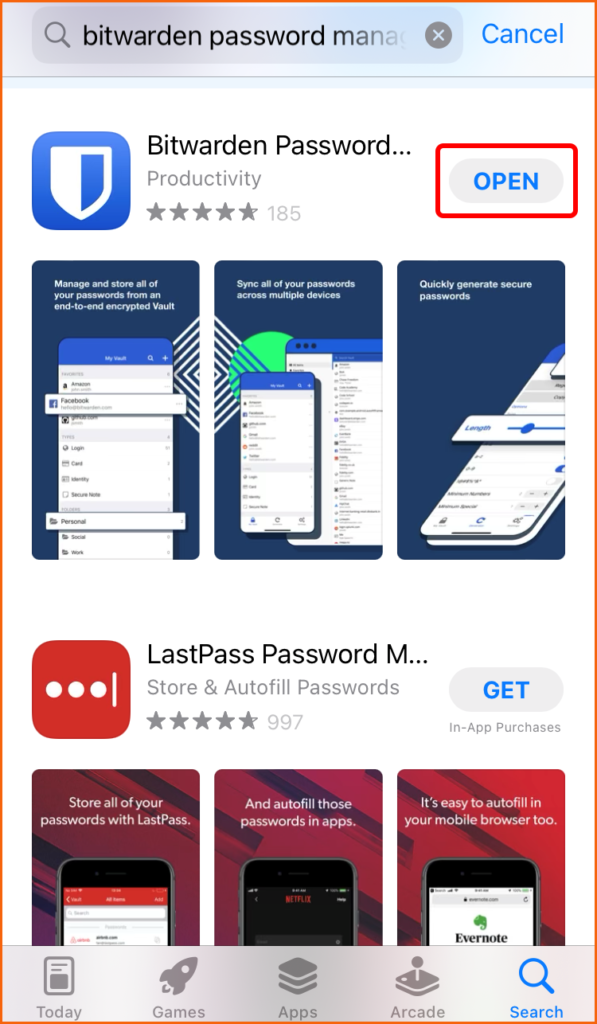
Step 4. Once Installation is complete, Click “Open”.
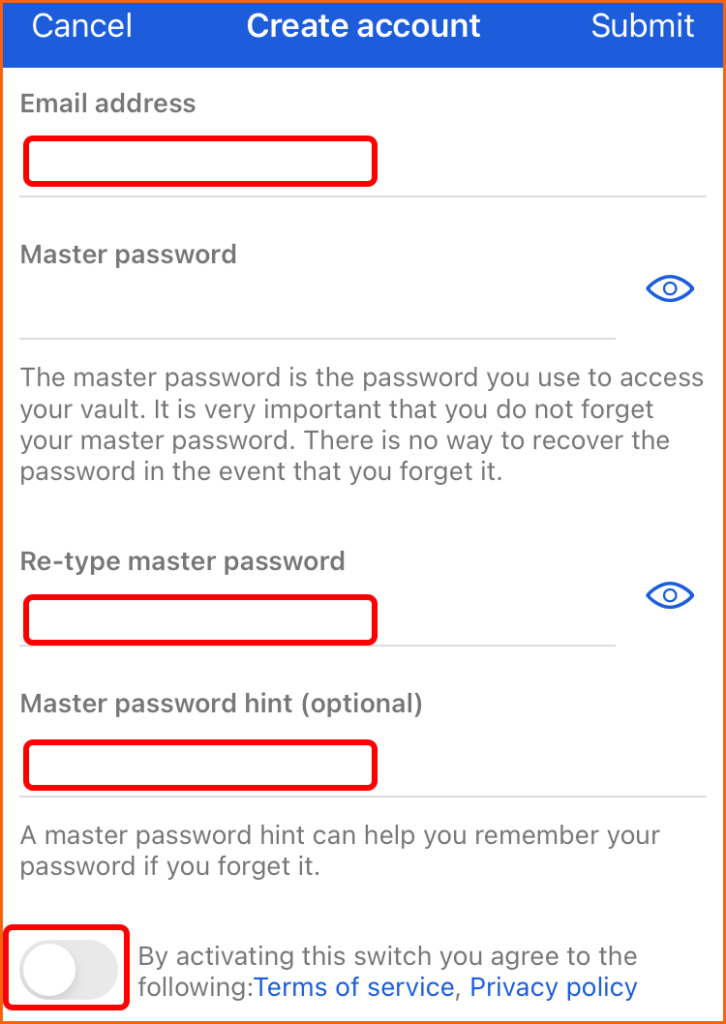
Step 5. Click “Create account” for a new account or for an existing one Click “Log in”.

Step 6. Filled the Red Box with Email, Master Password & Retyped Master Password & toggled and agreed the terms of services and privacy policy.
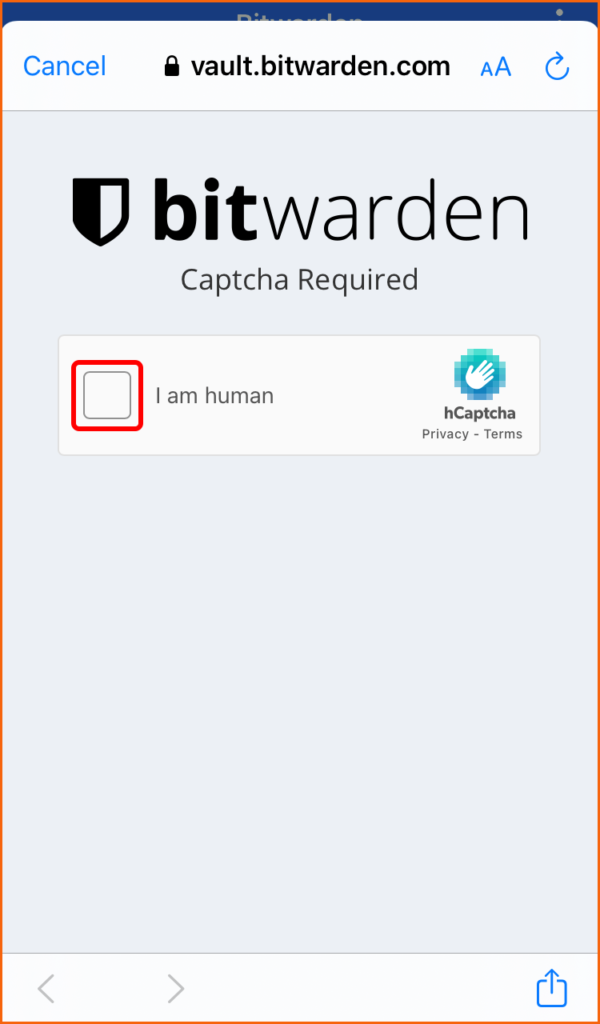
Step 7. Checked the Red Box besides “I am human”.

Step 8. Fill the Red Box with Email & Master Password & Click “Log in”.
Step 9. Checked the Red Box besides “I am human”.
Step 10. Click the “OK, got it!”.
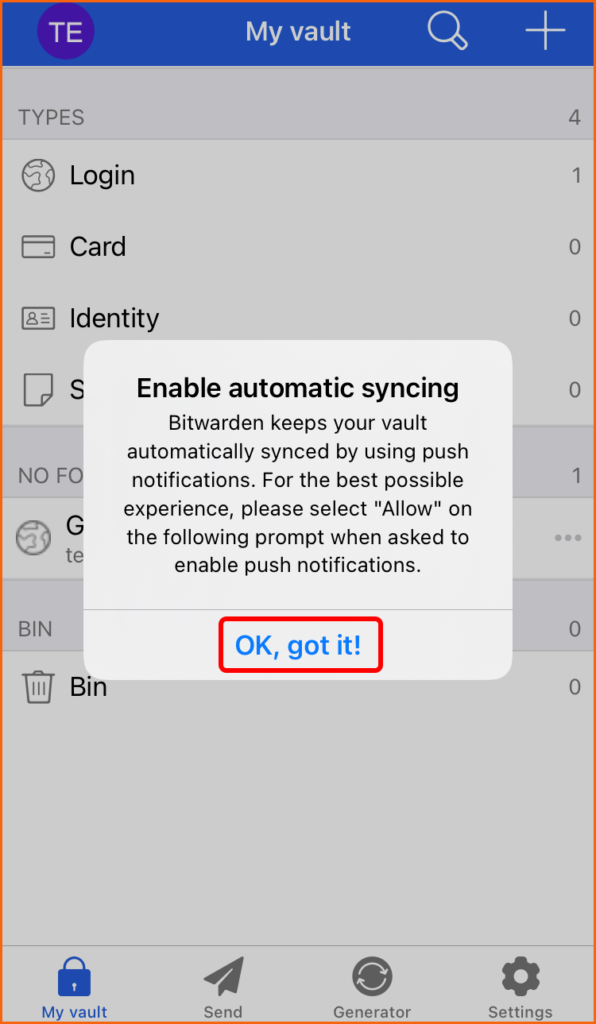
Step 11. Here you can decide whether to allow Bitwarden to send you notifications or not. So click “Allow” to get Alerts.

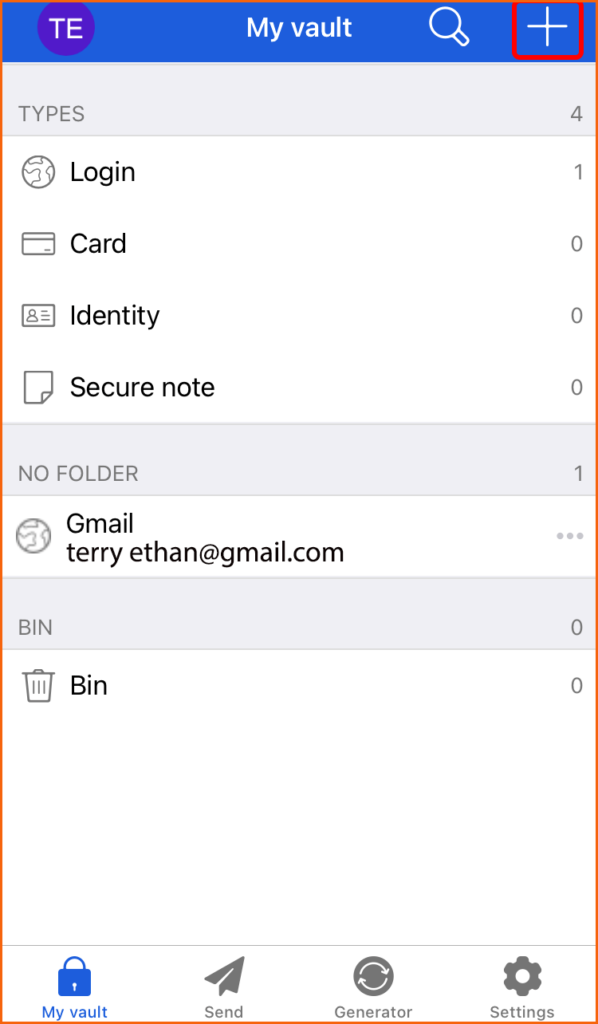
Step 12. Click the “Plus Sign” to add a new password in the vault.
Step 13. Click “Save” after entering login credentials as shown below, enter the Red Box.
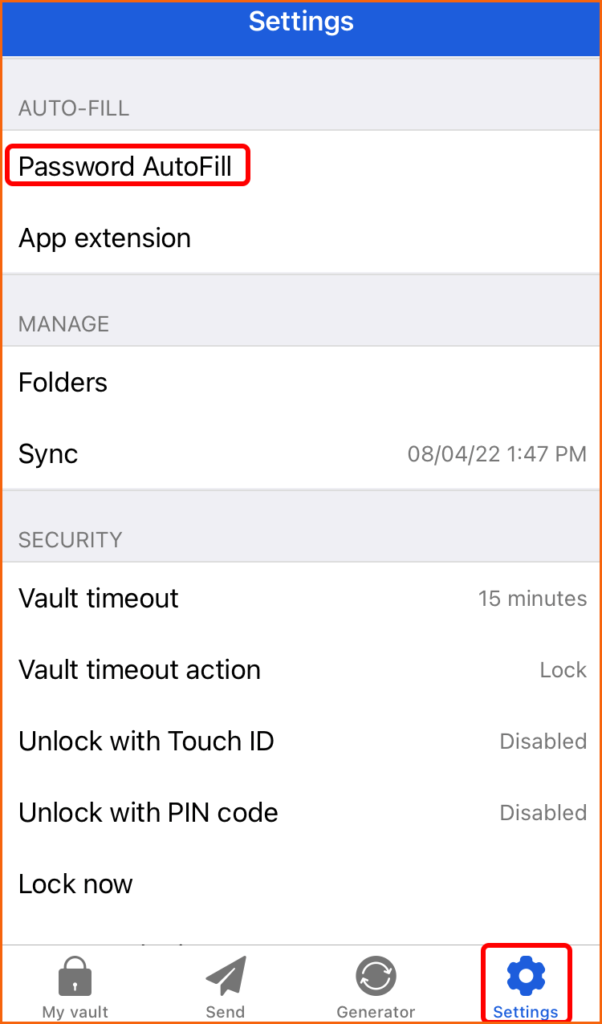
Step 14. Click “Settings” & then “Password AutoFill” to enable autofill.
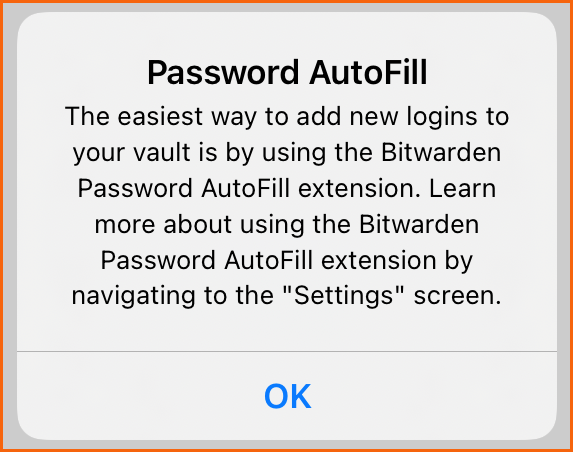
Step 15. Click the “OK”.
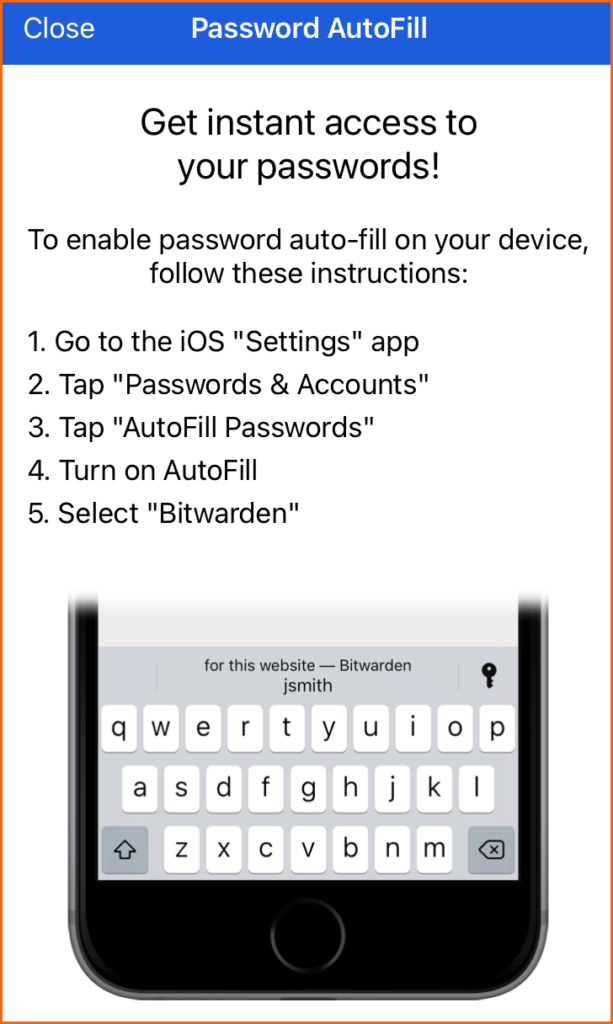
Step 16. Go to iOS phone “Settings” and follow the steps shown below to enable the password autofill function on the phone.
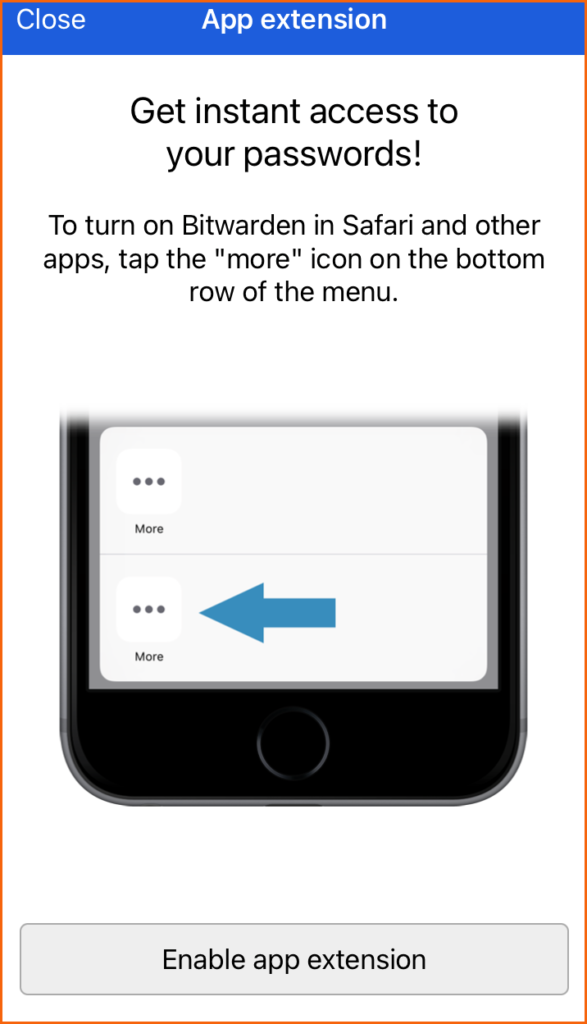
Step 17. Click Bitwarden app @ bottom right screen “Settings” & then “App extension”. After that Click “Enable app extension”.
How to use Bitwarden on Android Phones
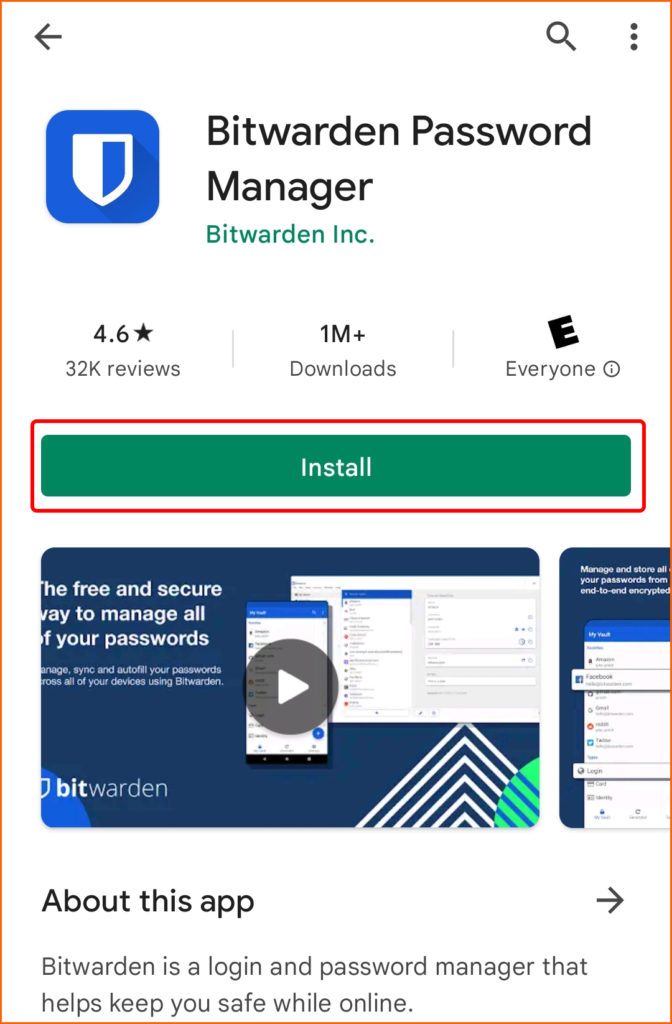
Step 1. Open the Play store on your phone & in the search bar, Write Bitwarden and Click “Install”.
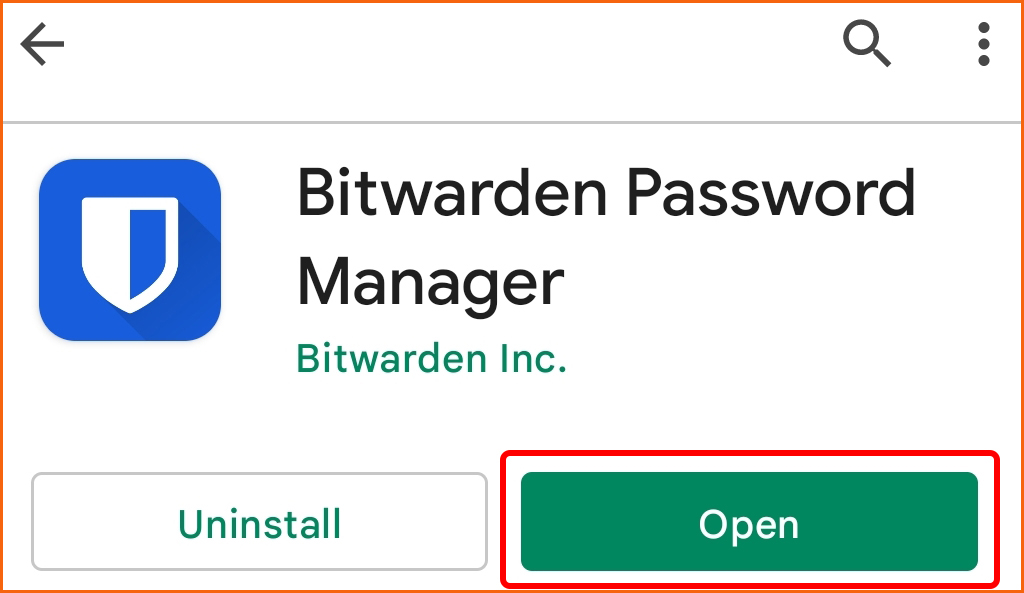
Step 2. Click the “Open” and open the Bitwarden app.
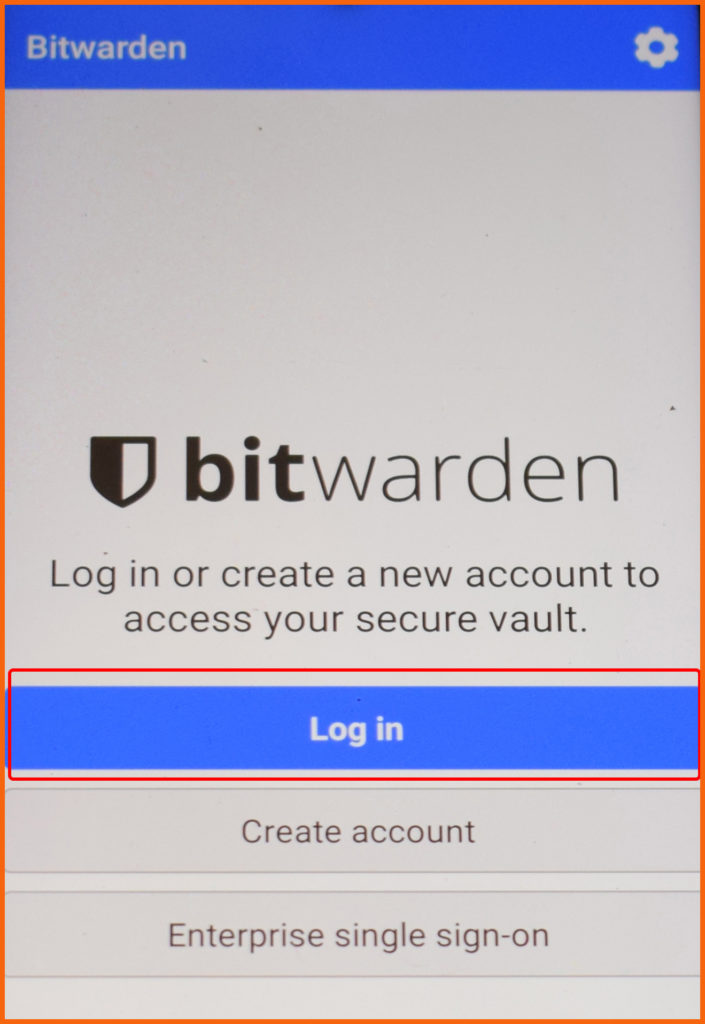
Step 3. Click “Log in” if you have an existing account, otherwise click “Create account”.
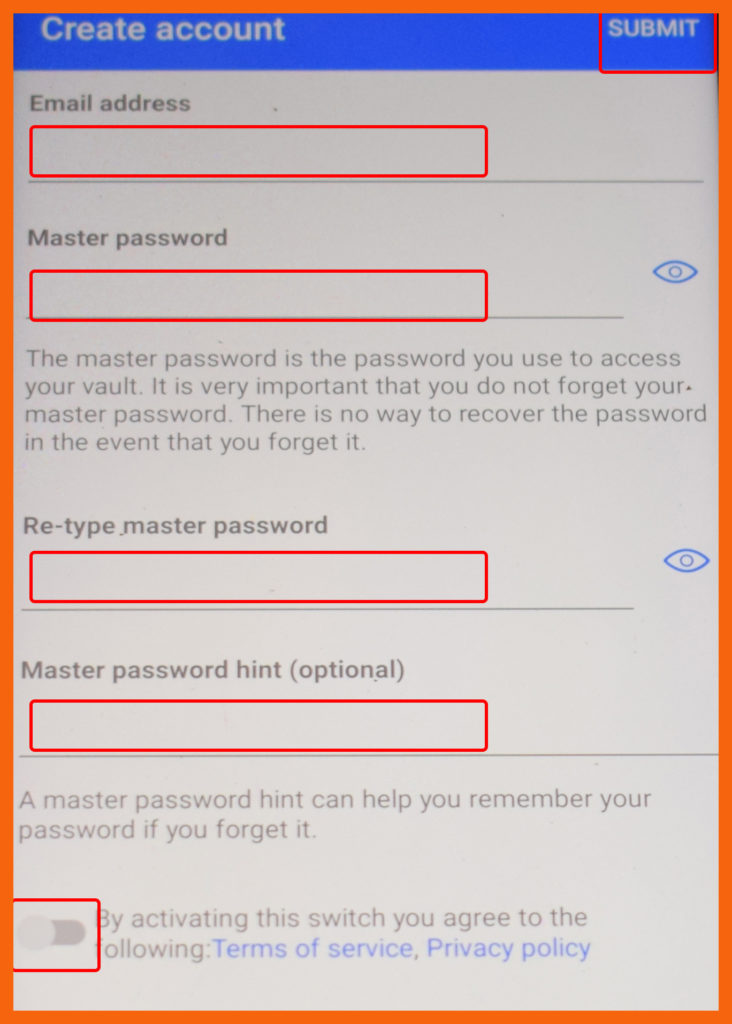
Step 4. Filled the Red Box with Email, Master Password & Retyped Master Password & toggled and agreed the terms of services and privacy policy.
Step 5. Checked the Red Box besides “I am human”.

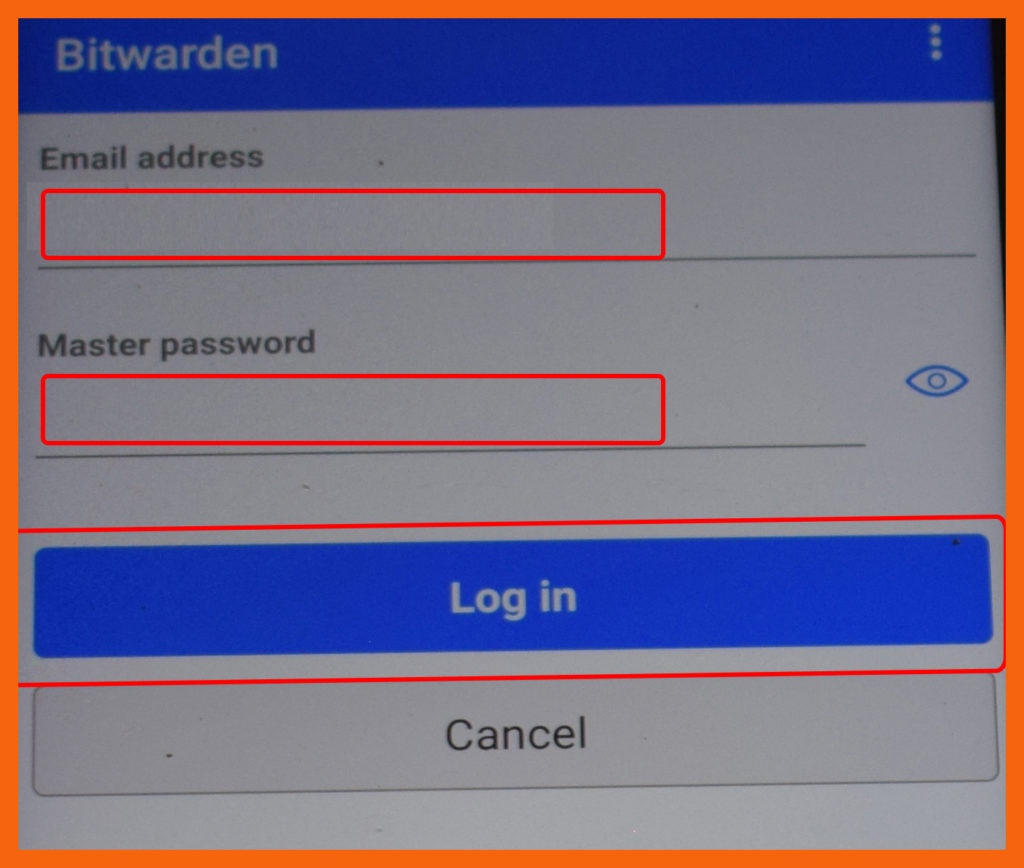
Step 6. Fill the Red Box with Email & Master Password & Click “Log in”.
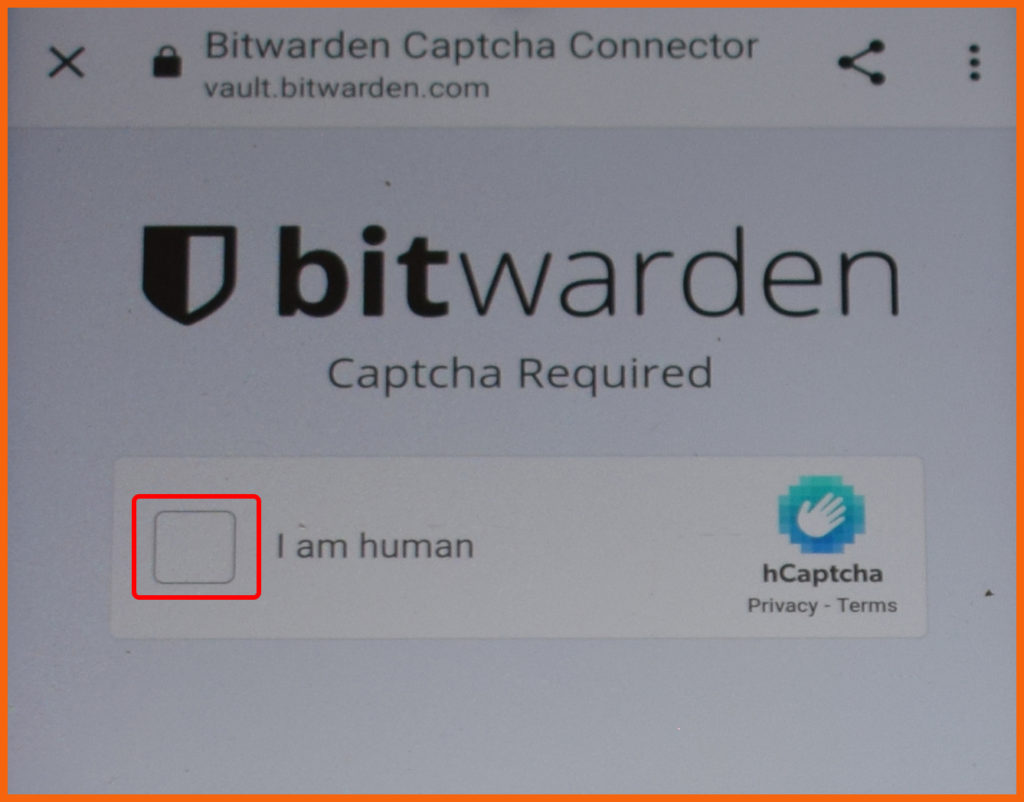
Step 7. Checked the Red Box besides “I am human”.
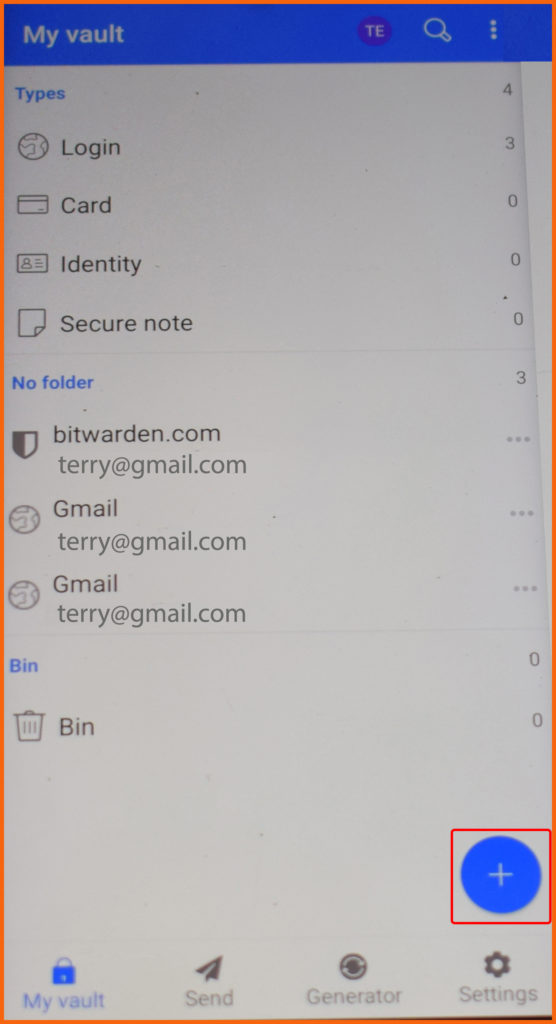
Step 8. Click the “Plus Sign” to add a new password in the vault.
Step 9. Click the “Ok”.

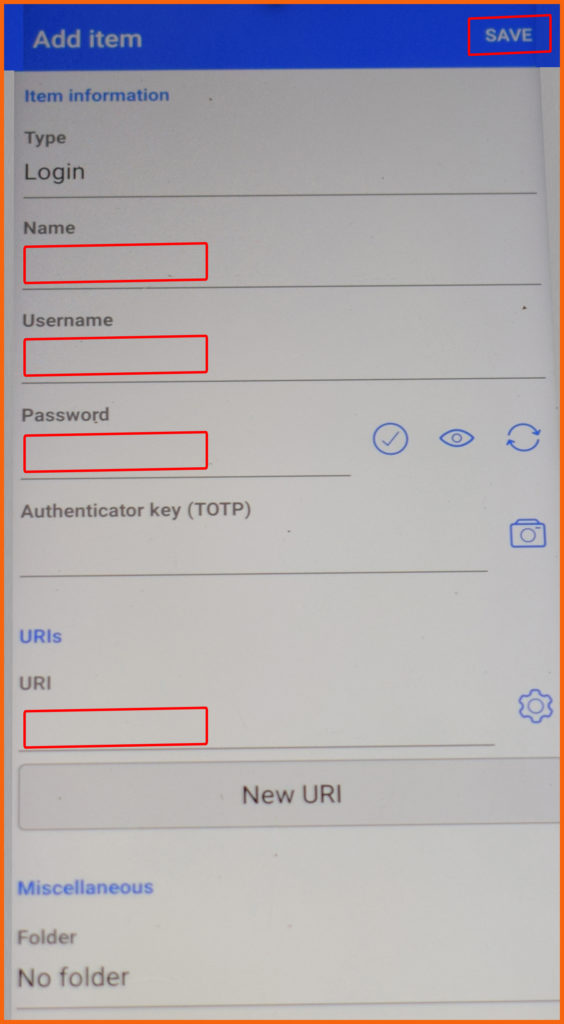
Step 10. Click “Save” after entering login credentials in the Red Box.
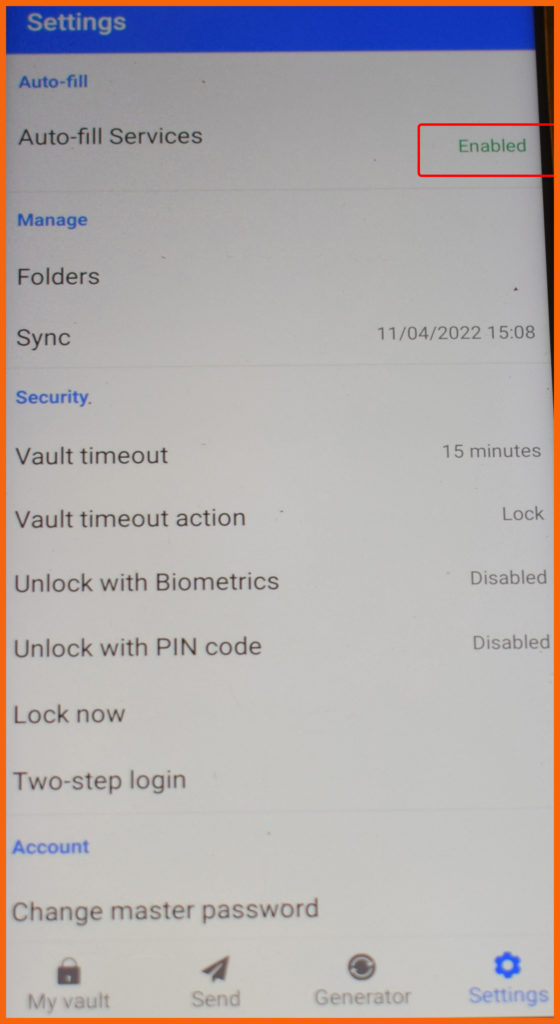
Step 11. Click “Settings” & then “Auto-Fil Services” to enable autofill.

Step 12. Toggle on the “Auto-fill service”
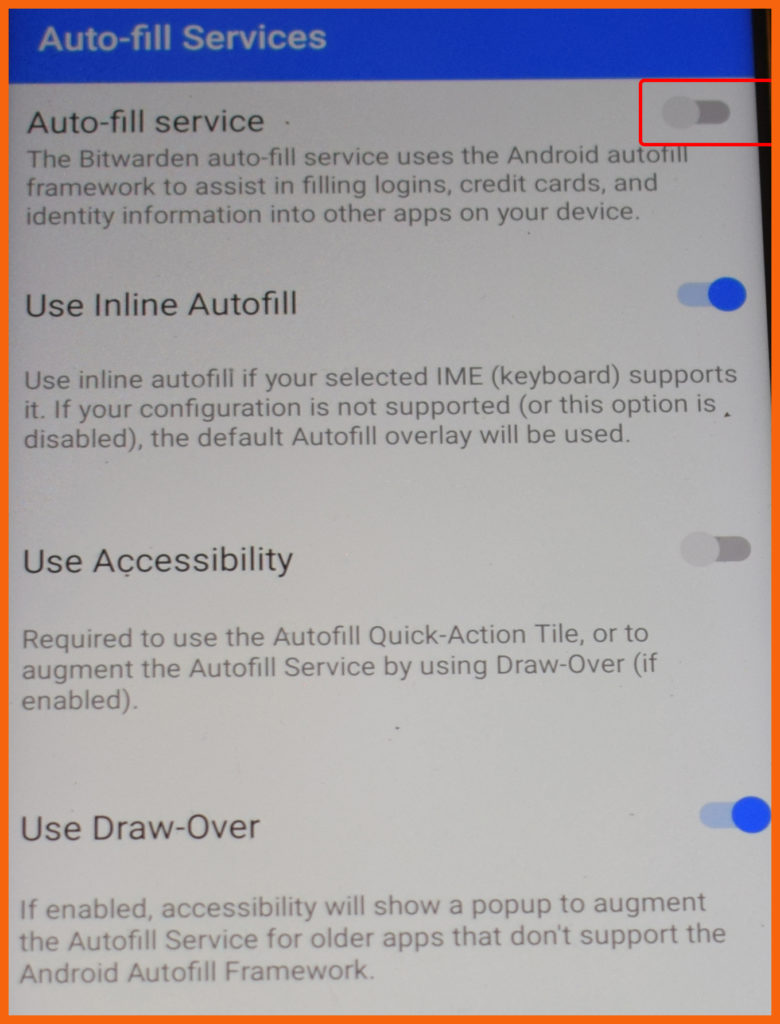
Step 13. Click “Bitwarden” & then “Ok”.
Step 14. Now you have successfully set up Bitwarden & enabled auto-fill.
Video Tutorial :-
- Bitwarden Password Manager Beginners Guide.
- Bitwarden 101: How to create an account and login.

- Bitwarden 101: Vault Management.
- Bitwarden 101: How to setup the browser extension.
- How to use Bitwarden on Android.

- How to use Bitwarden on iOS.
0 Comments