
How to Install and Set up Wireshark in Windows and Capture packets using it.
Wireshark is a free, open source and one of the best network packer analyzers which is used to present captured packet data in as much detail as possible. It is a cross platform tool and thus available for Linux, Windows and Mac OS. It is widely used for trouble shooting network problems and also to examine security problems by doing malware traffic analysis for digital incident response.
STEP 1.
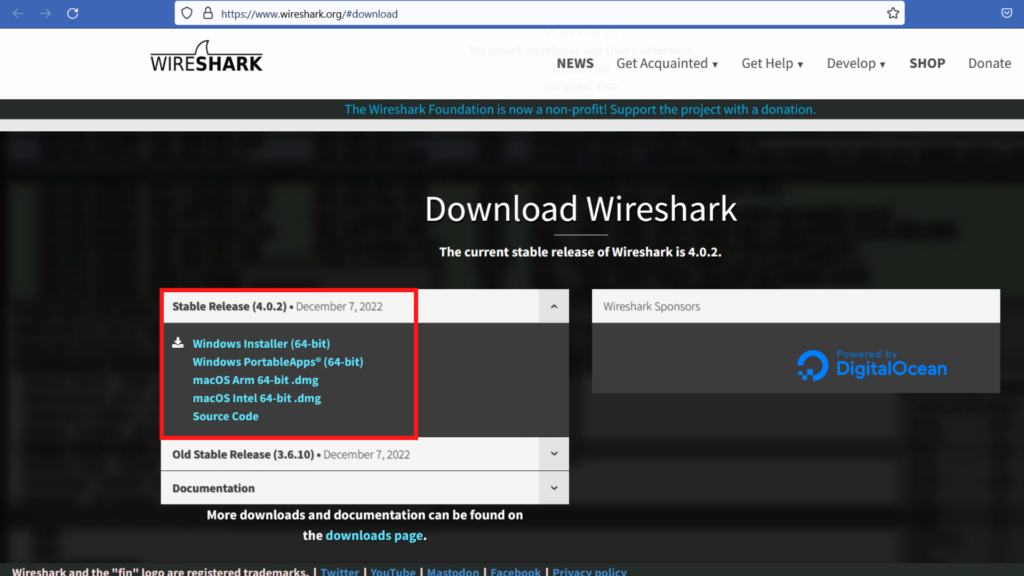
Click on https://www.wireshark.org/#download to download for Windows, Linux or Mac.
STEP 2.
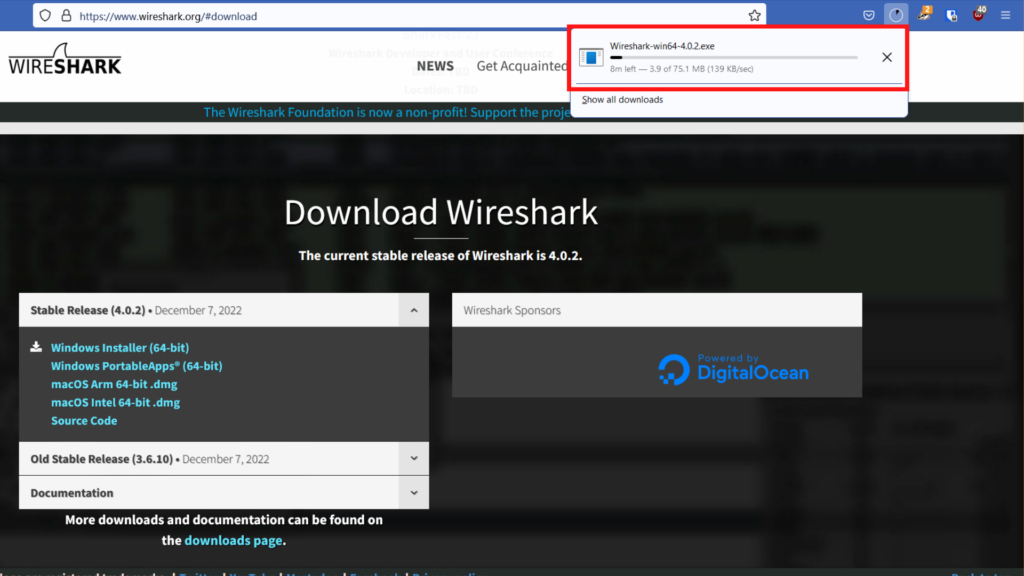
After downloading the software, run it as administrator.
STEP 3.
Choose a network medium for which you want to do network analysis. To choose WiFi as my network medium, simply click on the WiFi option in the Wireshark screen as below.

Wireshark UI consist of 4 main features which are as below :
- Display filter
- Column display
- Frame details
- Hexadecimal view

STEPS TO CAPTURE YOUR WIRESHARK
- One can usually capture the Wireshark for 1 hour and while doing it, make sure you don’t use your computer till the capture is finished.
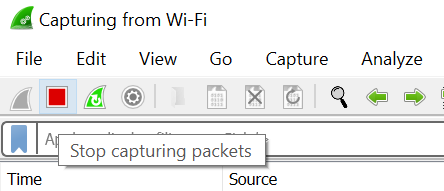
2. Click on the red square icon on the top left corner to stop the capture after 1 hour.
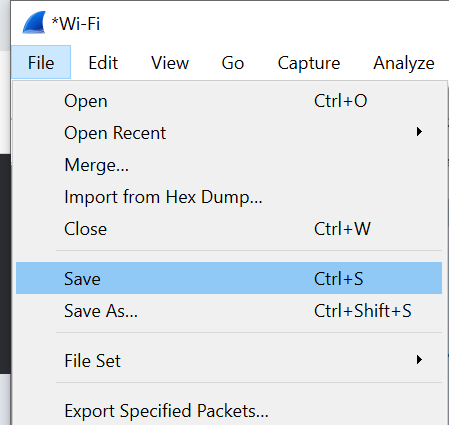
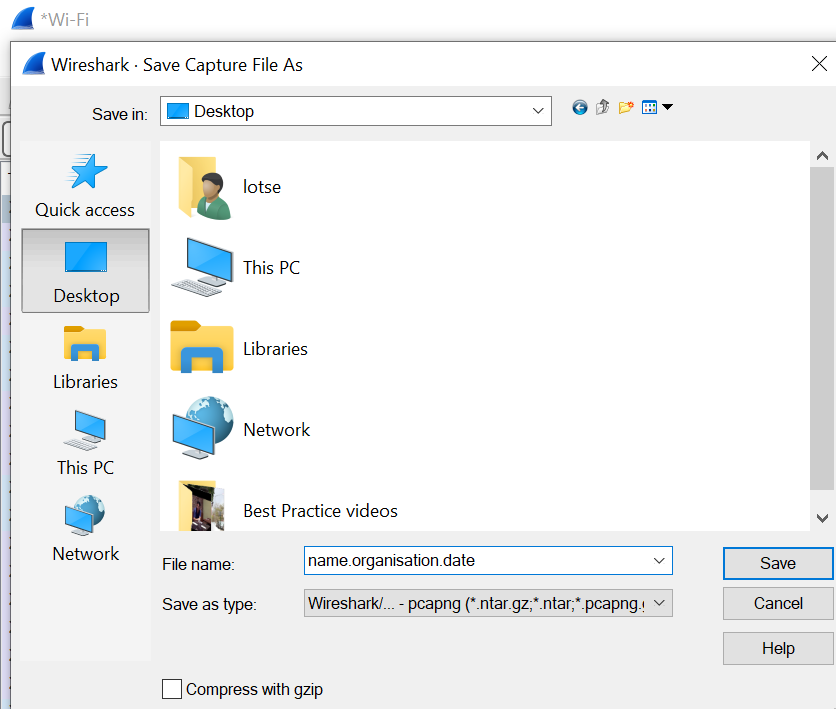
3. Then go to “File” option and click on “save” to save the Wireshark capture.
4. When you save the file, it is useful to save the file with your name, your organization and the date of capture, all separated by a dot like below.
5. You can send this file to us so we can analyze your Wireshark file to check for possible issues or threats in your system.
0 Comments