
How to enable full Disk Encryption in Mac OS (File Vault)
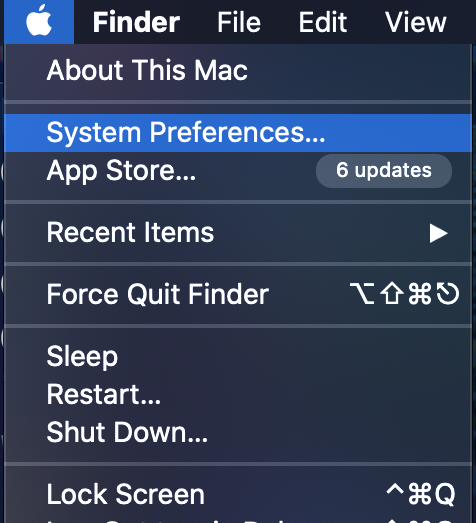
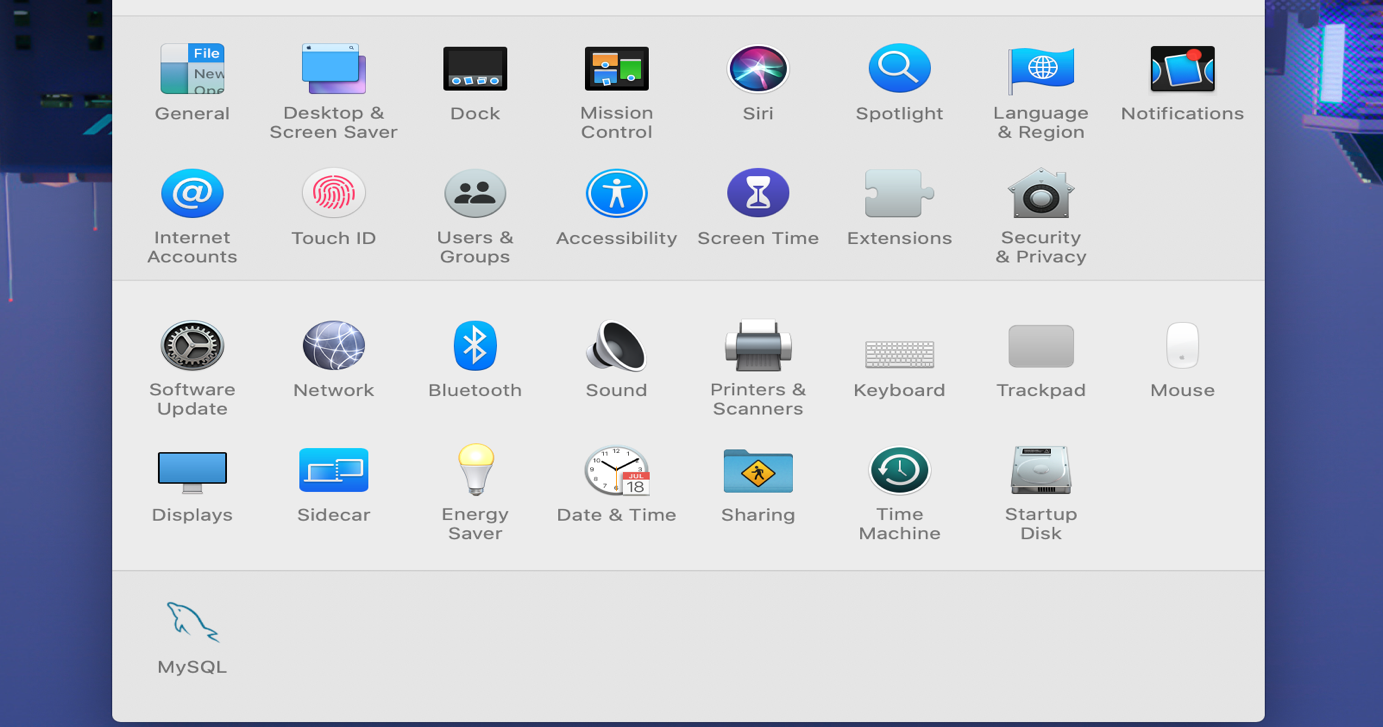
Step 1 : On your Mac, choose Apple menu > System Preferences, click Security & Privacy, then click FileVault.
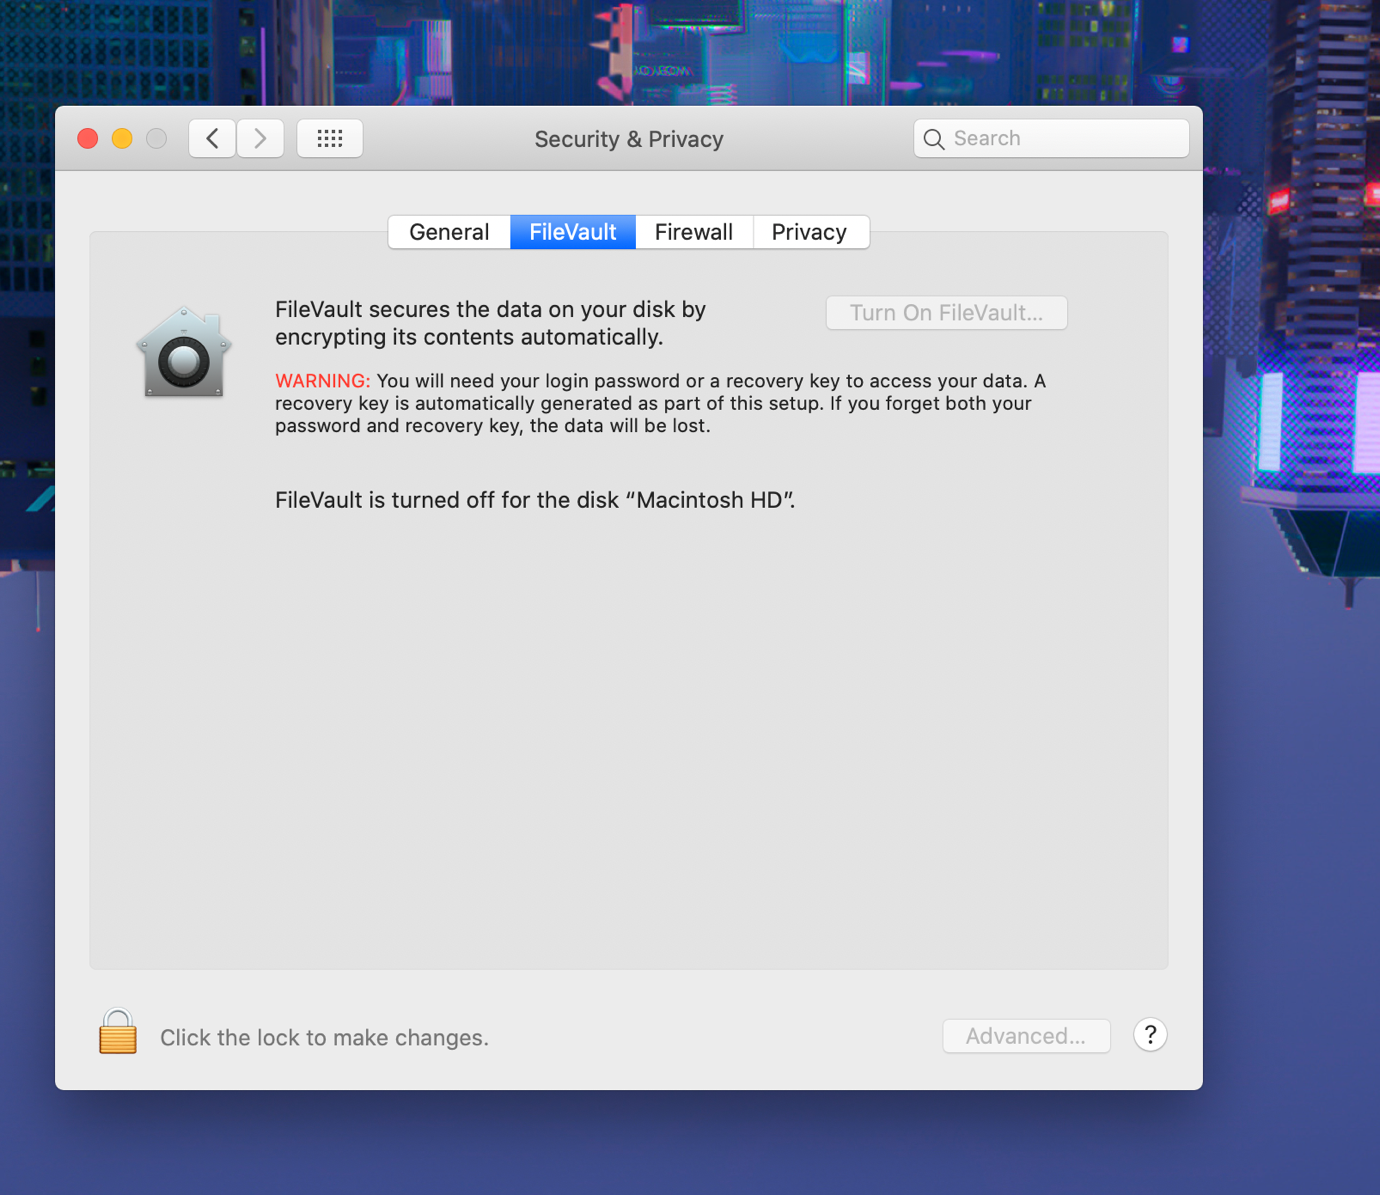
Step 2: Click the lock icon to unlock it, then enter an administrator name and password.

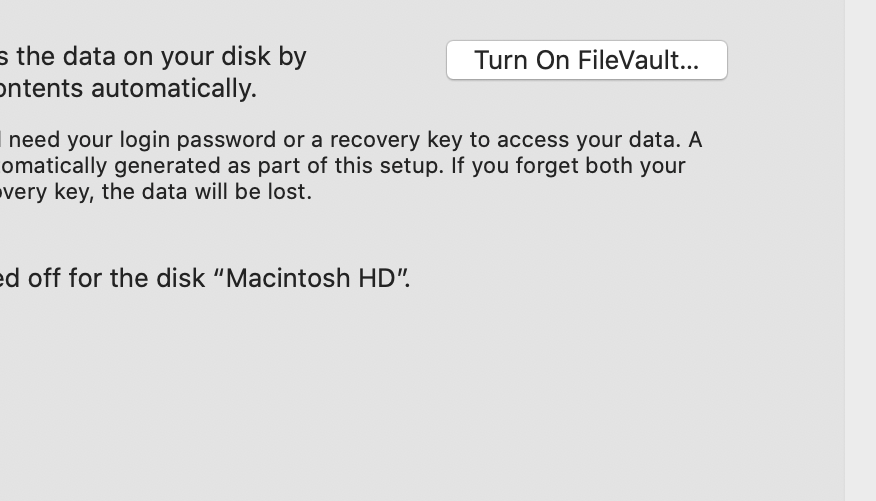
Step 3: Click Turn On FileVault.
Step 4 : Choose how to unlock your disk and reset your login password if you forget it:
- Use your iCloud account: Click “Allow my iCloud account to unlock my disk”.
- Create a recovery key: Click “Create a recovery key and do not use my iCloud account”. Write down the recovery key and keep it in a safe place.
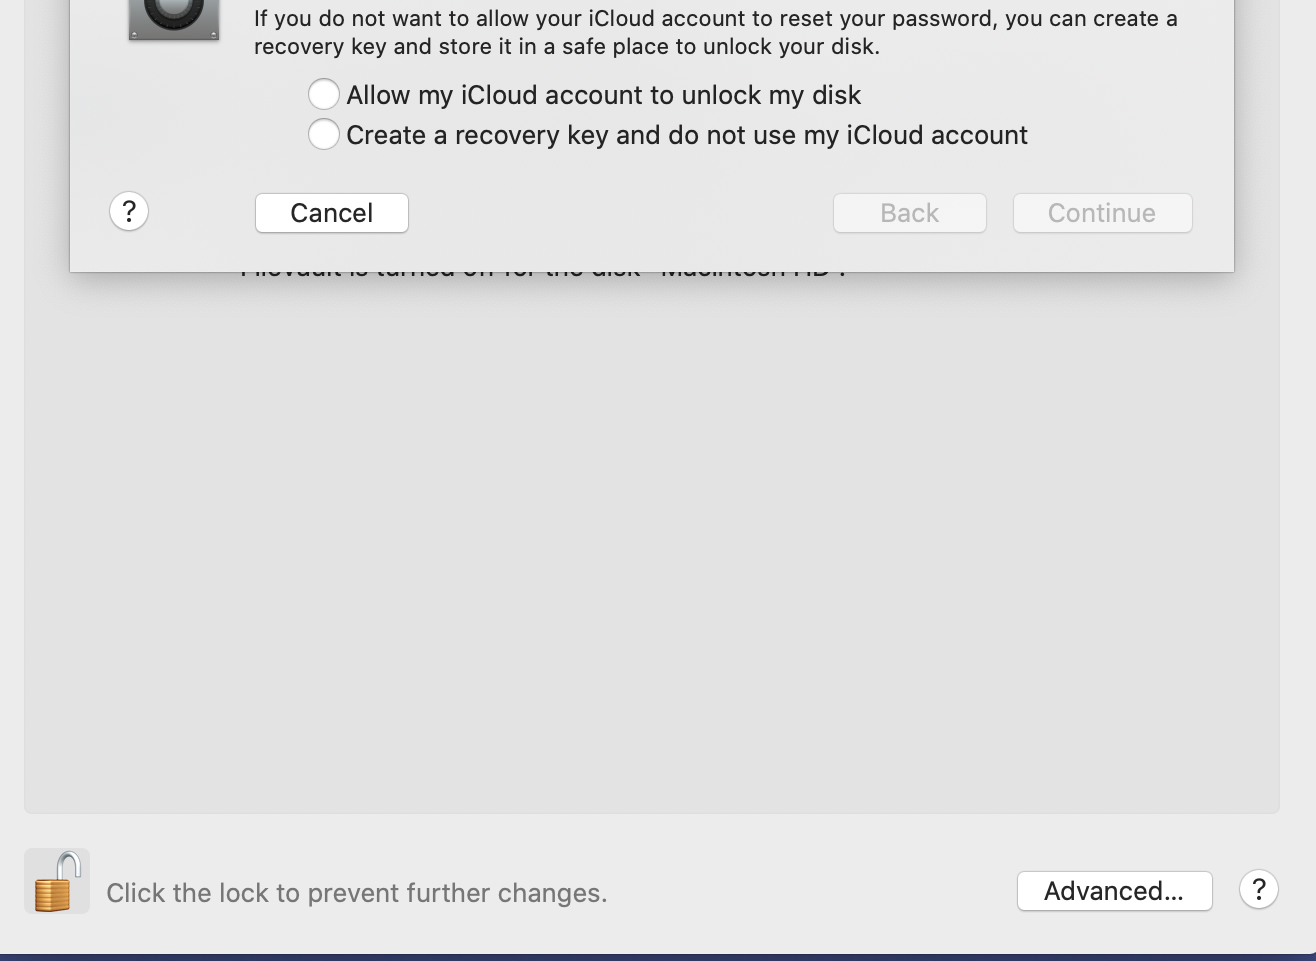
Step5 : Click Continue.
If your Mac has additional users, their information is also encrypted. Users unlock the encrypted disk with their login password.
If there’s an Enable Users button, you must enter a user’s login password before they can unlock the encrypted disk. Click Enable Users, select a user, enter the login password, click OK, then click Continue.
0 Comments