
How to install and set up VPN.
A virtual private network extends a private network across a public network, and enables users to send and receive data across shared or public networks as if their computing devices were directly connected to the private network.
For window:
1.For window we will download VPN Namely Psiphon from this link https://psiphon.ca/en/download.html
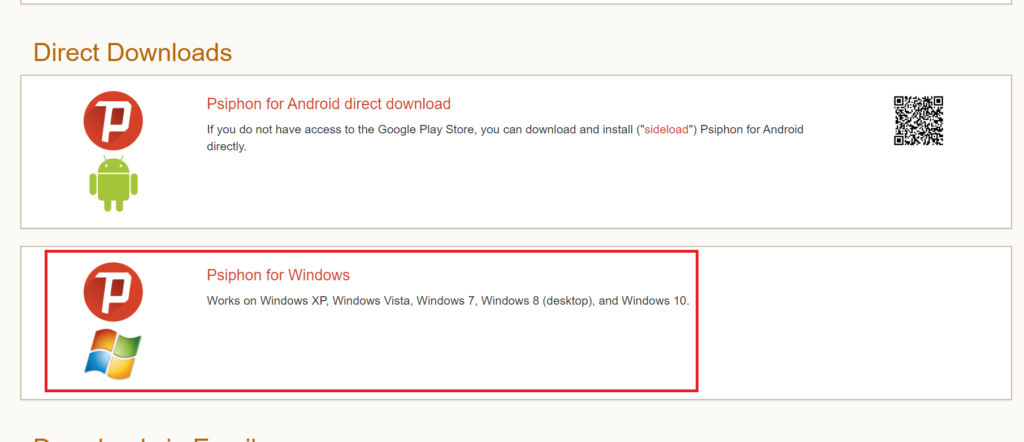
2. From the psiphon web screen scroll down to look for Psiphon for window as shown in below image.
3. Click on it to download the psiphon executable file.
4. Below is the downloaded executable file of psiphon, Click on it to use psiphon.

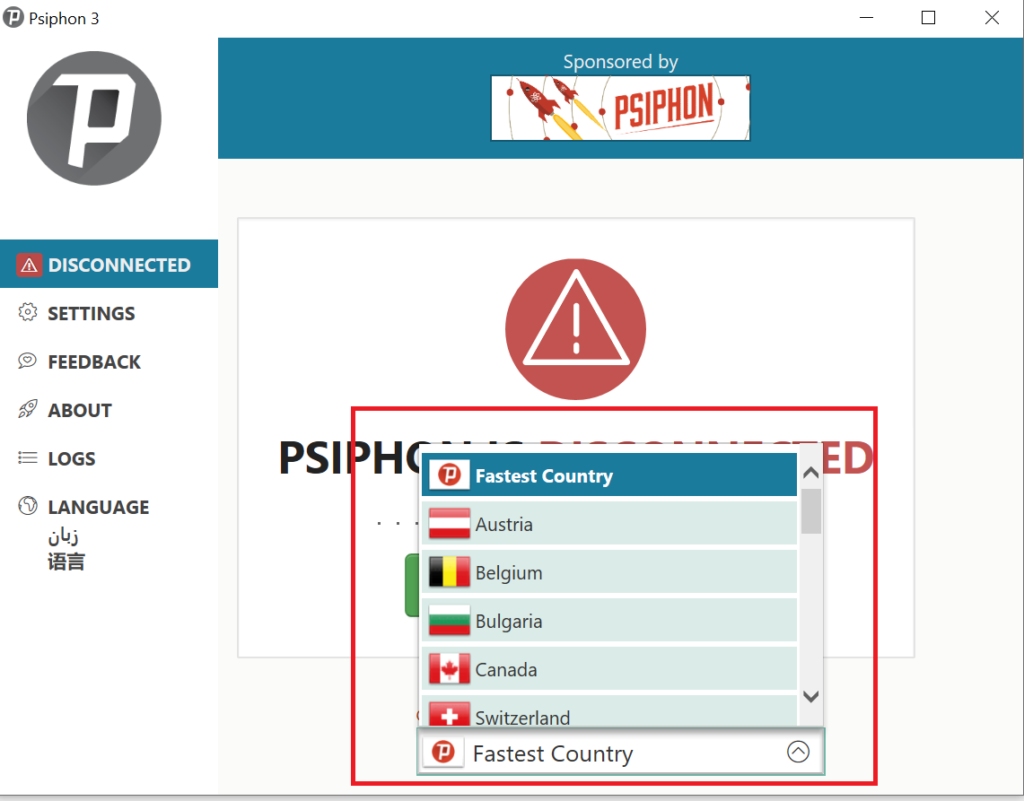
5. Below is the psiphon page. initially it is disconnected.
6. You can select among choices of location by clicking on on location selection option below. By default it is kept on fastest country mode.
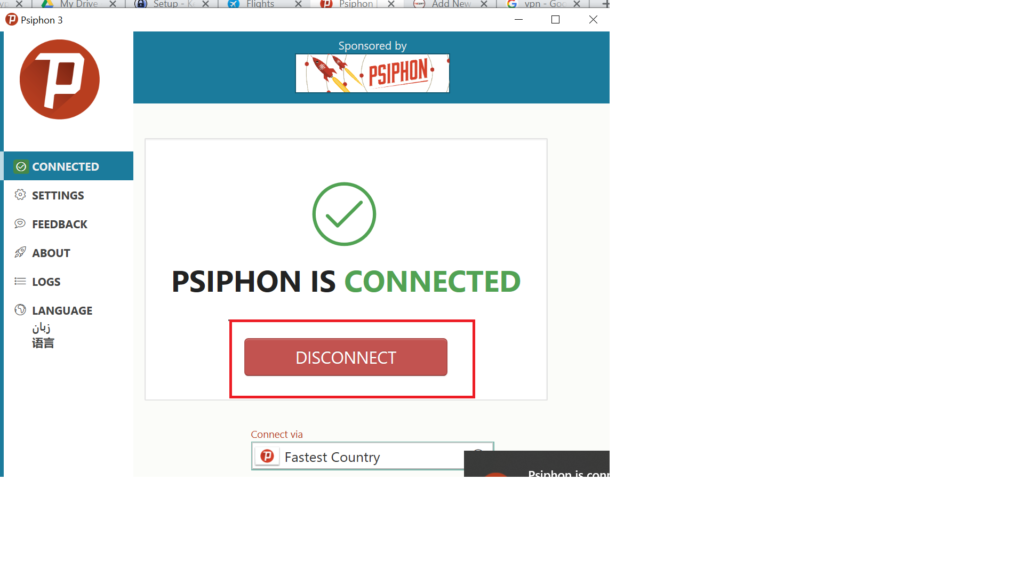
7. Click on connect button to start using psiphon.

8. If you are done using psiphon application then you can disable it by clicking on ‘Disconnect‘ button.
For Mac:
For mac operating system, we use Tunnel bear vpn in this article.
TunnelBear is a public virtual private network service based in Toronto, Canada. The company was founded by Daniel Kaldor and Ryan Dochuk in 2011. To install Tunnel Bear we shall follow the instructions below.
- First visit https://www.tunnelbear.com/apps/mac to download Tunnel Bear for Mac O.S.
- This screen will appear and click on ‘Get Tunnel bear‘ button.

3. It may take 2-3 minutes to download the zip folder of Tunnel Bear.
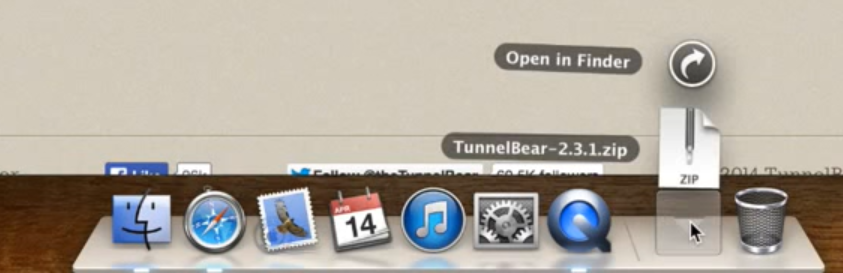
4. Once th zip folder is downloaded as shown below.

5. Click on the downloaded folder and option will appear as below.
6. Click on open in finder.
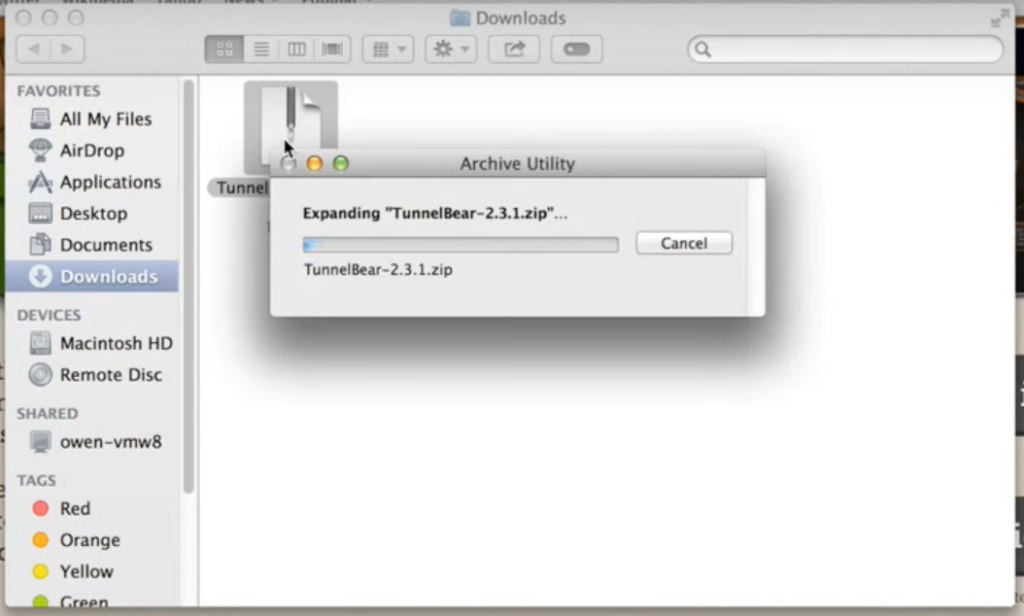
7. You will be directed to finder screen. Double click on zip folder to extract the file.
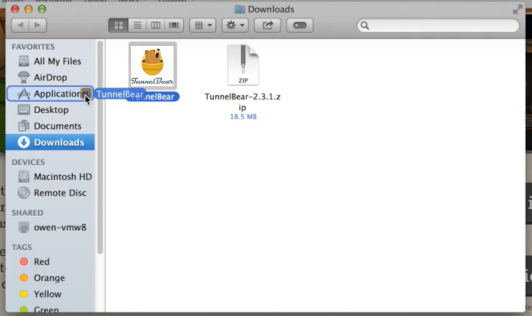
8. Now click on tunnel bear application that is extracted and drag it into application folder.
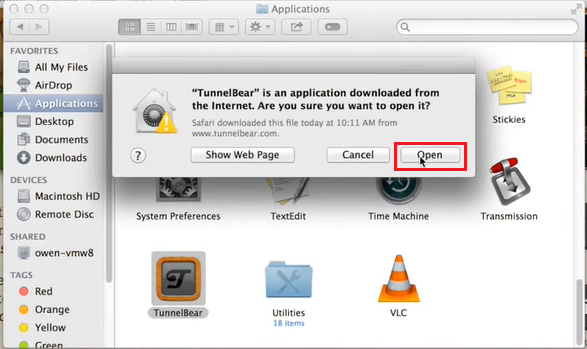
9. Then click on application folder and search for tunnel bear application and click on it to start using the application

10. Click on open button as shown below.
11. Create a account by typing in your email address and password.

12. click on create you will be direct to click on next button
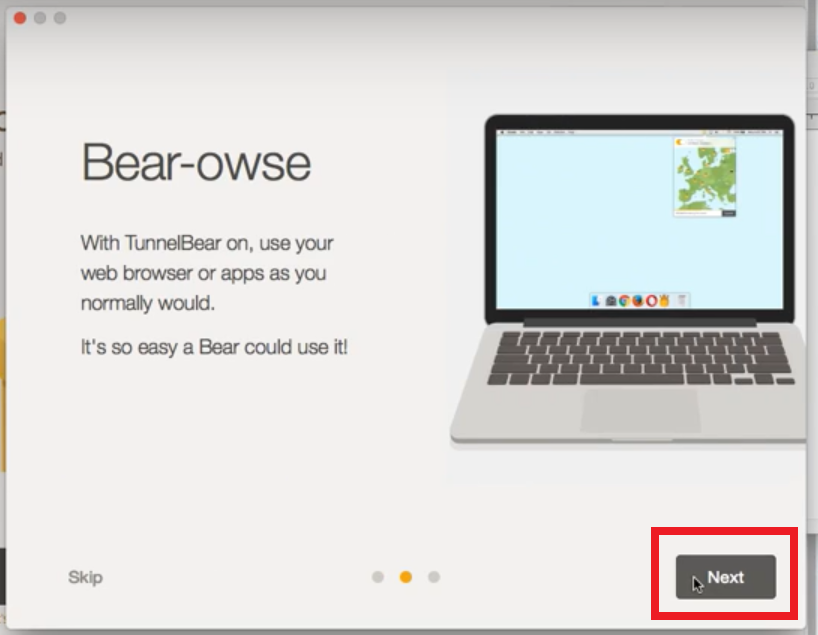
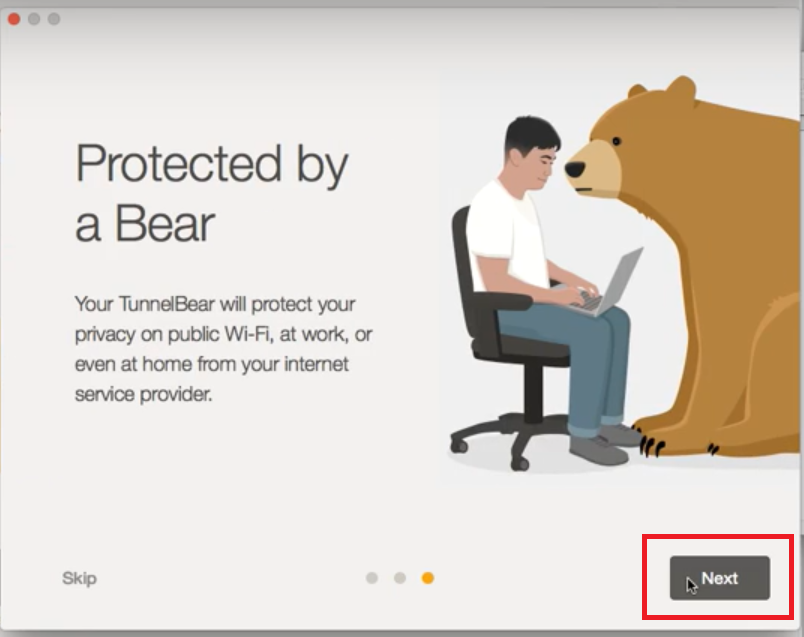
13. On top right bar of your desktop, you will see tunnel bear sign.
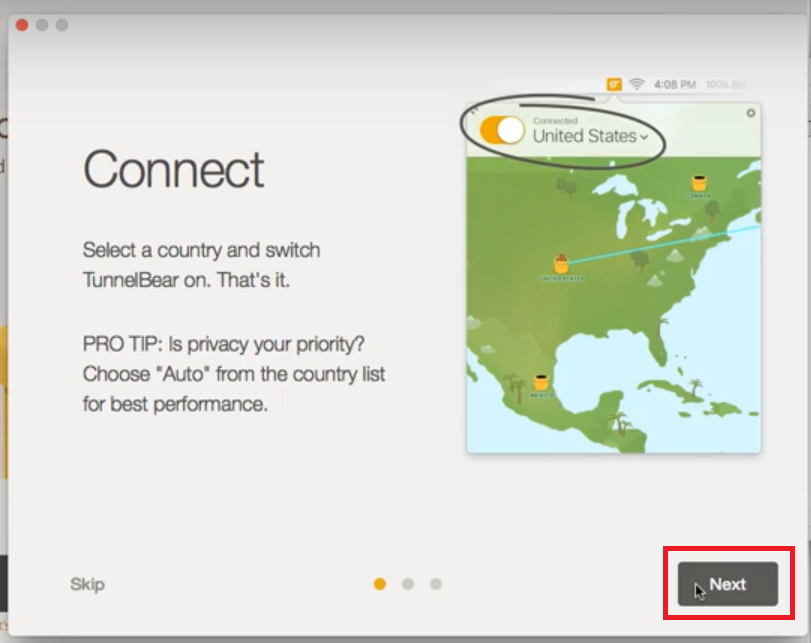
14 click on it, you can select a particular location or keep it as auto.
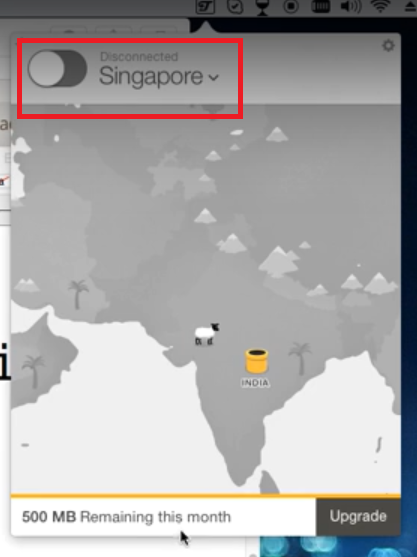
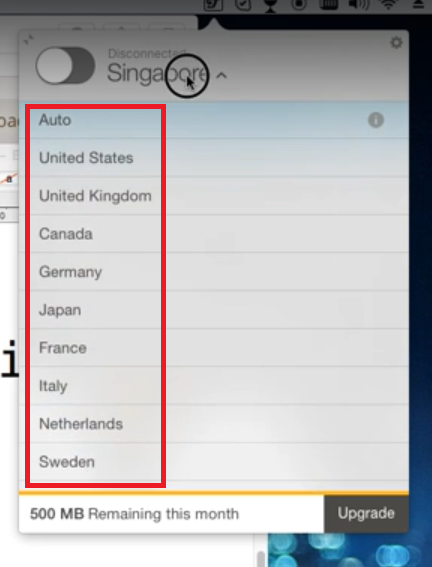
15. Now You can start browsing contents that are unavailable priorly.
For Ubuntu
Take a look for this link, it should works for ubuntu using wine http://community.linuxmint.com/tutorial/view/1926
Install wine
sudo apt-get update

sudo apt-get install wine
Install Required Windows DLLs using Wintricks:
- Run Winetricks(from ubuntu dash)
- Choose “Select the default wineprefix” and then press OK.
- Choose “Install a Windows DLL or component” and then press OK.
- Check “wininet” and “winhttp” and then press OK.
Run Psiphon3 and Use the service it provides:
- Simply run Psiphon3.exe
- It will provide its service using an “HTTP proxy on localhost port 8080”.
- Use “FoxyProxy” extension on Firefox or “Proxy SwitchySharp” extension on chrome for accessing the service.
0 Comments