
Installation and set up of OBS Studio in Windows, Mac and Linux.
WHAT IS AN OBS STUDIO?
OBS (Open Broadcaster Studio) is is a free and open-source software suite for recording and live streaming. OBS provides real-time source and device capture, scene composition, encoding, recording, and broadcasting. It is best suitable for screen recording your system while enabling your face-time at the same time. It is a cross-platform software and thus can be used in Windows, Mac and Linux OS systems.
STEPS TO INSTALL OBS STUDIO
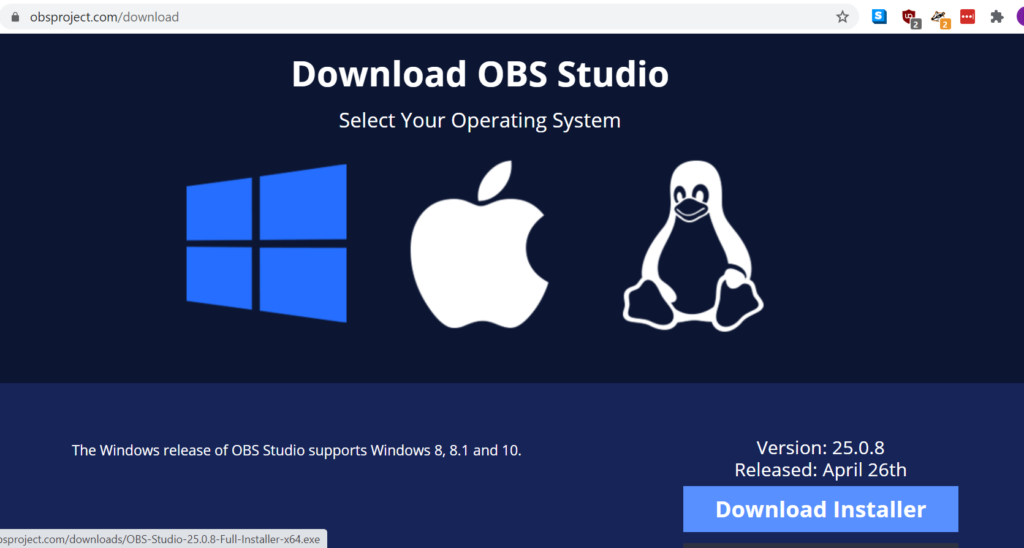
STEP 1
Click on https://obsproject.com/download to download for Windows, Mac and Linux.
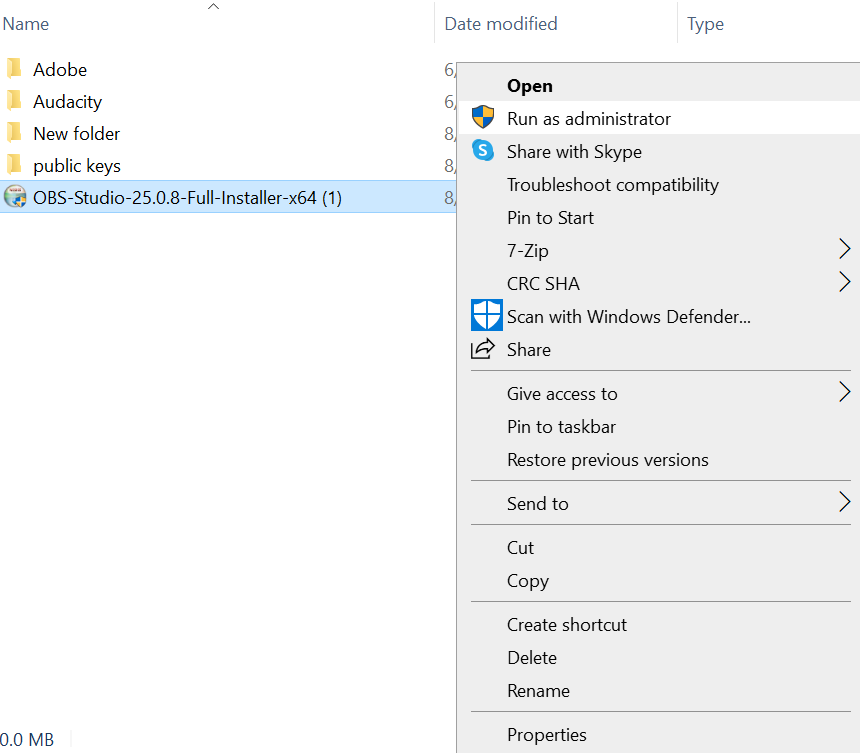
STEP 2.
Right click on the file you downloaded and select “Run as administrator”
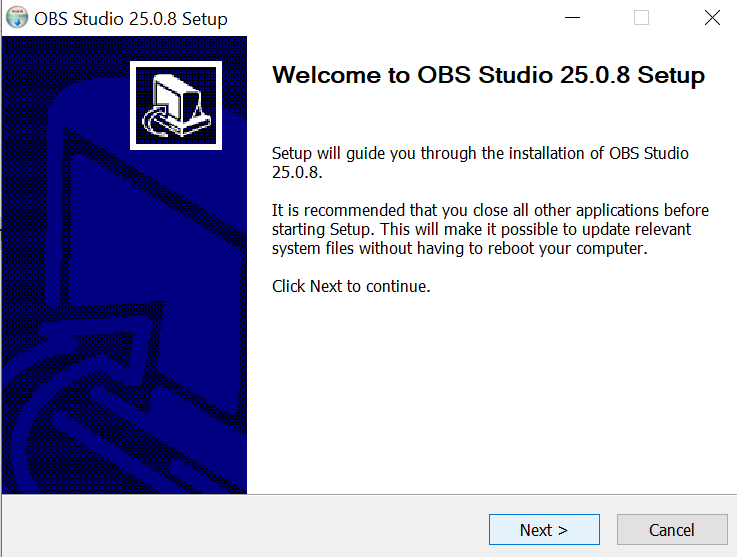
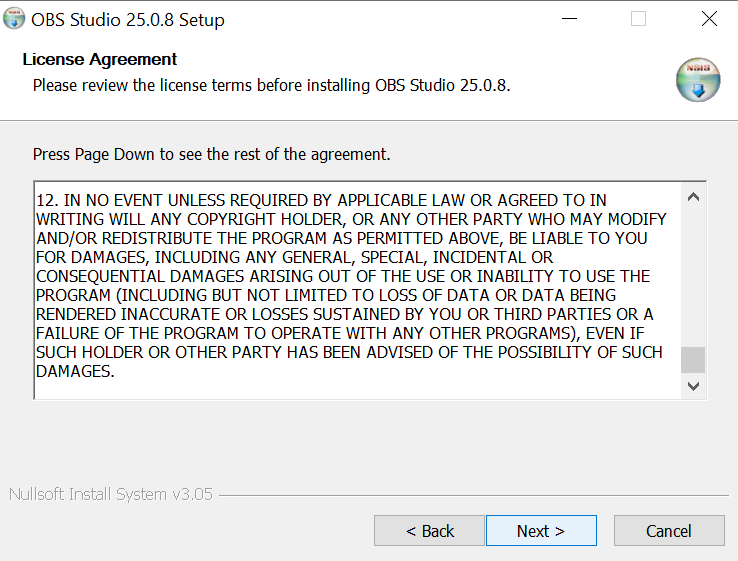
STEP 3
Keep clicking Next as below:
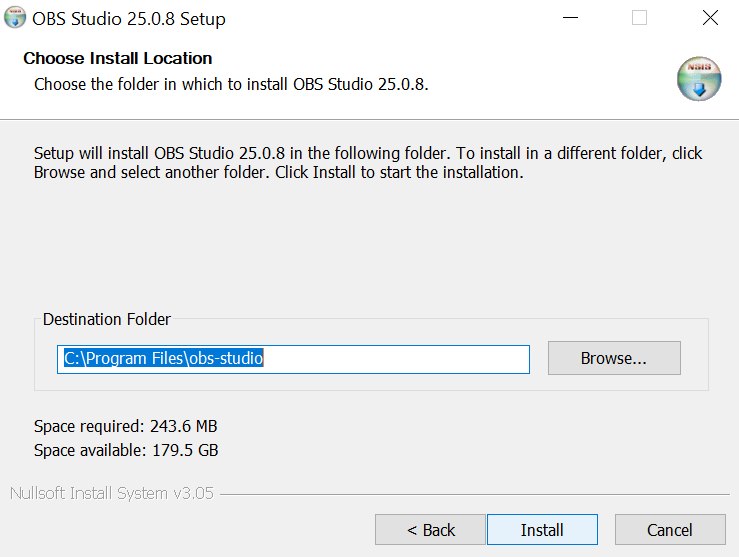
STEP 4
Select a folder where you want to keep the OBS software.
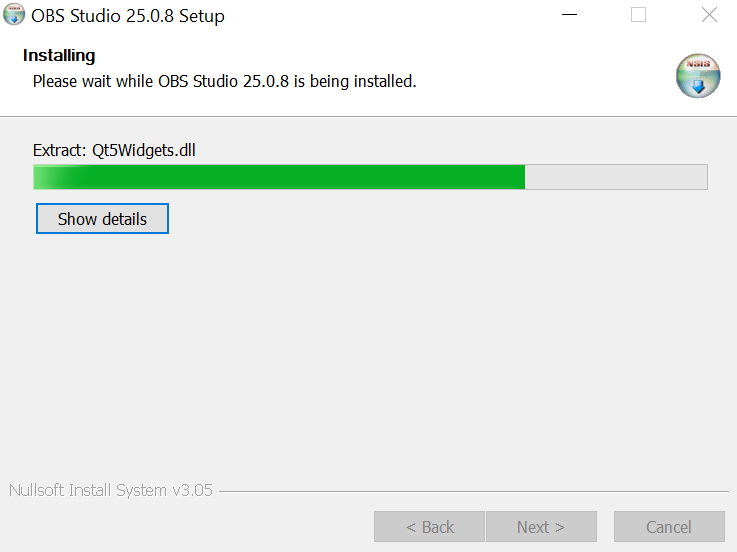
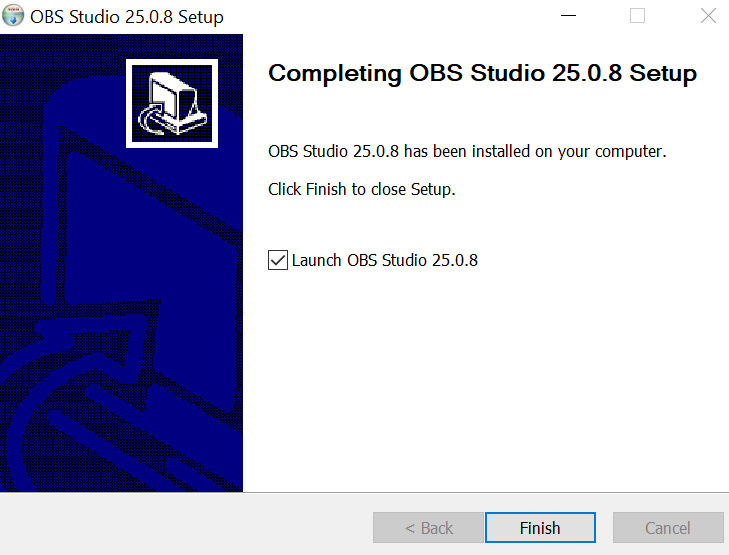
STEP 5
Click on Install and then click on Finish once installation is completed :
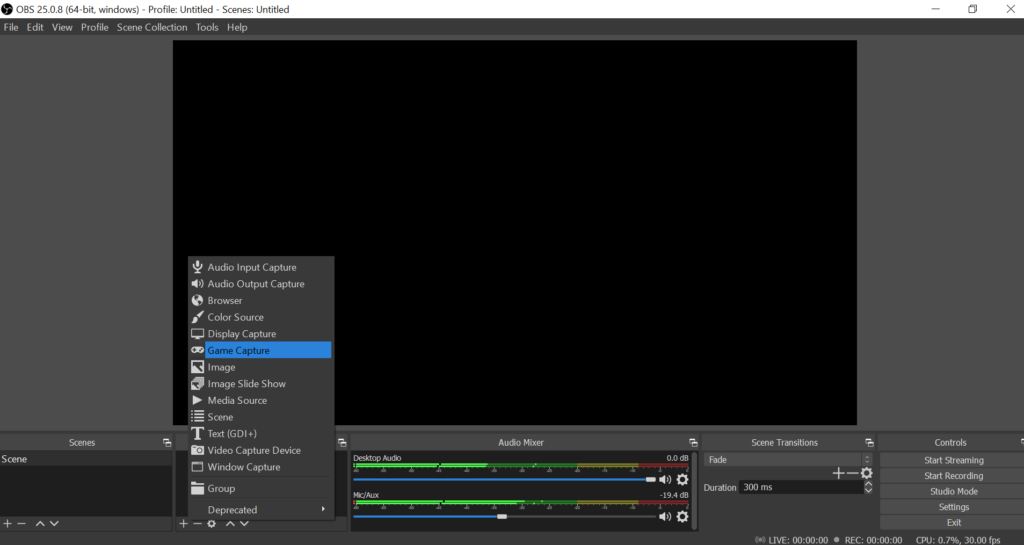
STEP 6
Click on + or – in the Source box to add or remove additional features as below :
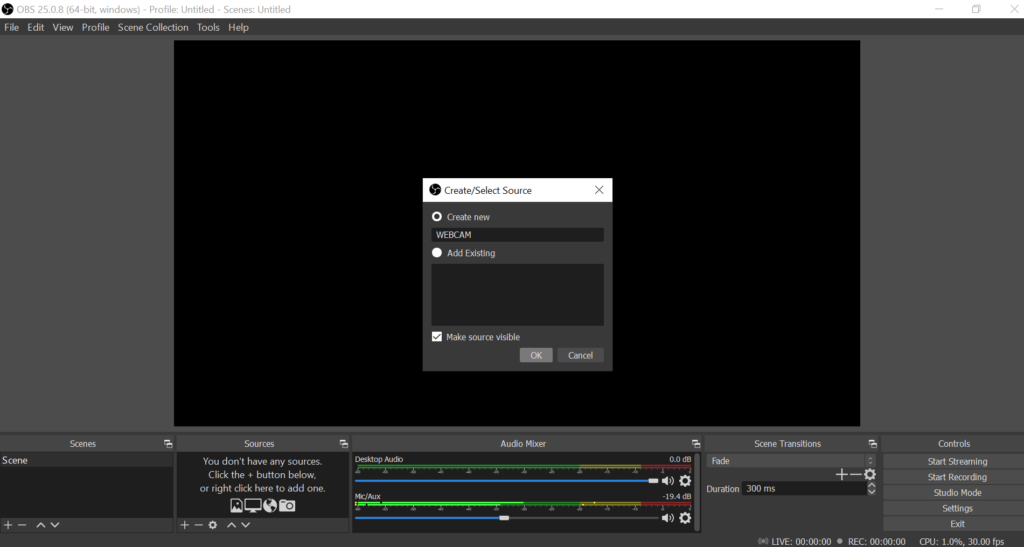
STEP 7
Select on “Video Capture Device” to add face-cam on your screen recording or live streaming. Keep a name for video capture device like WebCam and select OK as below :
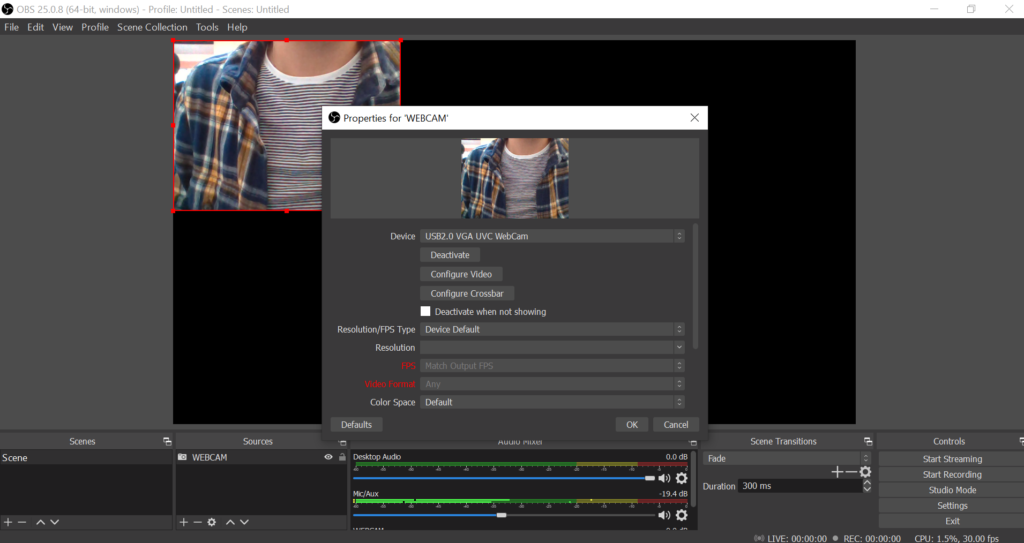
STEP 8
Your webcam also starts recording and if it’s not showing, uncheck on “Deactivate when not showing” option.
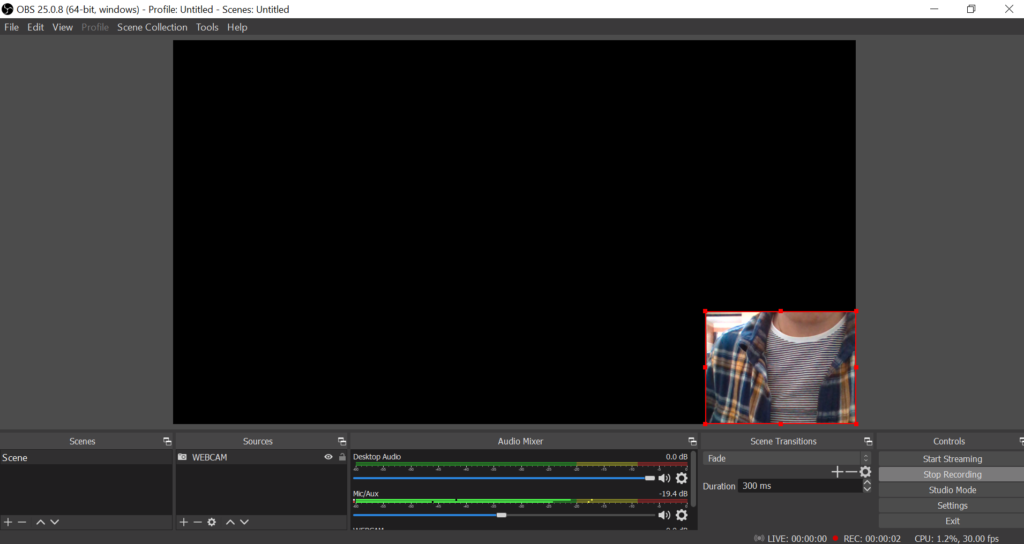
STEP 9
You can move the face-cam box anywhere on your screen and adjust its dimensions too as below.
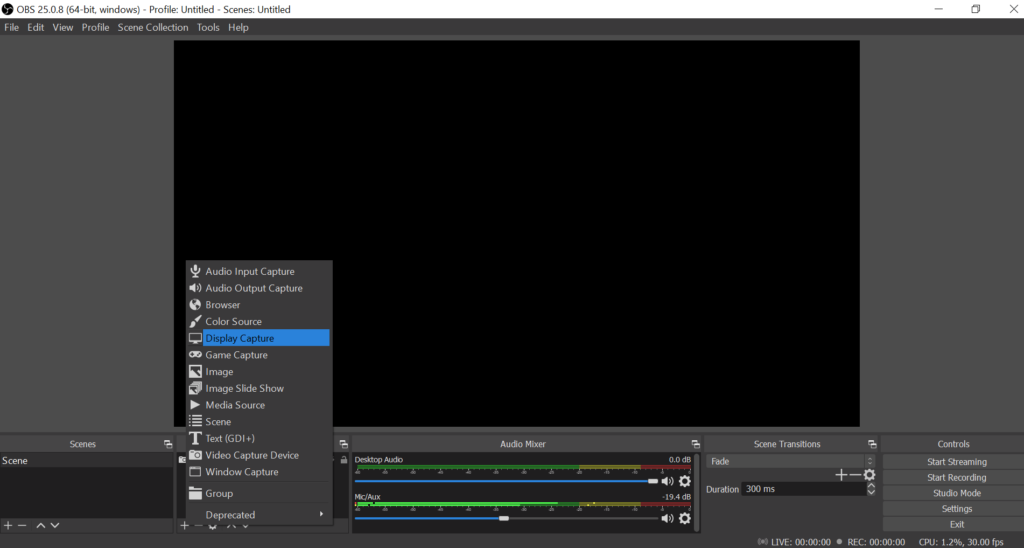
STEP 10
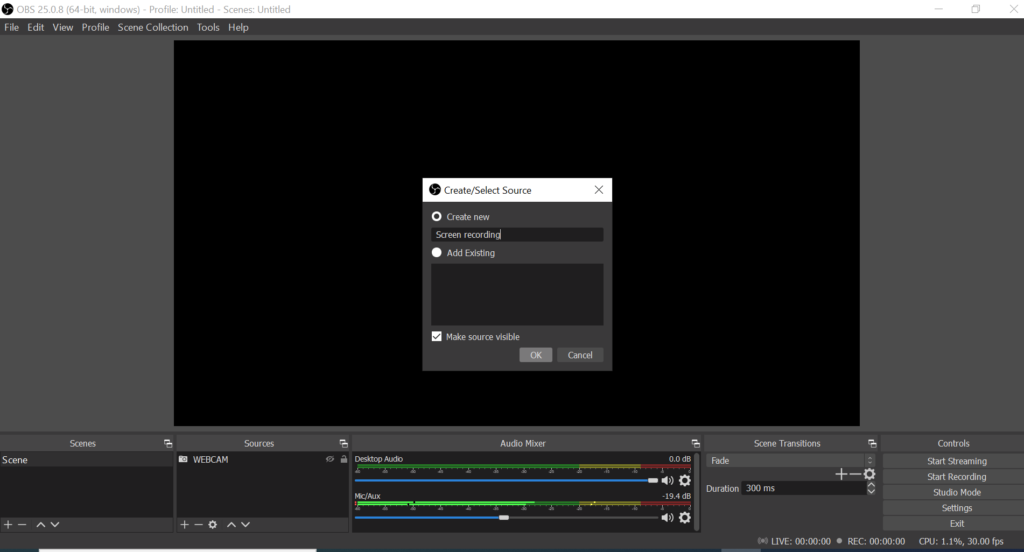
Click on + icon in source box and add Display Capture to add screen recording feature :
STEP 11
Give the feature a name (screen recording) and click OK :
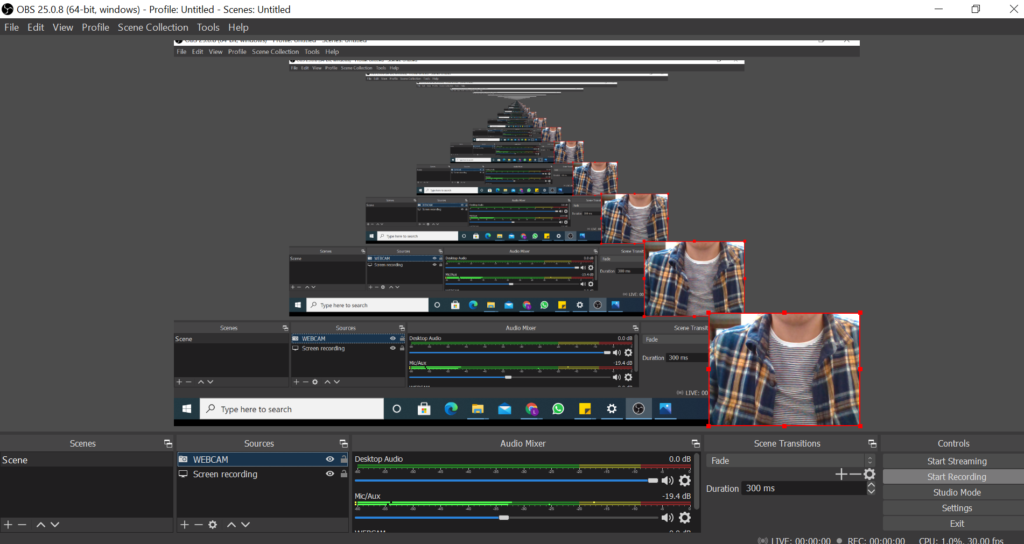
STEP 12
A multiple group of screens appears and click on OK :

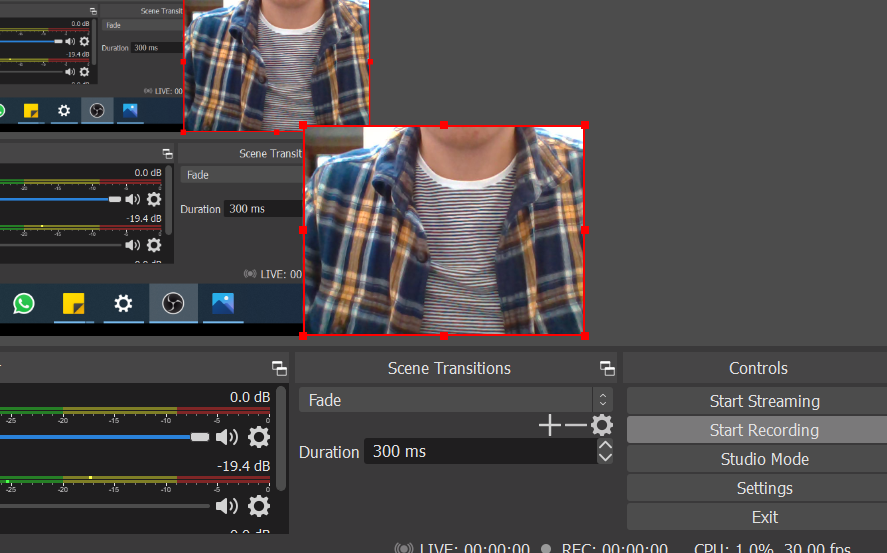
STEP 13
Move/drag the Webcam feature above screen recording feature to reveal your face-cam.You can mute your screen recording mic and desktop audio by managing on Desktop Audio and Mic/Aux
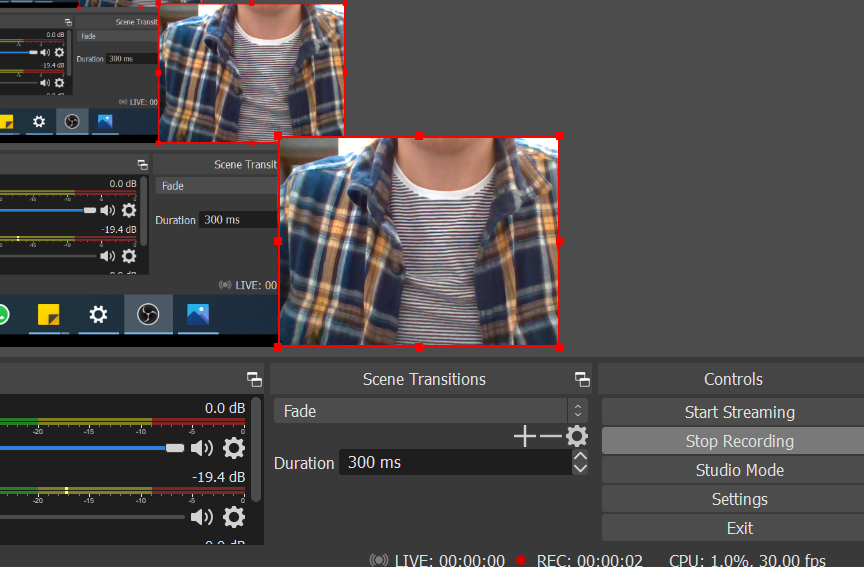
STEP 14
Click on Start Recording on bottom right corner to initiate a new screen recording with your face-time.
STEP 15
Click on Stop Recording to stop your recording. You can click on the eye shaped button on webcam feature inside source box to disable your face-time anytime.
0 Comments