
Installation and set up of Linux based Firewall IPCop using Virtual Box
What is an IPCop firewall ?
IPCop is a stable, easy to install and configure Linux based firewall distribution which is ideal for homes and small offices. It provides a good, free of cost firewall for the needs of a small network which can successfully protect your local network from intruders. It is also an open- source project where you can extend its functionality by using various plugins available on the internet.
Installation and Set up
- Download the ISO of IPCop http://ipcop.org/download.php
2. Use a Virtual machine and boot it using ISO of IPCop.
If you haven’t installed any virtual machine, click https://learn.tibcert.org/knowledge-base/how-to-install-virtual-box-on-ubuntu-and-create-a-virtual-machine/ to know how to install a Virtual Machine.
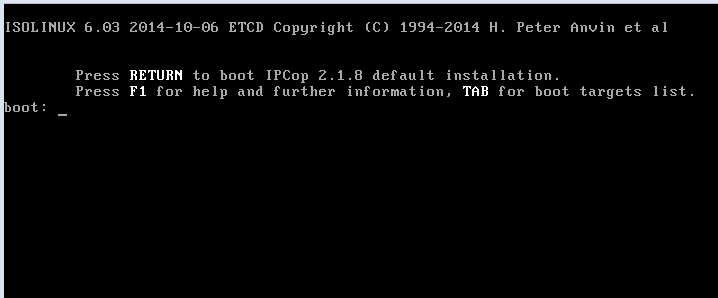
3. Hit Enter to boot this firewall Linux distribution as below :
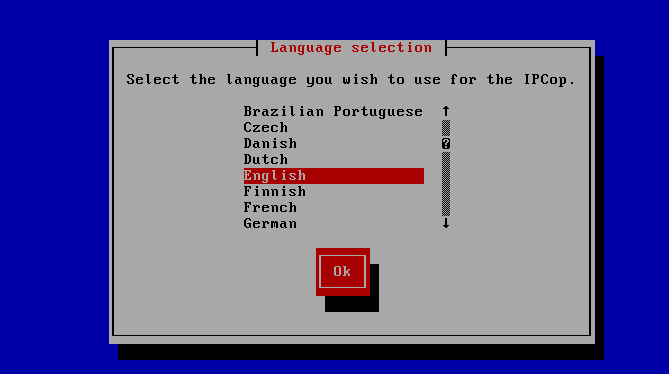
4. Select the language for IPCop installation from here
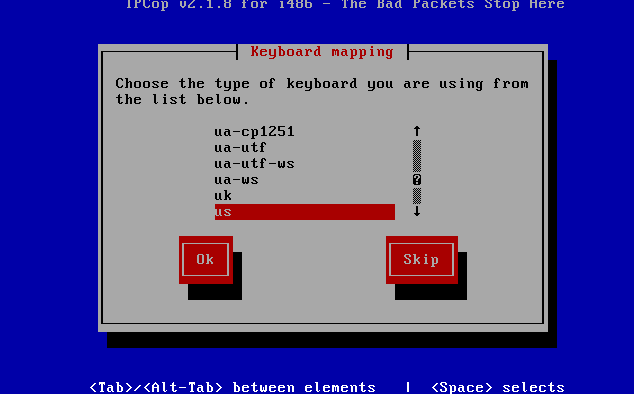
5. Choose your keyboard layout.
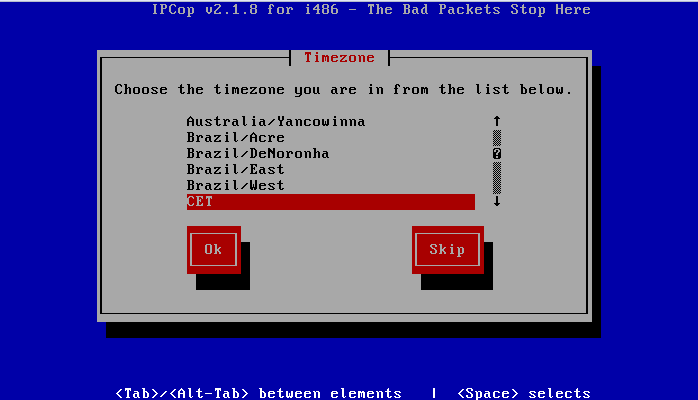
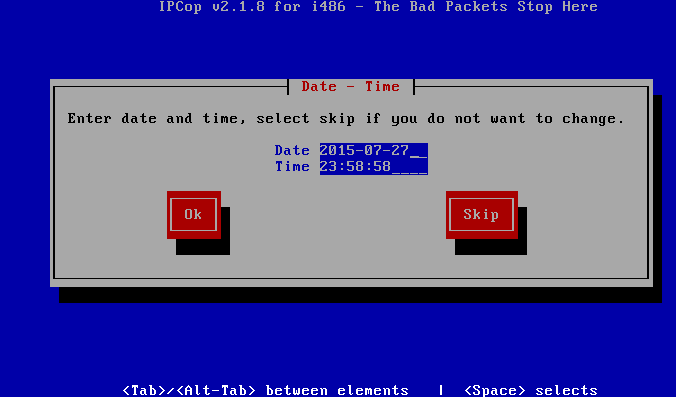
6. Specify your time zone from here and enter correct date and time here :
7. Select the disk you want to install this new firewall on.
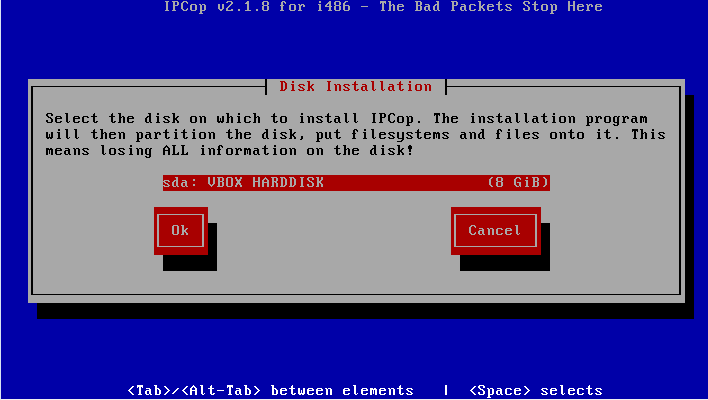
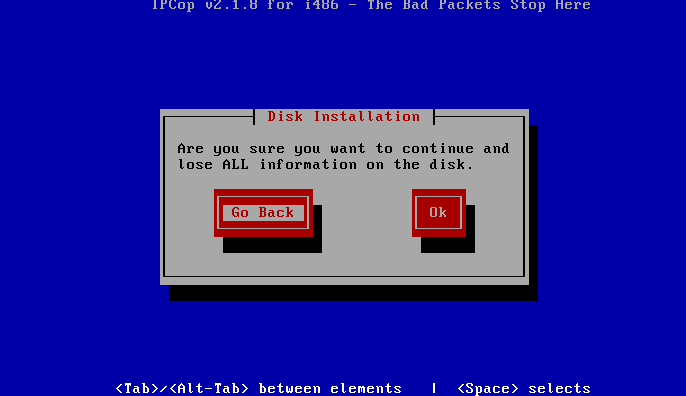
8. Click “Ok” from here to proceed further with the installation process.
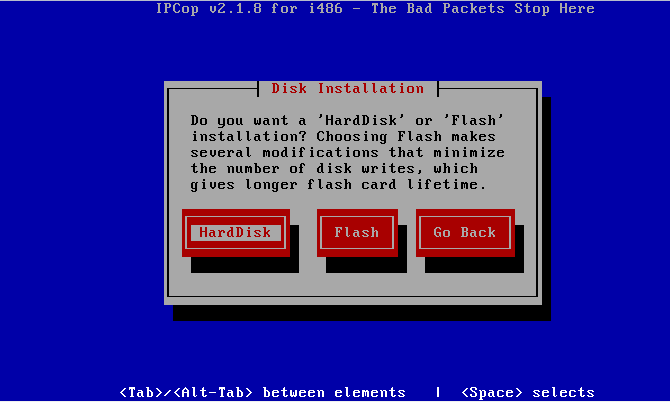
9. Select if you want hard drive based installation or flash disk based. We will specify “Hard disk” here.
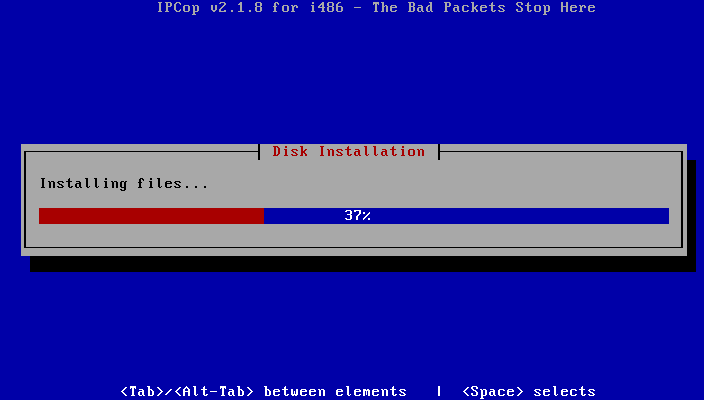
10. Installation is in progress now as below :
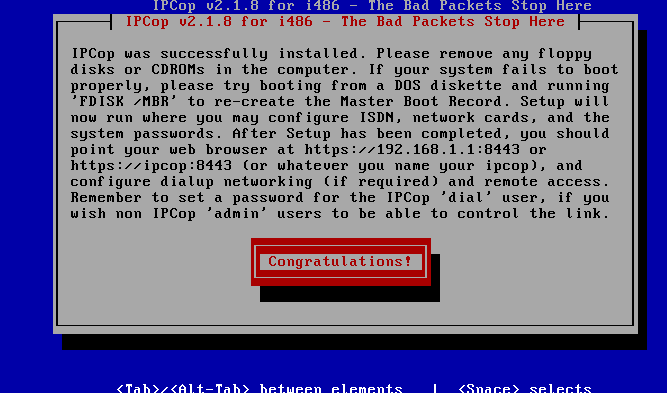
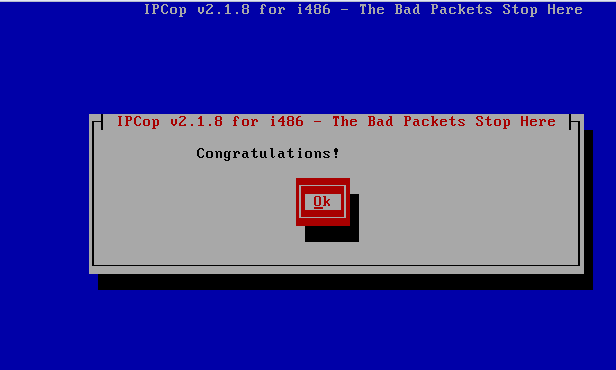
11. IPCop has been installed, hit “Congratulations” so that we may go ahead and create necessary users.
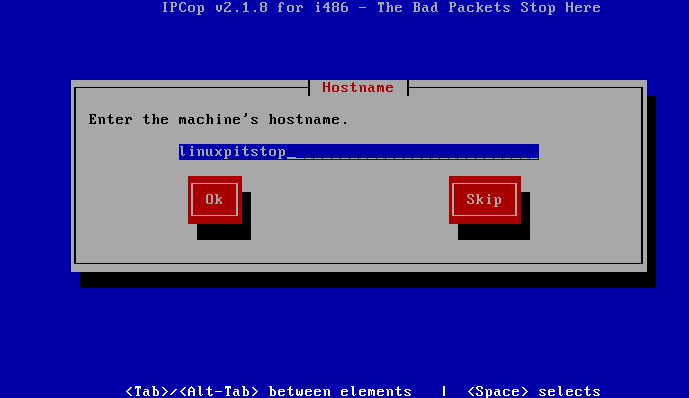
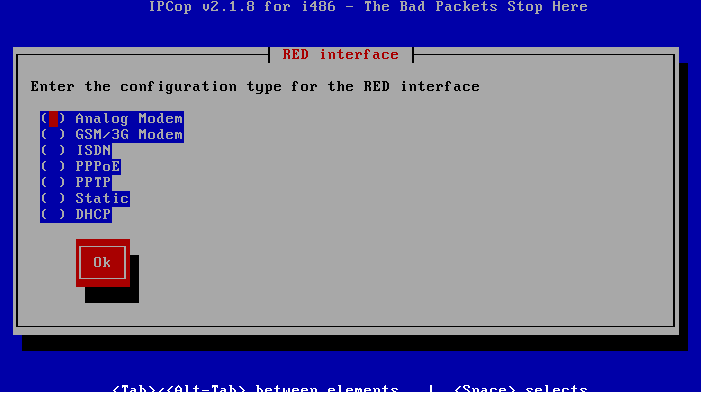
12. Enter your firewall machine host-name here, configuration type for “RED” interface as below
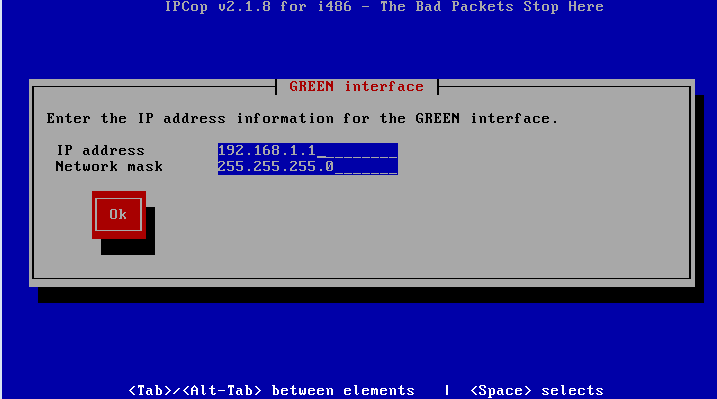
13. Specify the internet address and net-mask for “Green” interface here.
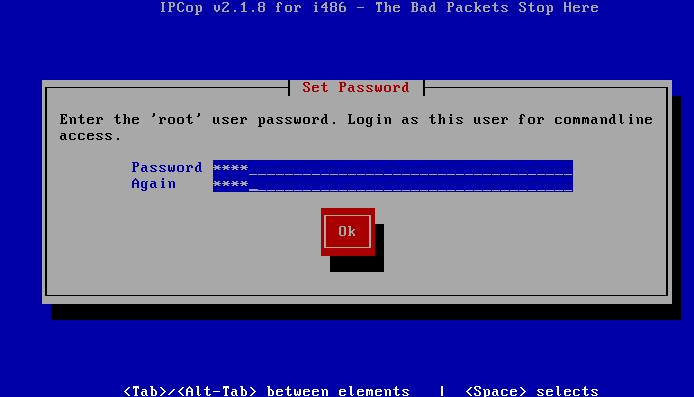
13. Set root password from here:
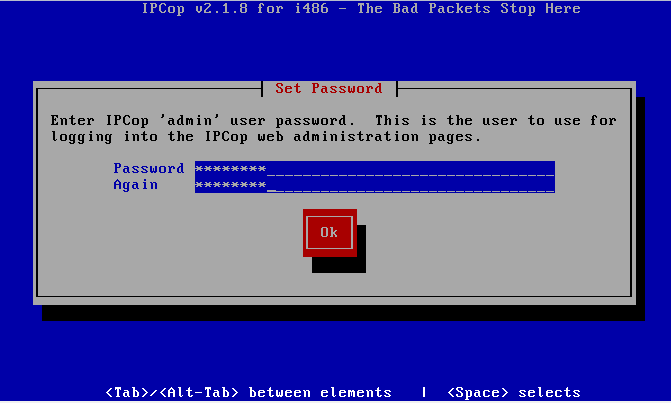
14. Specify the password for IPCop admin interface user here.
15. IPCop has been installed and configured. Click “Ok” to reboot your system.
16. Start using this firewall to protect your network infrastructure.

0 Comments